- Windows
- Windows 8 / 8.1
- 02 April 2022 at 20:36 UTC
-

On Windows 8, you can use different network locations types : private network (equivalent to "Home network" on Windows 7) or public network (same name as on Windows 7).
Depending on the network you are connected to, you will choose between one of these 2 network locations types :
- if you are connected to your own network (whether wired or wireless) at home, you will prefer a private network to be able to use file sharing, see the computers present on your computer, ...
- if you are connected to a public network (for example : in a coffee shop or a free Wi-Fi network), then we recommend that you choose "public network" to best secure your computer.
- Choose network location type when installing Windows 8
- Choose network location type when a new network is detected
- Choose network location type from the Network icon
1. Choose network location type when installing Windows 8
After installing Windows 8, several screens for configuring your computer name and other settings will appear.
At one point, this wizard will offer you to choose between :
- Use express settings
- Customize
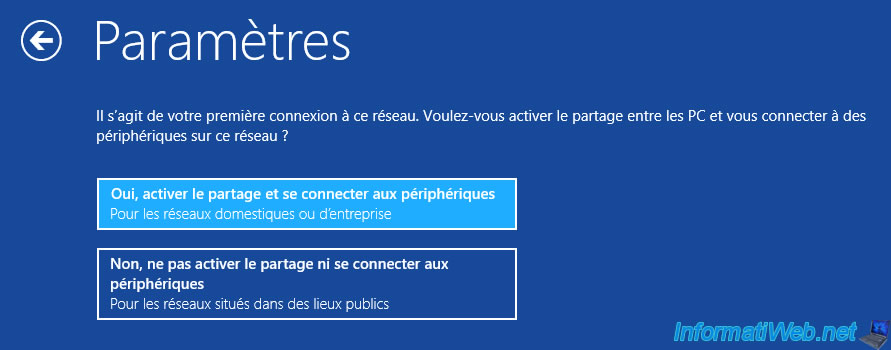
To be able to choose the network location type, you will have to click on : Customize.

Then, you will have the choice between :
- Yes, turn on sharing and connect to devices : private network
- No, don't turn on sharing or connect to devices : public network
To use a private network, choose the 1st option (Yes, turn on sharing...).
Once you have finished setting up Windows 8, you will arrive at your Windows 8 desktop.
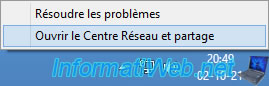
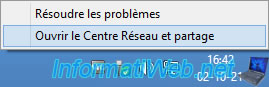
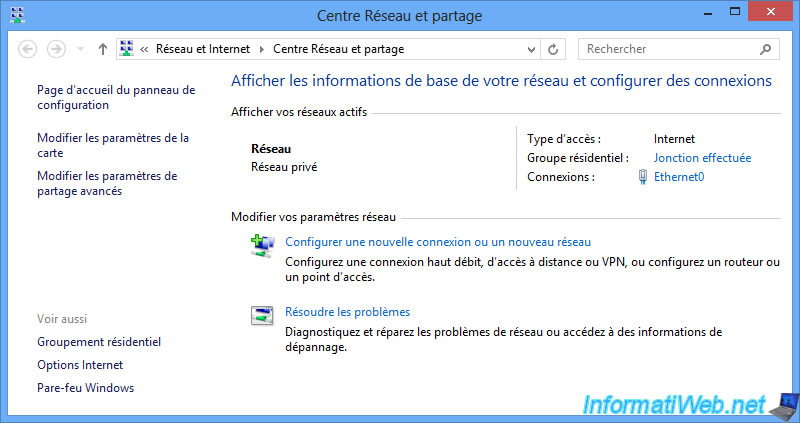
To verify that Windows 8 has chosen the correct network location type, right-click on the "Network" icon in the taskbar, then click : Open Network and Sharing Center.
As expected, if you chose the "Yes, turn on sharing and connect to devices" option when installing Windows 8, the network location type used will be : Private network.

2. Choose network location type when a new network is detected
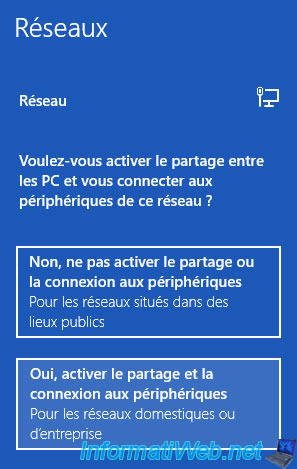
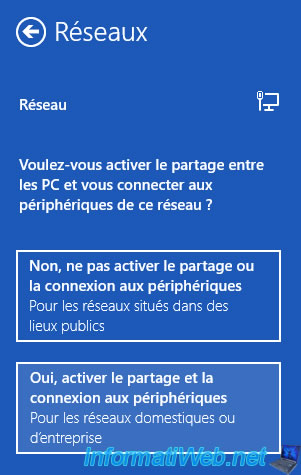
Each time you connect to a new network, this will appear on the right of your screen and ask you to choose between :
- No, don't turn on sharing or connect to devices : public network
- Yes, turn on sharing and connect to devices : private network
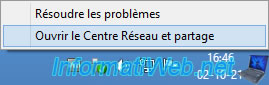
To check the type of network location used, right-click "Open Network and Sharing Center" on the "Network" icon present in the taskbar (next to the clock).
As expected, if you clicked "Yes, turn on sharing and connect to devices", the network location type used will be : Private network.
3. Choose network location type from the Network icon
On Windows 8, you can change the network location type by left-clicking on the "Network" icon present in the taskbar.

As you can see, we are connected to the "Network" network.

Right-click on the name of this network and click on : Turn sharing on or off.

Then, choose between :
- No, don't turn on sharing or connect to devices : public network
- Yes, turn on sharing and connect to devices : private network
Then, right-click on the "Network" icon present in the taskbar and click on : Open the Network and Sharing Center.
As expected, the network location type used will be "Private network" if you chose the "Yes, turn on sharing and connect to devices" option.
Otherwise, it will be a public network.

For the other techniques available on Windows 8, refer to our "Windows 8.1 - Change the network profile used" tutorial from step "4. Choose network location type from HomeGroup settings".
Share this tutorial
To see also
-

Windows 6/7/2022
Delete a recalcitrant file
-
Windows 2/5/2021
Manage network cards priority on Windows
-

Windows 9/12/2022
Windows - Install Windows in LEGACY BIOS mode (old BIOS / MBR)
-
Windows 12/17/2015
Windows 8 / 8.1 / 10 / 11 - System restore
You must be logged in to post a comment