Repair a parity storage space (software RAID 5) on Windows 8 to 11
- Windows
- Windows 8 / 8.1, Windows 10, Windows 11
- 07 April 2025 at 14:16 UTC
-

- 2/2
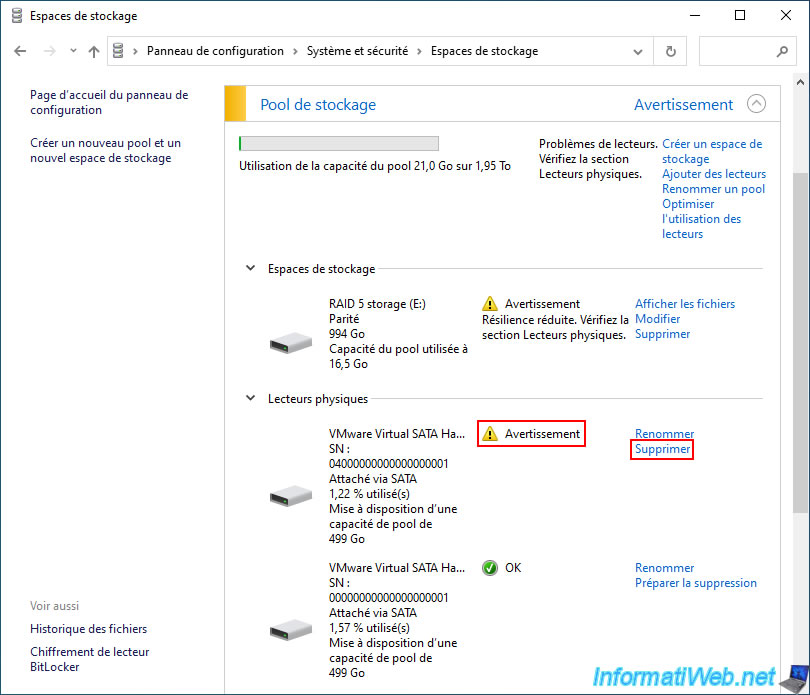
4. Rebuild missing disk of parity storage (software RAID 5)
To rebuild the missing disk on the new physical disk (which is empty at the moment), you must attempt to delete the failed physical disk.
To do this, click the "Delete" link to the right of the failed physical disk, which has a status of "Warning".
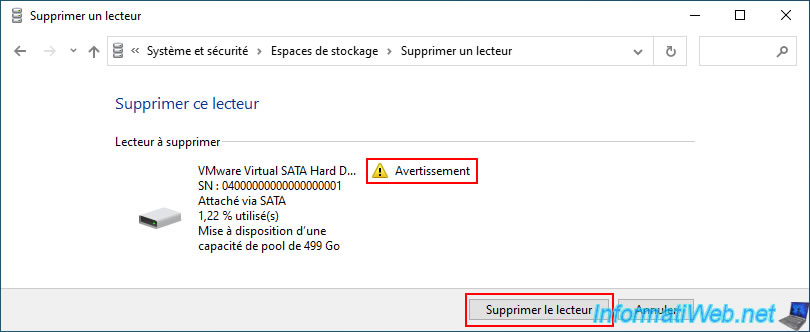
Your physical disk with "Warning" status appears.
Click the "Remove drive" button.
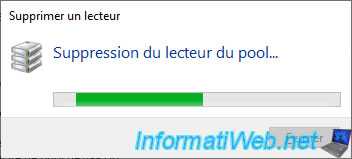
Please wait a while while we try to delete this physical disk.
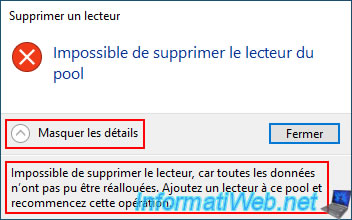
Then the error "Unable to remove drive from pool" will appear.
If you click "Show details", Windows will tell you that:
- you cannot delete this drive because not all data could be reallocated.
- you must first add a drive (physical disk) to your storage pool before attempting to delete your failed disk.
Which you have already done.
Click "Close".
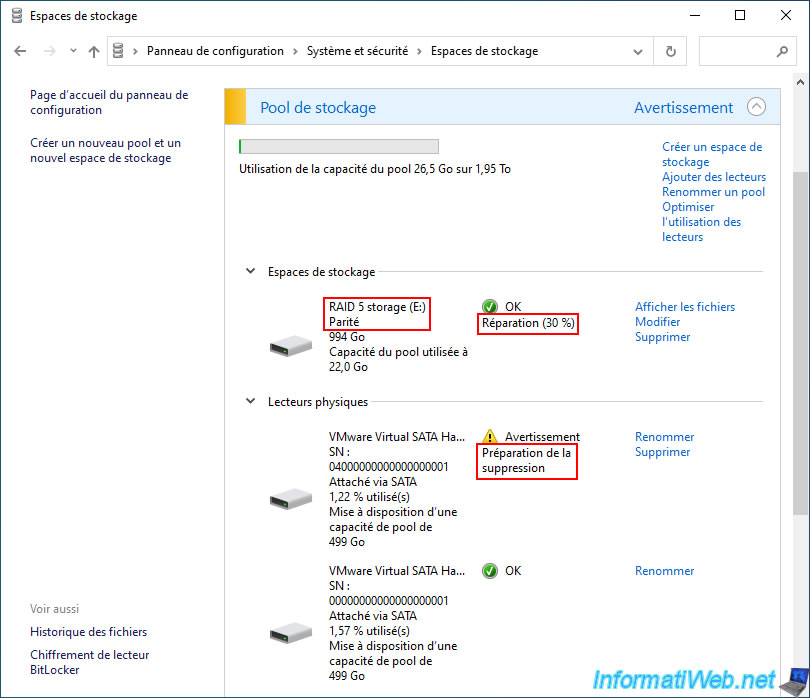
Attempting to delete your failed physical disk that was in "Warning" status will cause:
- starting the repair of your "RAID 5 storage" storage space of type "Parity".
- changing the status of your failed physical disk to "Warning: Preparing for deletion".
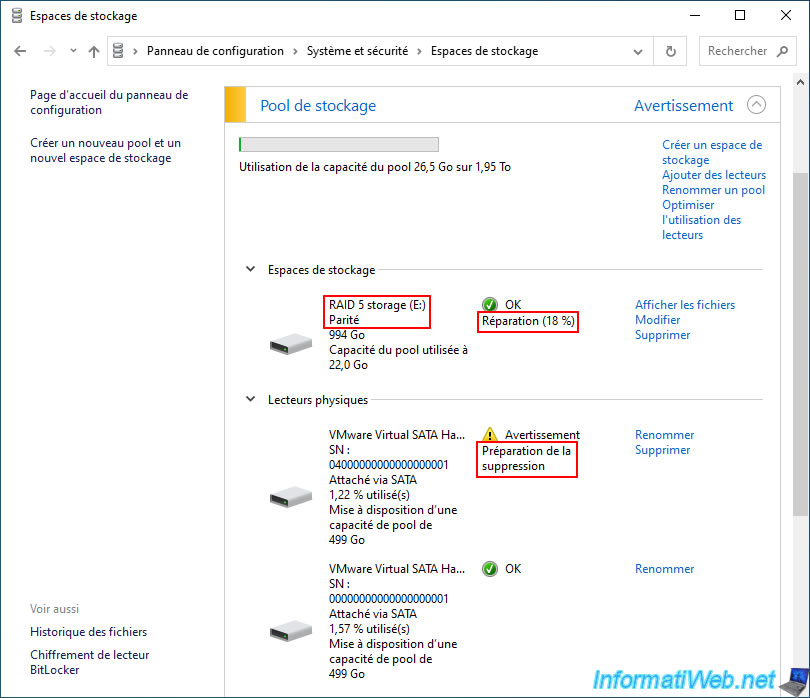
While your "Parity" storage space is being repaired, its contents will remain accessible from file explorer.

Please wait while your storage space is repaired.
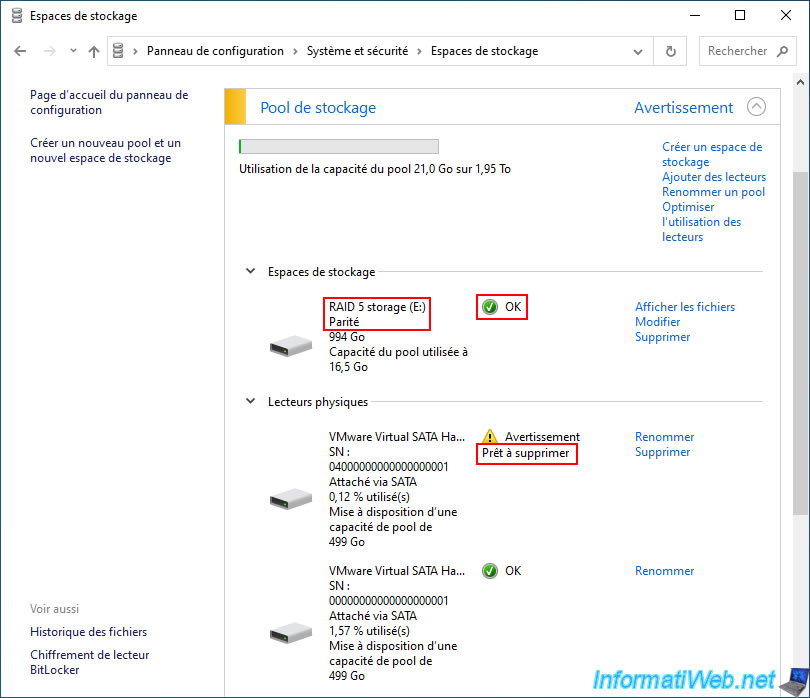
Once your "RAID 5 storage" storage space repair is complete, you will see that the repair progress has disappeared and its status is only "OK".
However, the storage pool it is in is still in "Warning" status and your physical disk status is now "Warning: Ready to delete".
5. Remove the faulty physical disk from a parity storage (software RAID 5)
Now that your storage space is repaired thanks to the new disk that has just been rebuilt, you only have to delete the physical disk with the status "Warning - Ready to delete".
To do this, click on the "Delete" link located to the right of this physical disk.
Note: deleting this failed physical disk will make the "Warning" status still appearing for your storage pool disappear.
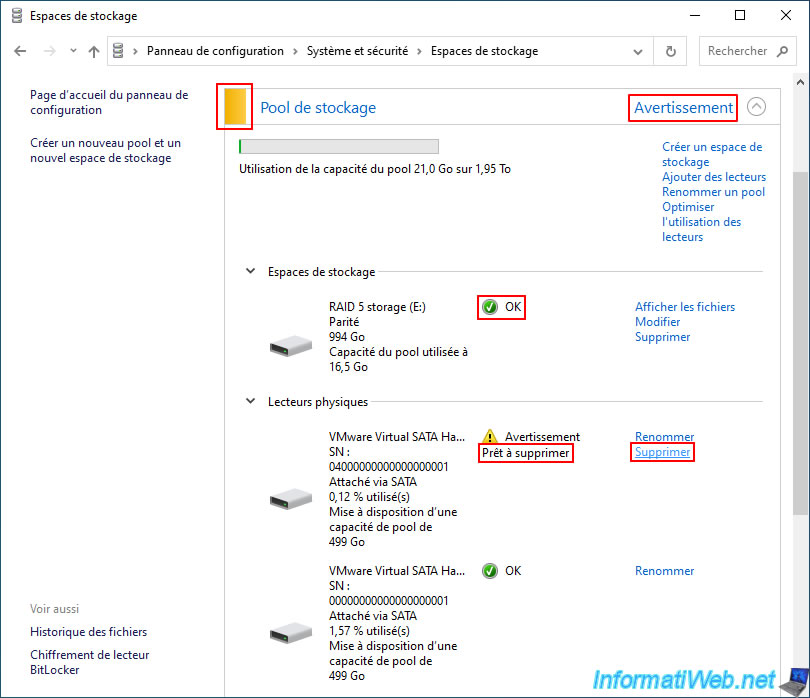
Confirm the deletion of this physical disk "Ready to delete" by clicking the "Delete drive" button.
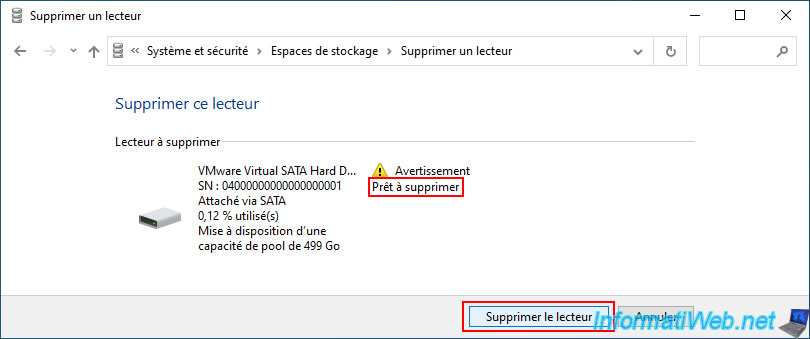
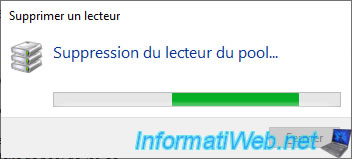
Please wait a little while this physical disk is deleted.
Once this failed physical disk is removed, the status of your storage pool and your "RAID 5 storage" storage space will be "OK".
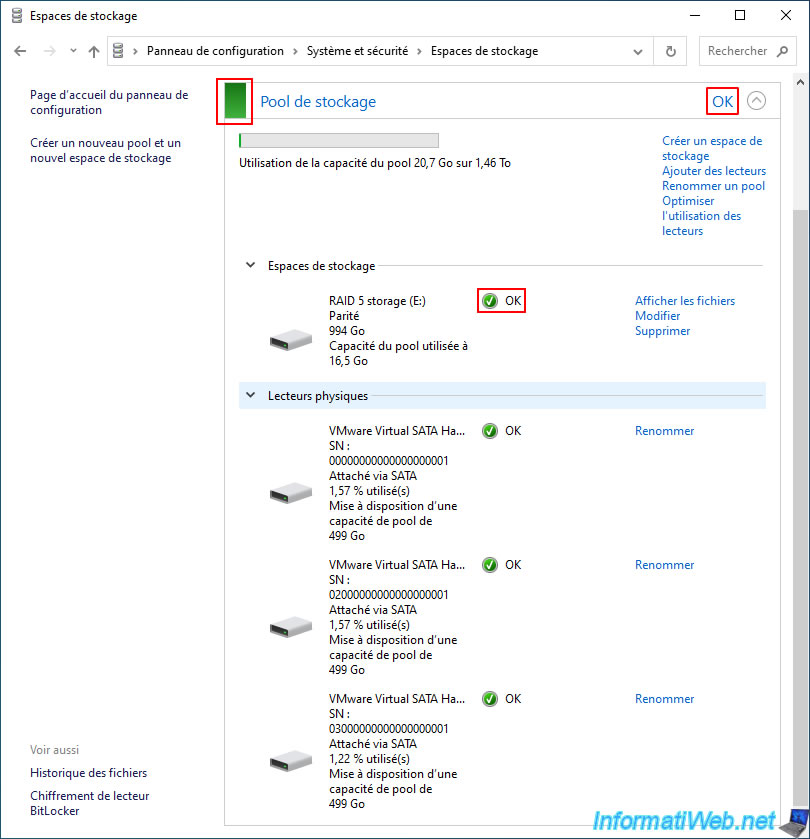
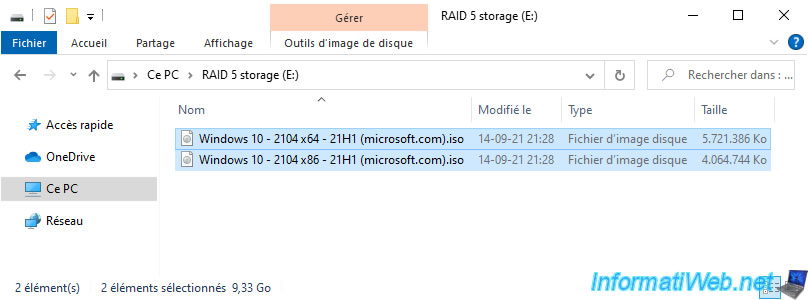
As expected, no data was lost on your "Parity" storage space.
Share this tutorial
To see also
-
Windows 1/2/2023
Windows - Create a bootable USB key to install Windows
-
Windows 5/1/2023
Windows 11 - Disable automatic Windows updates
-
Windows 11/13/2023
Windows 11 - Install Windows 11 v21H2 Home with a local account
-

Windows 5/3/2022
Windows 11 - Return to a local account
No comment