VHD/VHDX multiboot (native boot) with Windows 10 and Windows 11
- MultiBoot
- Windows 10, Windows 11
- 01 July 2024 at 13:14 UTC
-

- 6/7
10.2. Configure paging file for virtual memory on Windows 11
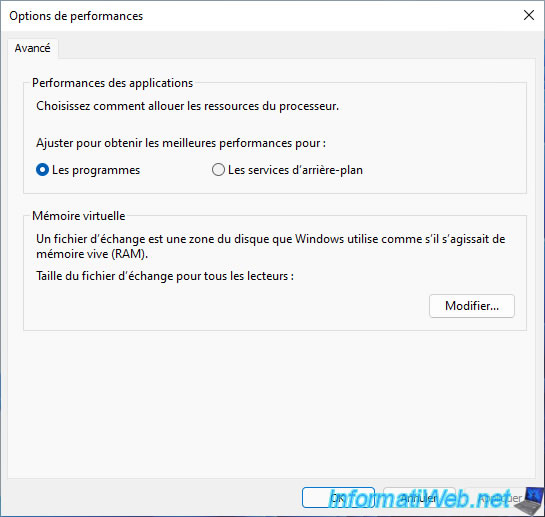
As you have probably noticed, a "Performance Options" window appeared automatically when you opened your Windows 11 session.
This is because no swap file could be created automatically. Hence the fact that there is no value displayed below.
To solve the problem, click on the button: Change.
Note: if you do nothing, this window appears each time you start it.
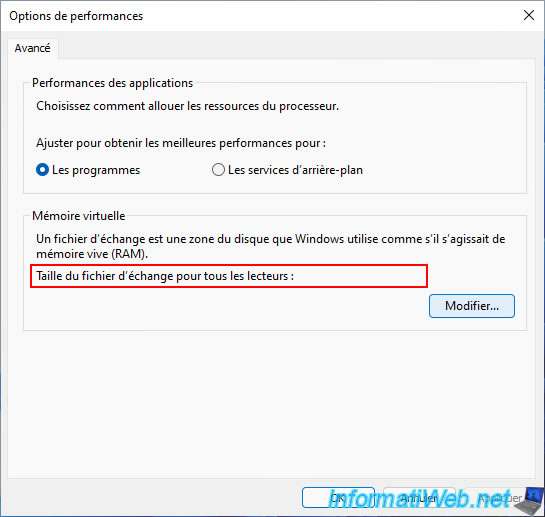
As you can see, no swap file is configured at the moment.
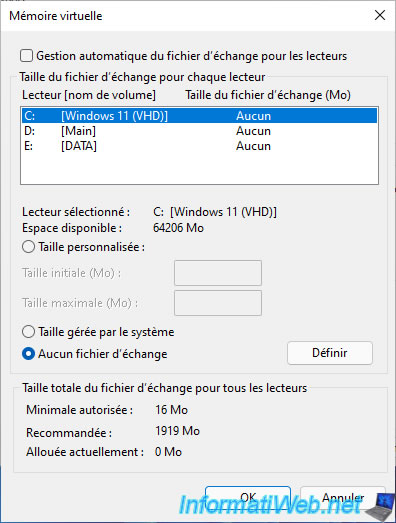
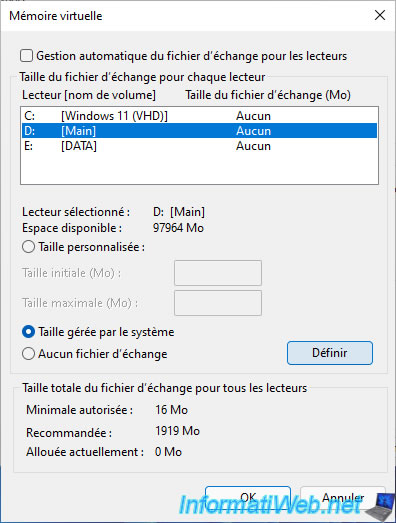
Select your "Main" partition (where your VHDX files are located), then select the option "System managed size" and click on the button: Set.
Then, click OK to save the changes.
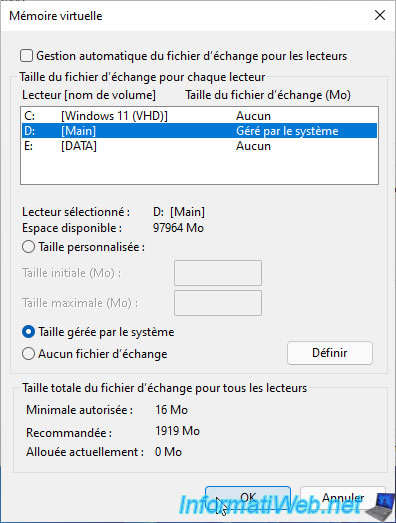
If a warning appears about a "pagefile.sys" file that already exists, you can ignore this warning by clicking Yes.

Close this window by clicking OK.
Restart your computer for the change to take effect.
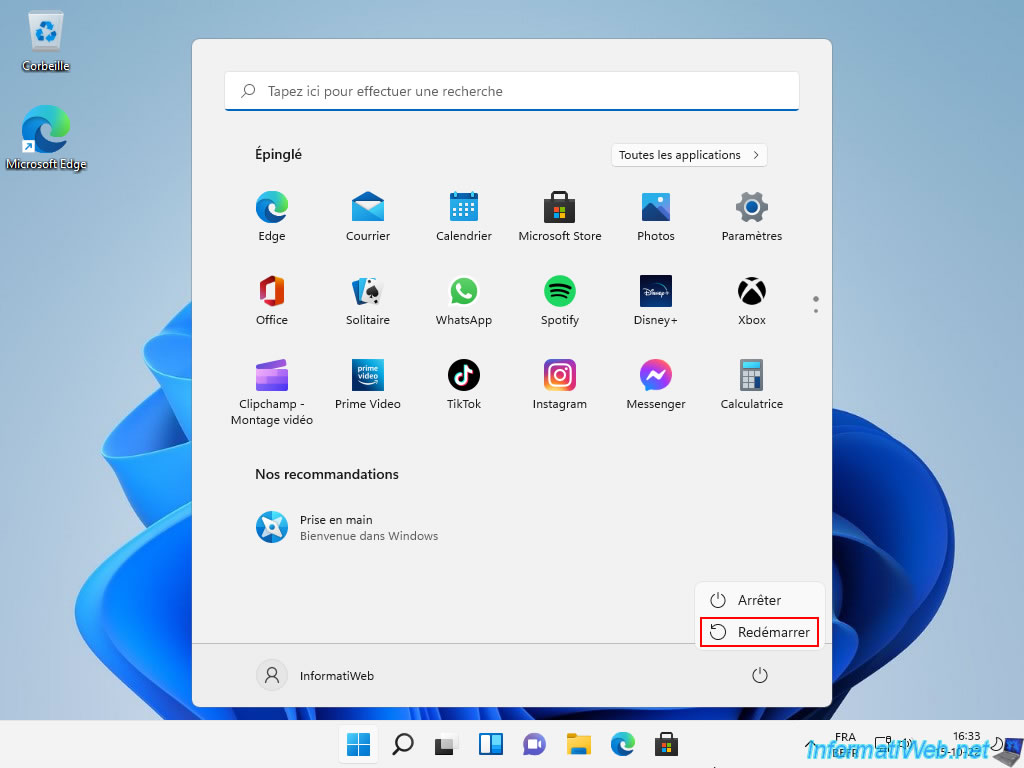
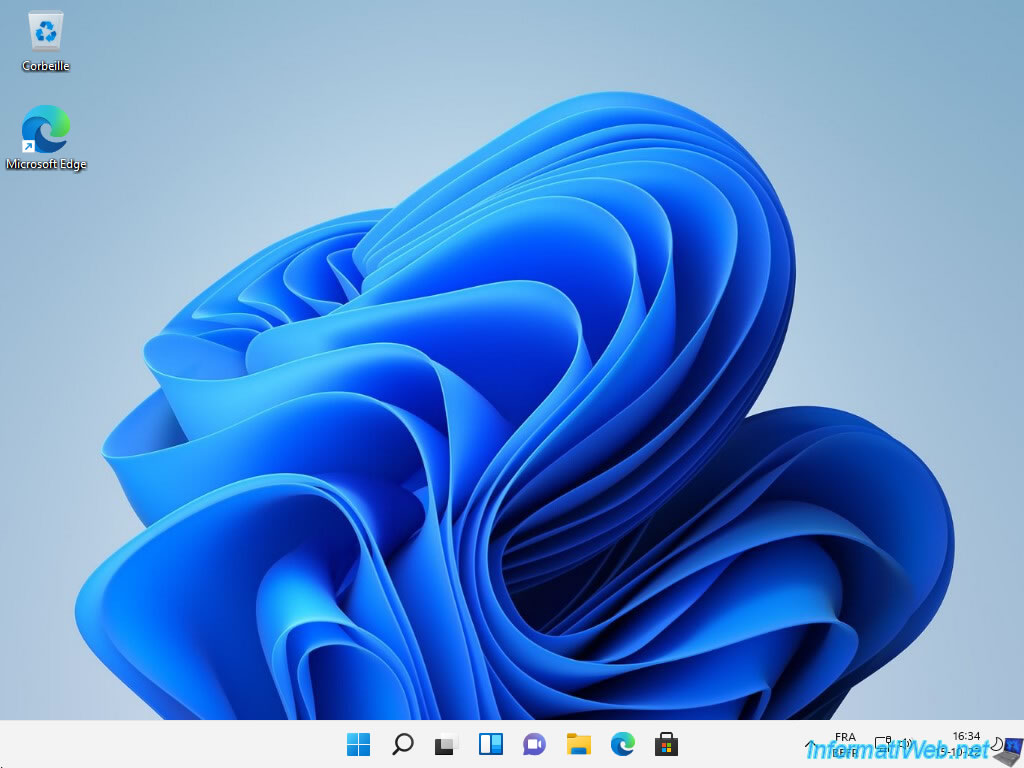
As you can see, this "Performance Options" window will no longer appear on subsequent startups.
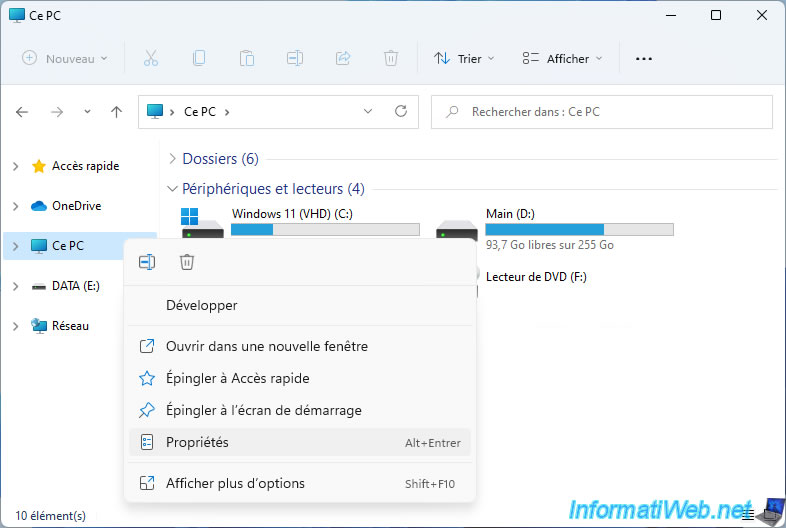
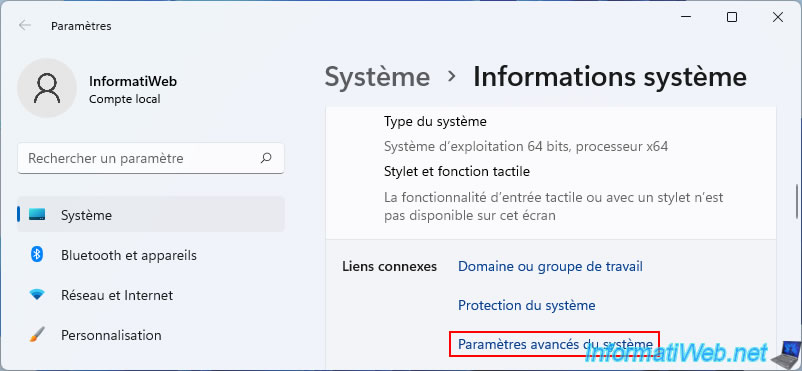
Open File Explorer and right click "Properties" on "This PC".
In the "System > System Information" window that appears, scroll down a bit and click on the "Advanced system settings" link.
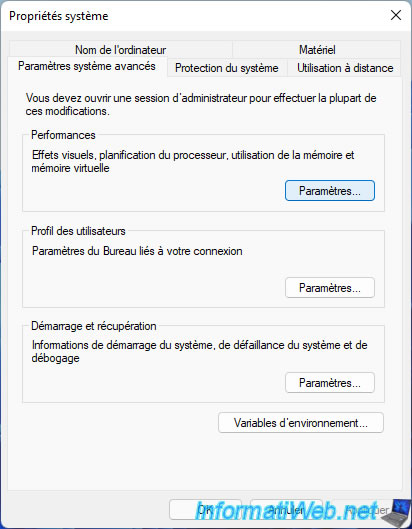
Click the "Settings" button in the "Performance" section.
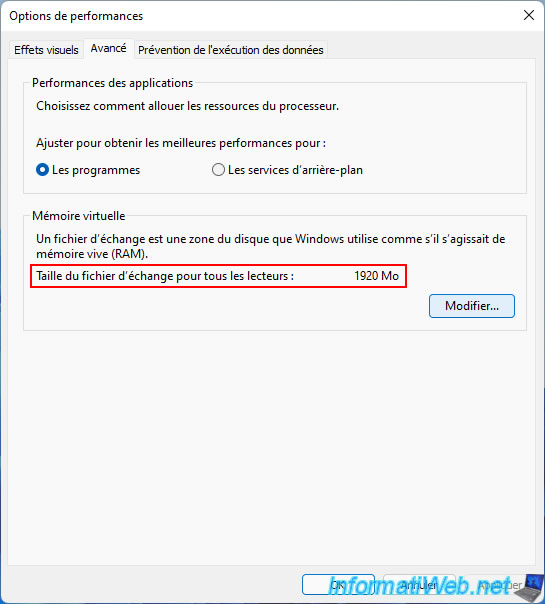
As you can see, a value appeared for the paging file size for all drives.
You can also check the configured setting by clicking on the button: Change.
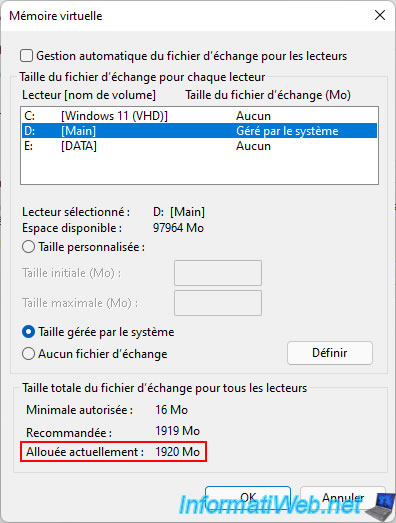
As you can see, a swap file size is maintained by the system for the "Main" partition.
At the bottom of the window you will see the currently allocated size.
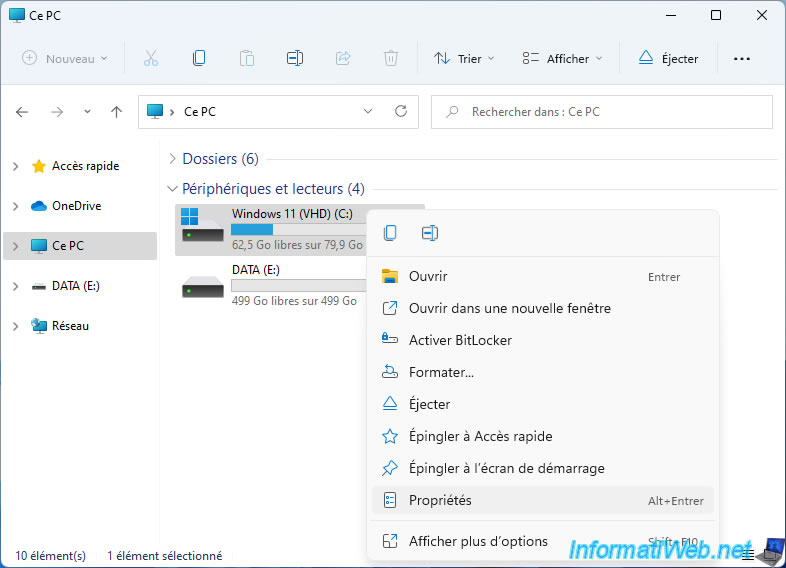
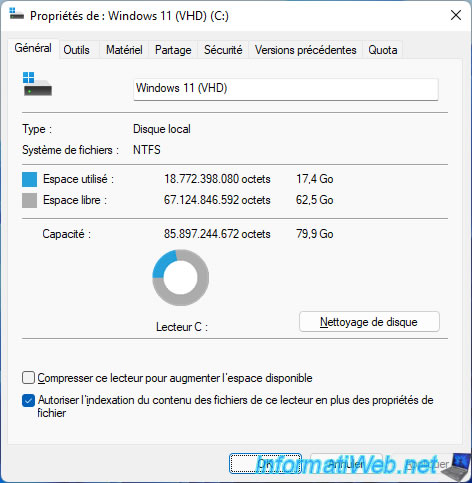
Right-click "Properties" on your "Windows 11 (VHD) (C:)" partition.
As you can see, once installed, Windows 11 takes up 17.4 GB.
10.3. Install drivers for your computer on Windows 11
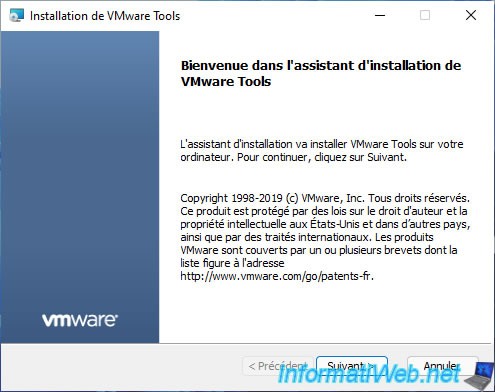
Now that Windows 11 is installed and configured, install the drivers for Windows 11 on your computer.
10.4. Rename Windows 11 boot option
If you want, you can rename Windows 11 boot option.
To do this, open a command prompt as an administrator.
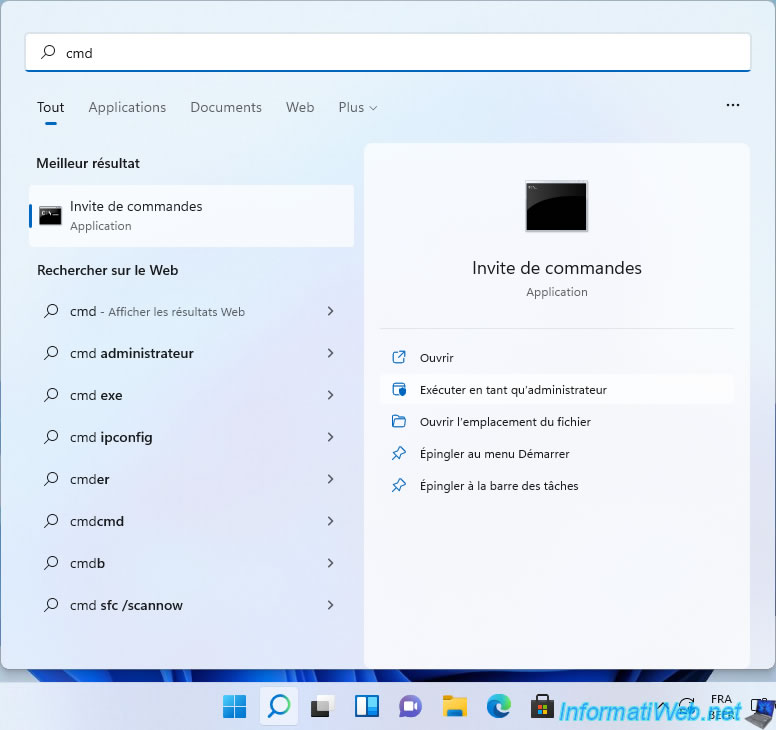
In the command prompt that appears, type the command:
Batch
bcdedit /set {current} description "Windows 11 (VHD)"
Plain Text
The operation completed successfully.
Then, you can verify that the description of this boot option has changed by typing the command:
Batch
bcdedit
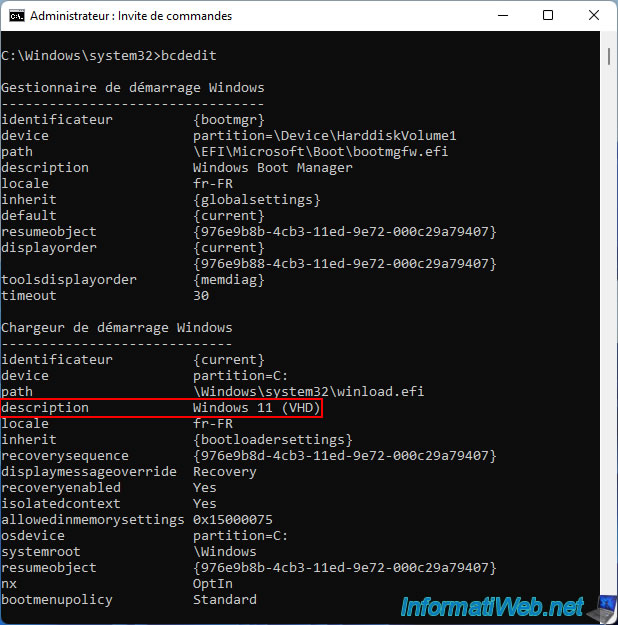
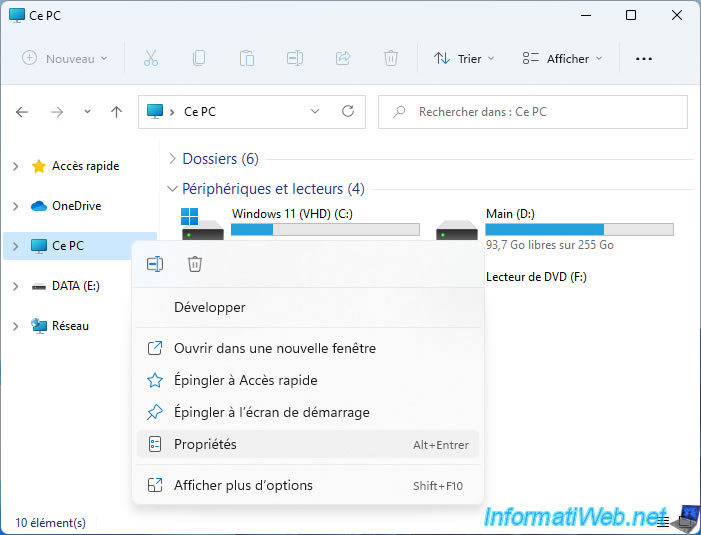
You can also verify this change from the Windows 11 GUI.
To do this, right-click "Properties" on "This PC".
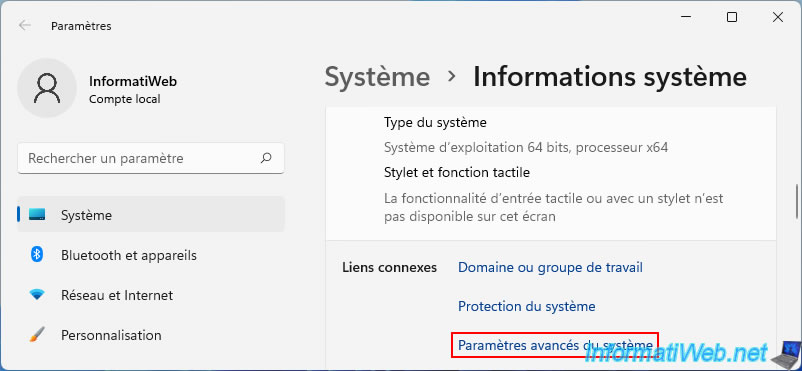
Then, in the "Settings" window that appears, scroll down a bit and click on: Advanced system settings.
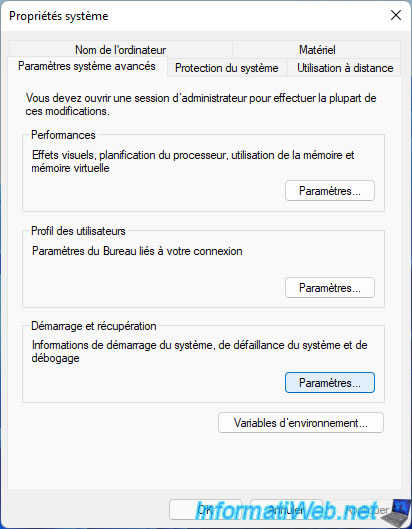
Click on the "Settings" button in the "Startup and Recovery" section.
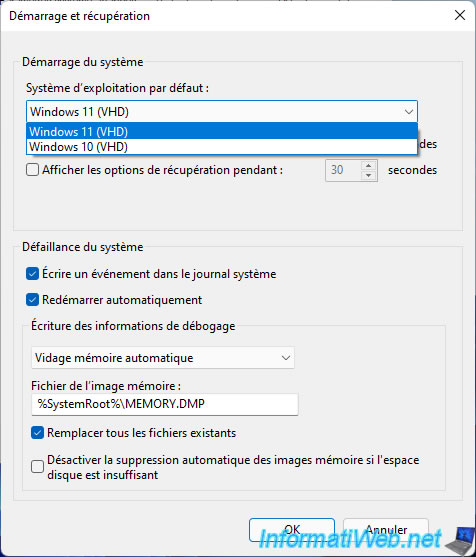
As expected, the Windows 11 boot option has been renamed: Windows 11 (VHD).
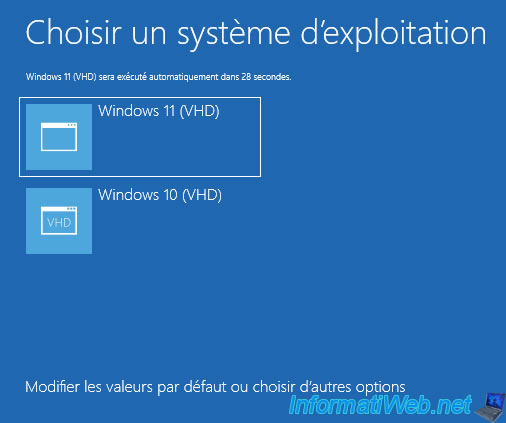
This change will also appear in the "Choose an operating system" menu displayed each time you start your computer.
Share this tutorial
To see also
-

Windows 12/17/2012
Clean Windows safely
-

Windows 5/20/2016
Control a computer remotely (Win 7 to 11)
-
Windows 4/21/2025
Windows 10 - Reduce the size of the start menu
-
Windows 4/14/2025
Windows 11 / 10 / 8.1 / 8 - Upgrade a storage space (software RAID)
No comment