Enable the Windows 7 aero in a VirtualBox 6.1 / 6.0 / 5.2 virtual machine
- Virtualization
- 01 August 2018 at 09:43 UTC
-

- 2/2
2. Enable Windows 7 Aero (since VirtualBox 6.1)
Since VirtualBox 6.1, 3D driver installation (required for window transparency (aero) to work) is enabled by default.
Additionally, VirtualBox now allows selecting a graphics controller. Which was not the case before.
However, you will notice that, by default, window transparency (aero) is not supported in the virtual machine, while the 3D driver is installed by default.
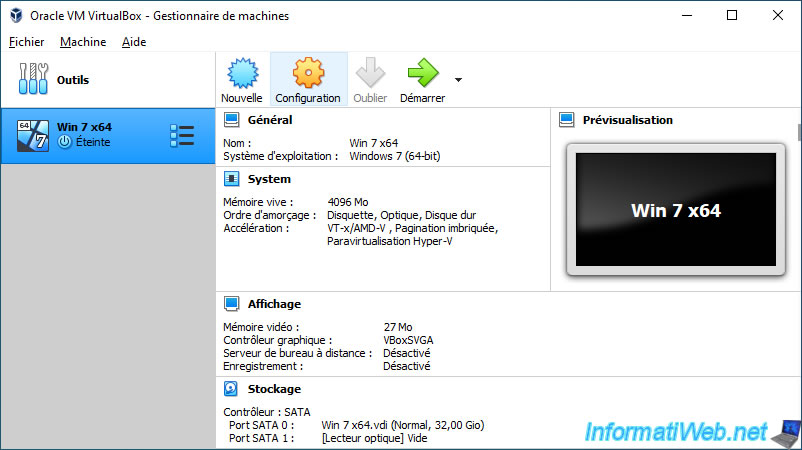
To solve this problem, select your Windows 7 virtual machine and click on : Configuration.
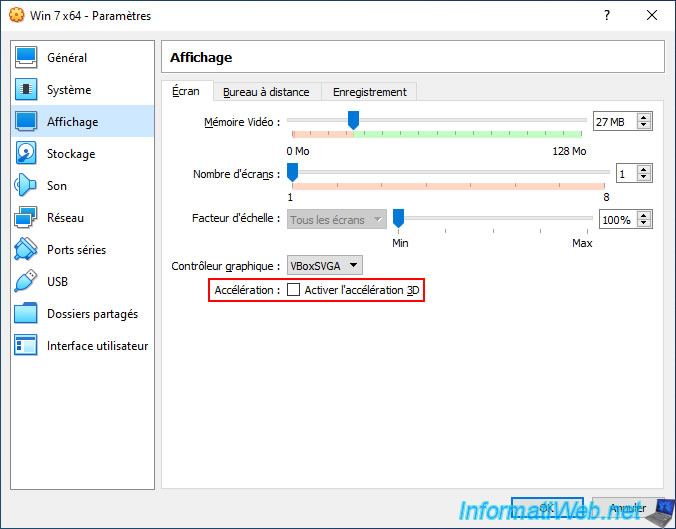
In the "Display -> Screen" section, you will notice that 3D acceleration is not enabled by default.
So, the 3D driver can't work properly in the virtual machine.
Check the "Enable 3D Acceleration" box.
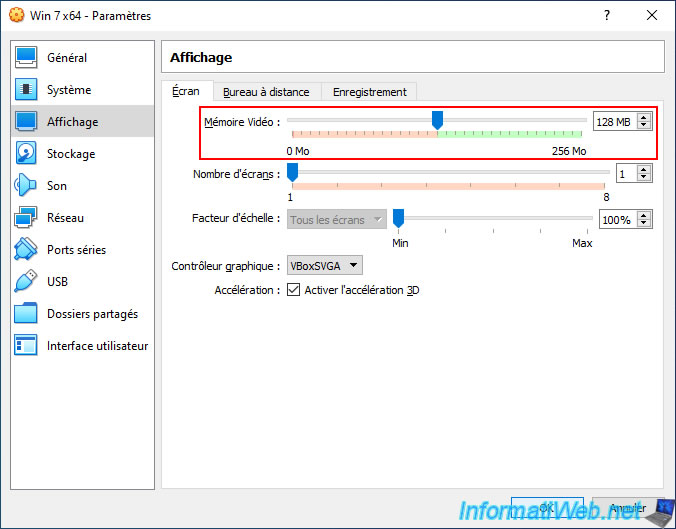
Once 3D acceleration is enabled, an "Invalid setting detected" warning will appear telling you that you should set the video memory to at least 128 MB (because of 3D).

Allocate 128 MB of video memory and the warning will disappear.
Click OK to save changes.
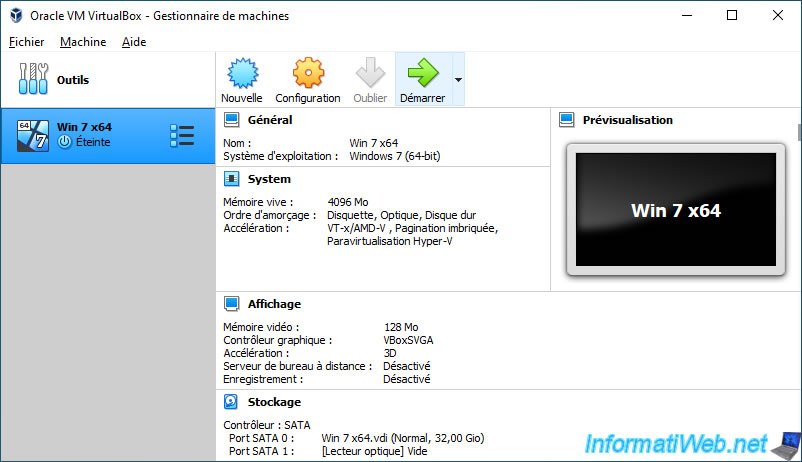
Start your Windows 7 virtual machine.
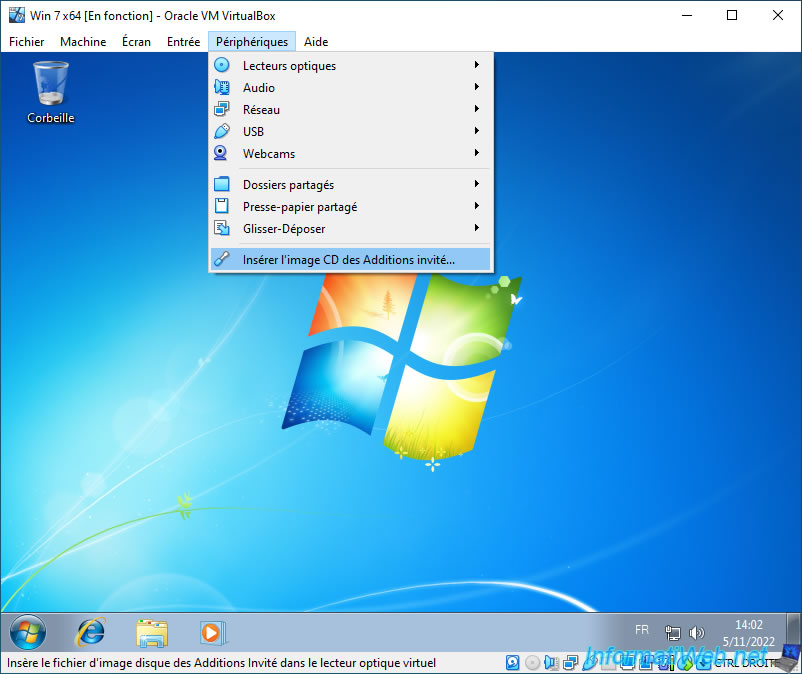
Once the Windows 7 virtual machine has started, click : Devices -> Insert Guest Additions CD image.
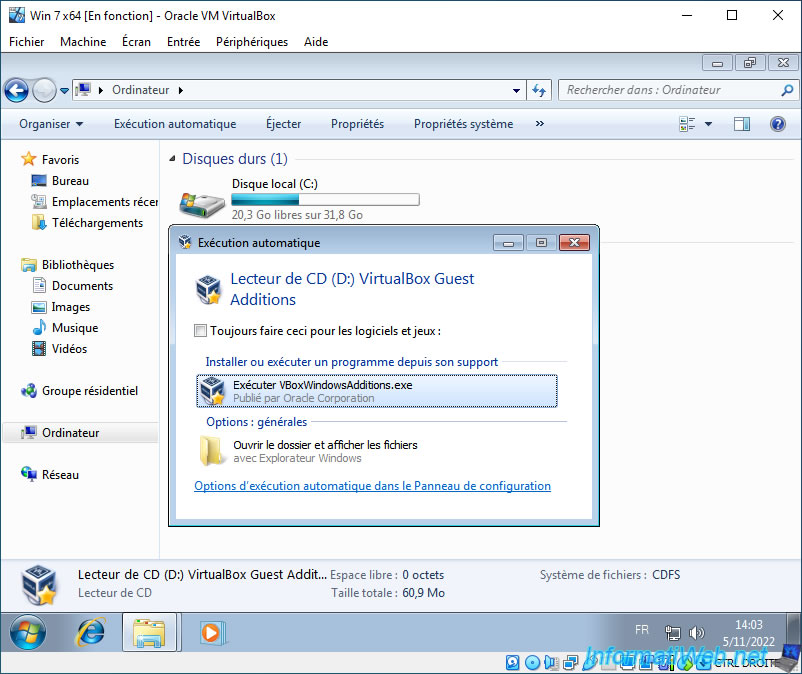
If the autorun window appears, click on : Run VBoxWindowsAdditions.exe.
Otherwise, go to the "VirtualBox Guest Additions" CD and launch the "VBoxWindowsAdditions.exe" file.
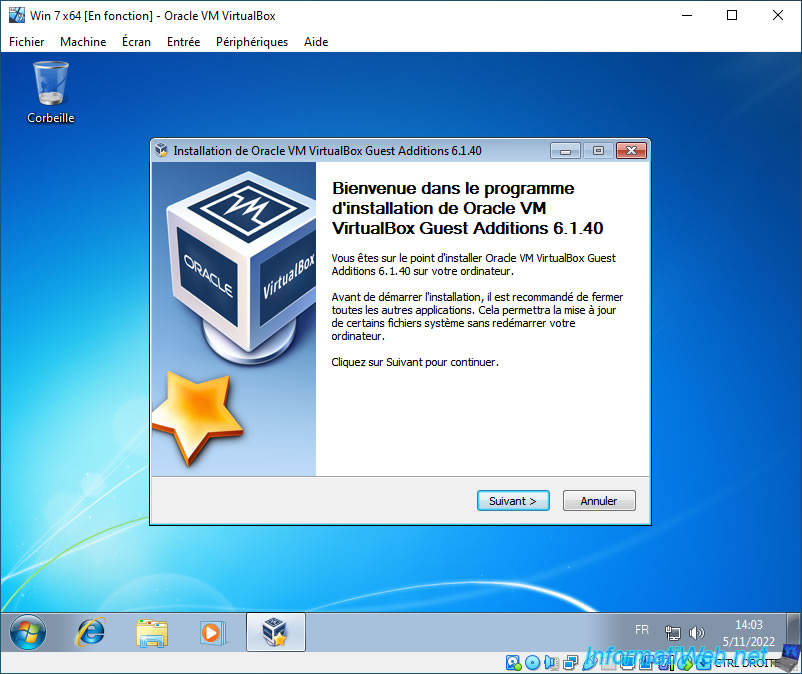
The Oracle VM VirtualBox Guest Additions installer appears.
Click Next.
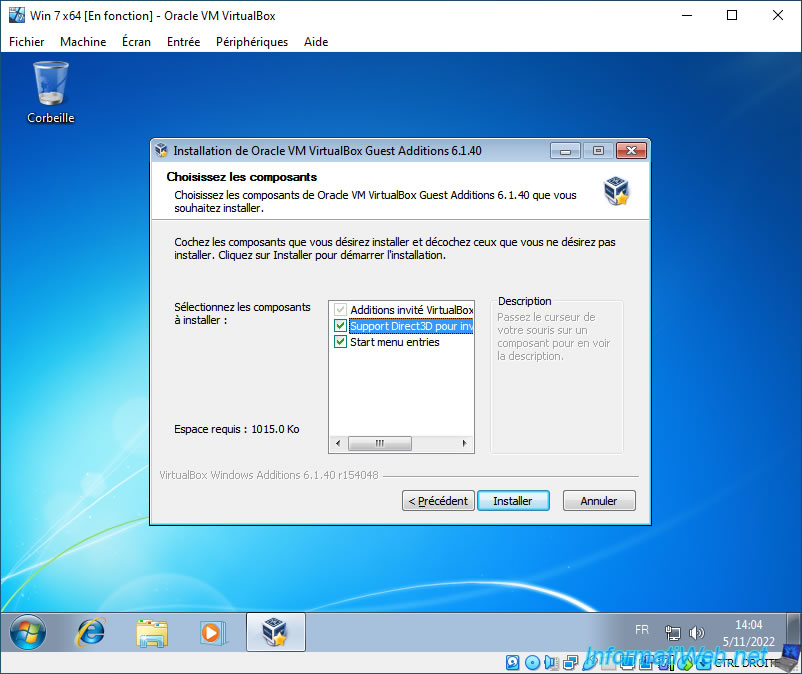
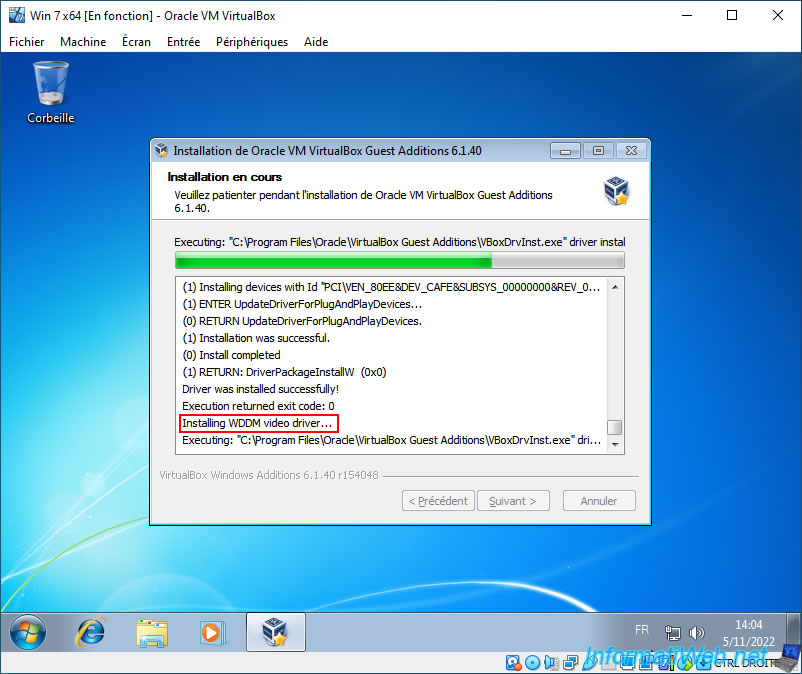
Make sure the "Direct3D Support" box is checked and click Install.
During the installation, you will see in particular that a WDDM video driver (which allows the use of aero on Windows 7) will be installed.
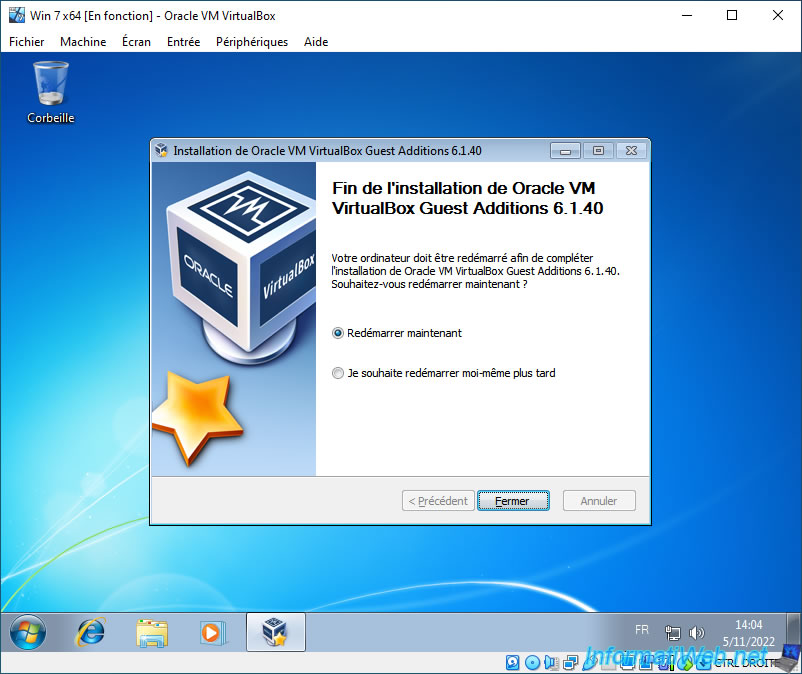
Once the installation is complete, click Close to automatically restart your Windows 7 virtual machine.
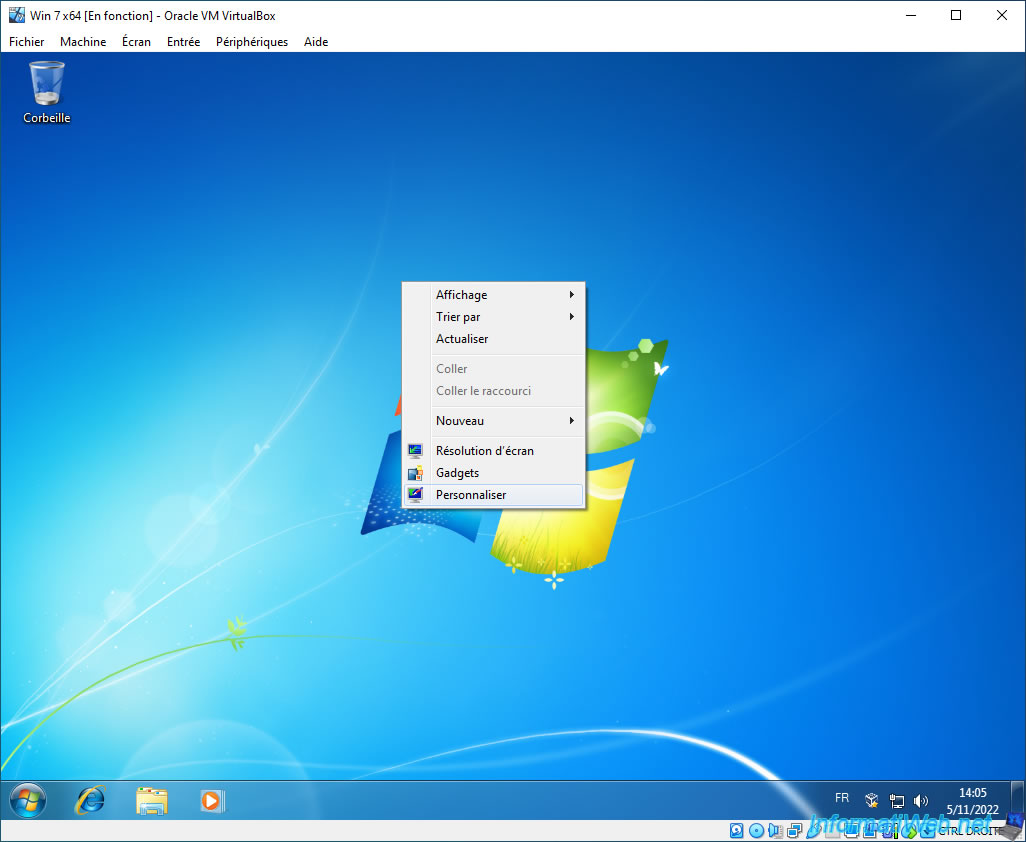
If needed, right-click "Personalize" in an empty space of your desktop.
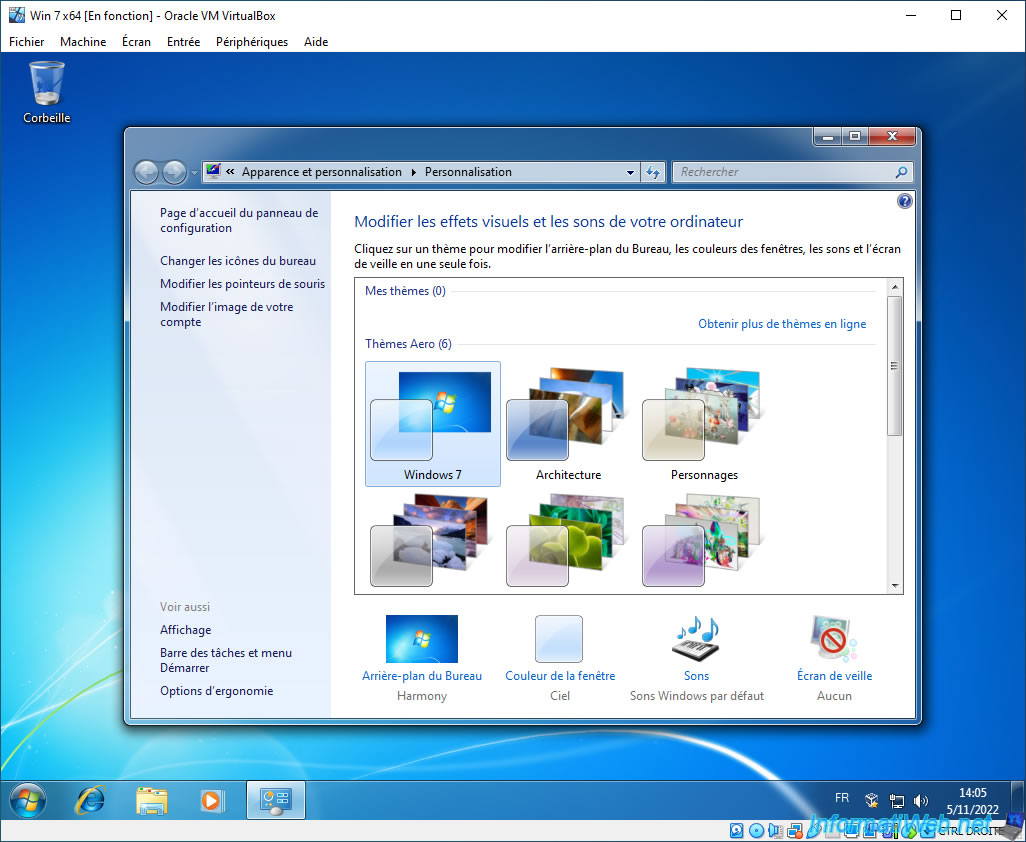
Then, double-click on the "Windows 7" Aero theme to enable window transparency.
Share this tutorial
To see also
-

Virtualization 8/30/2019
Hyper-V - Coexistence with VirtualBox or VMware Workstation
-
Virtualization 8/25/2018
VirtualBox - Clone a virtual machine (VM)
-
Virtualization 7/22/2018
VirtualBox - Configure settings of your VMs
-

Virtualization 11/6/2020
VirtualBox - Connect an USB key to a VM
No comment