Import Windows XP Mode of Microsoft in VirtualBox 7.0 / 6.0
- Virtualization
- 22 November 2022 at 14:18 UTC
-

- 2/3
4. Create a virtual machine for XP mode (on VirtualBox 7.0)
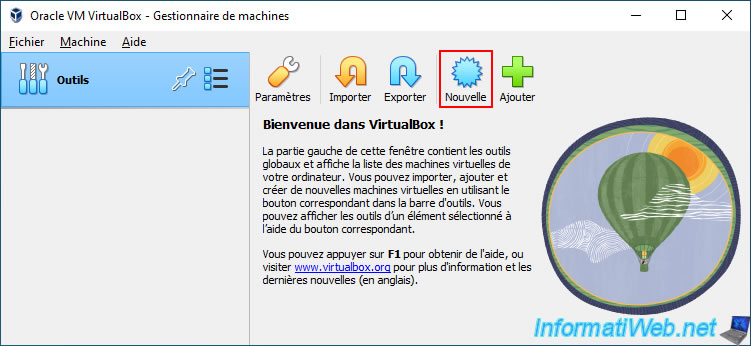
Since version 7 of VirtualBox, the appearance of the wizard for creating virtual machines has changed, but the principle remains the same.
Click on : New.
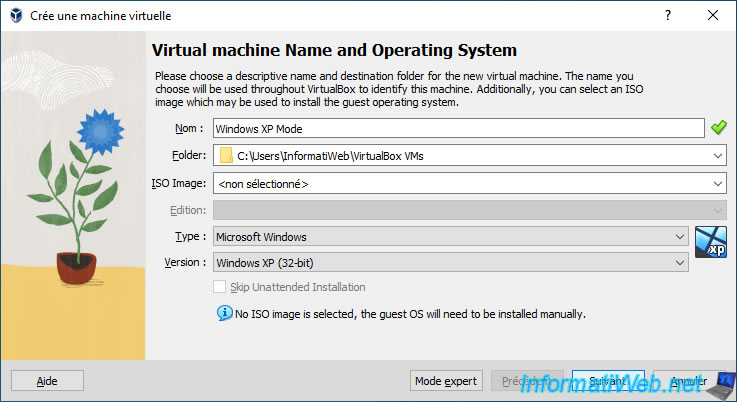
Specify "Windows XP Mode" as the name for this virtual machine and VirtualBox will automatically choose these values :
- Type : Microsoft Windows
- Version : Windows XP (32-bit)
Then, click Next.
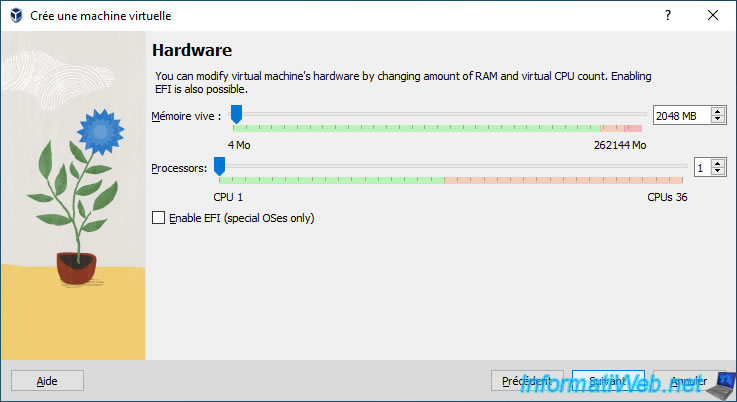
In our case, we have allocated 2 GB (2048 MB) of random access memory (RAM).
However, Windows XP could also run smoothly with just 512MB of RAM.
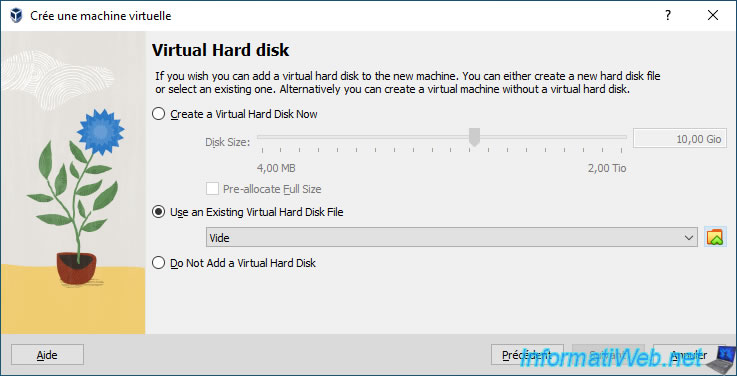
In the "Virtual Hard disk" step, select the "Use an Existing Virtual Hard Disk File" option, then click the folder icon on the right.
In the "Hard Disk Selector" window that appears, click Add.
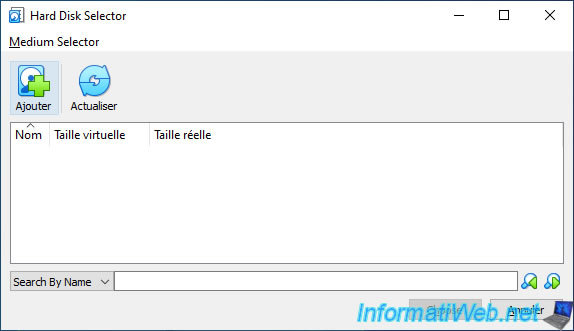
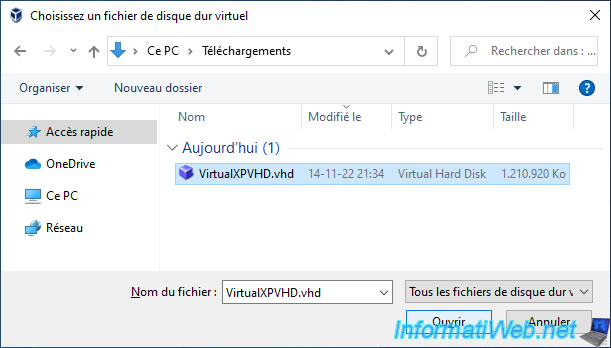
Go to the folder where you extracted the "VirtualXPVHD.vhd" file, select it and click Open.
Then, select the "VirtualXPVHD.vhd" virtual hard disk you just added and click Choose.
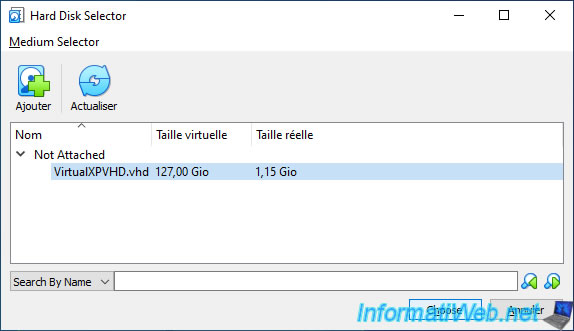
The desired virtual hard disk appears in the list.
Click on : Next.
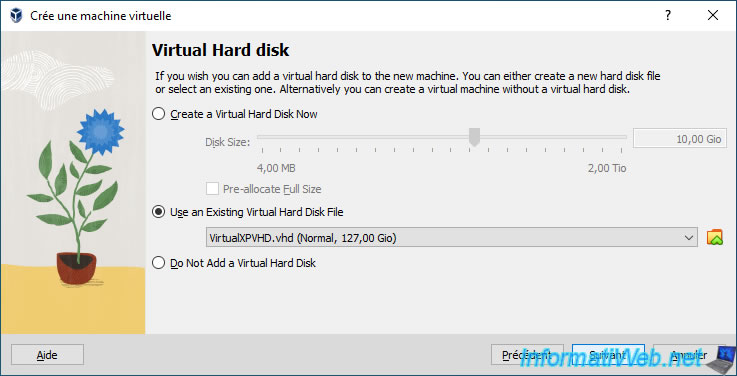
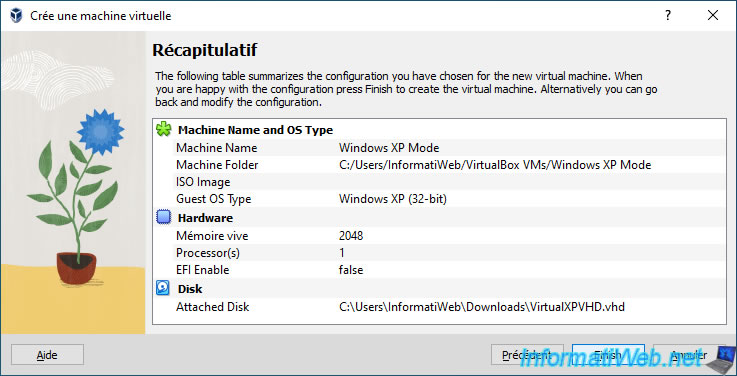
A summary of the "Windows XP Mode" virtual machine that will be created appears.
Click Finish.
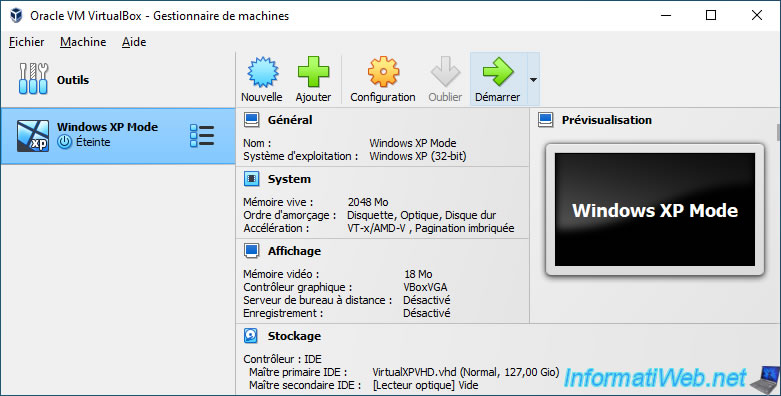
Finally, start it.
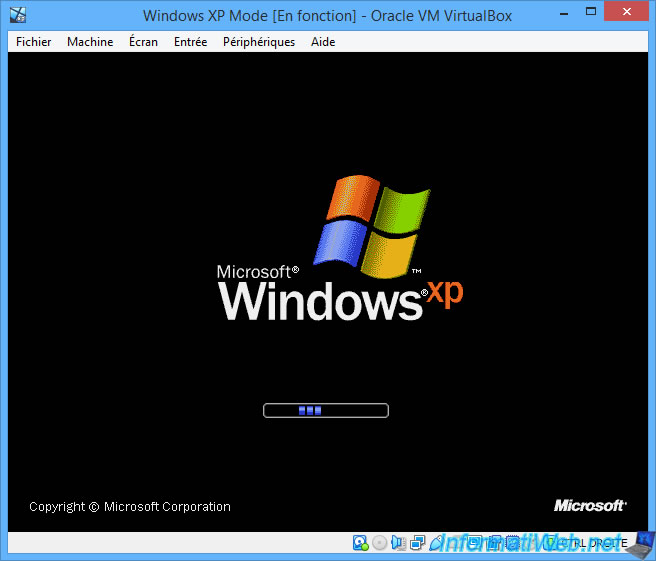
When your virtual machine starts, you will first see the Windows XP loading logo.
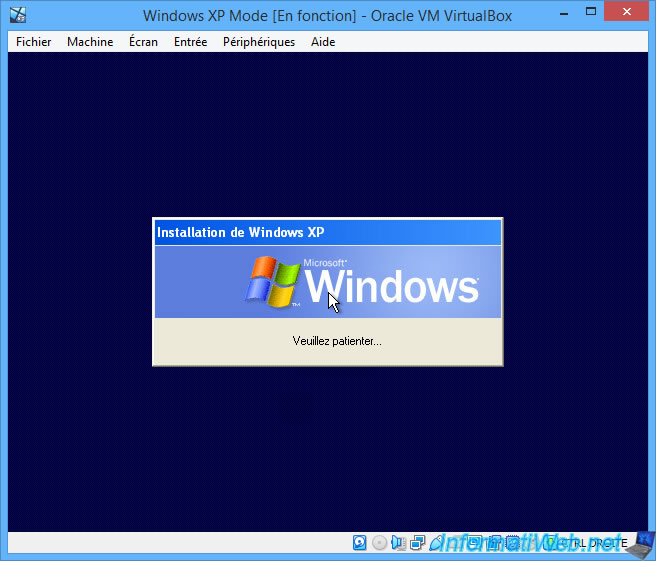
Then, a small "Installation of Windows XP" window will appear.
This is due to the OOBE mode used thanks to Sysprep (of which you have previously seen a folder of the same name at the root of the virtual hard disk "VirtualXPVHD.vhd").
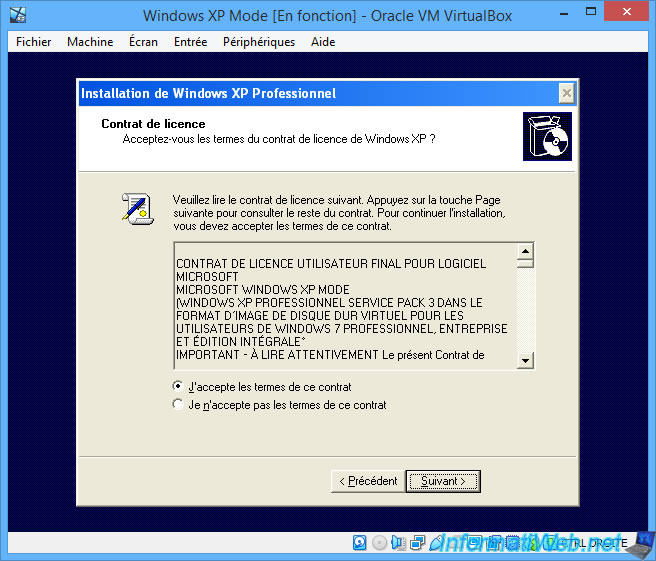
Select the "I accept ..." option and confirm.
Warning : the mouse will not work until the VirtualBox Guest Additions have been installed in your virtual machine.
You will therefore need to use the keyboard to complete the Windows XP setup.
Tips :
- use the "TAB" key to move from one element to another or from one block to another in a window.
- use the spacebar on the keyboard to check or uncheck a box.
- use the arrow keys to select an option from a list.
- press the Enter key to press a button.
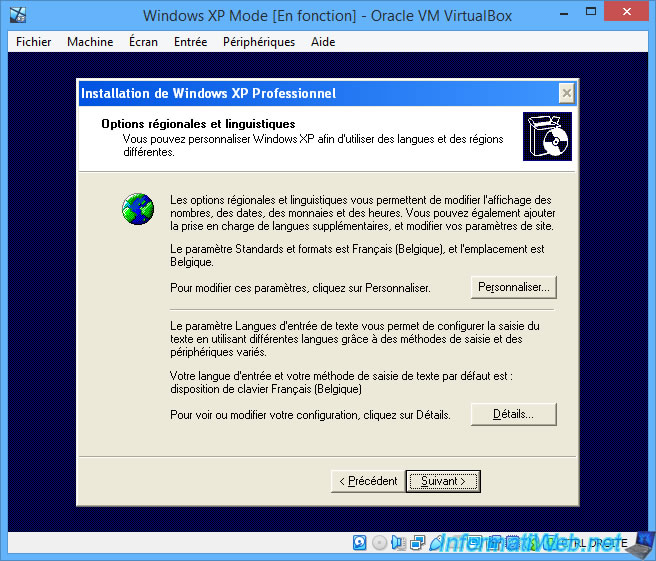
Configure regional options by pressing the "Customize" button to select your keyboard language.
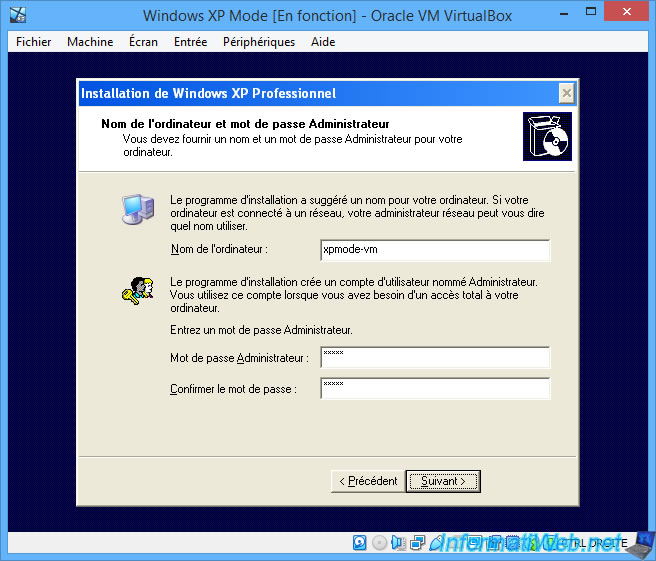
Provide a name for your virtual machine, as well as the password for the "Administrator" account of this virtual machine.
Note that this "Administrator" account will be used by default.
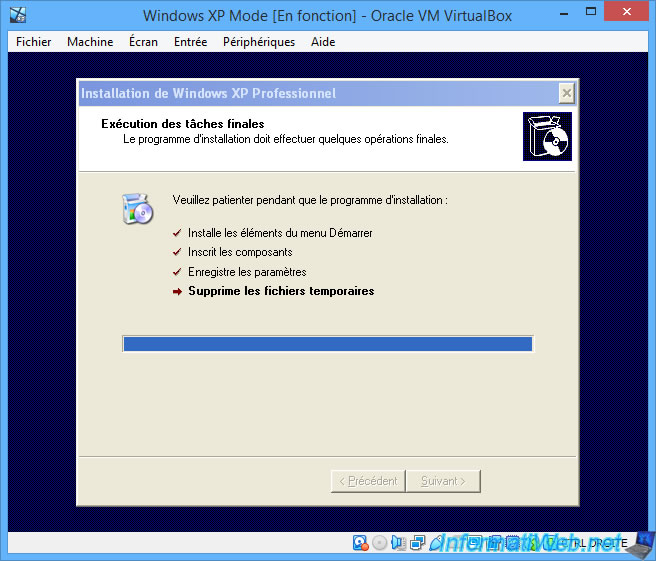
Wait while the Windows XP installation completes.
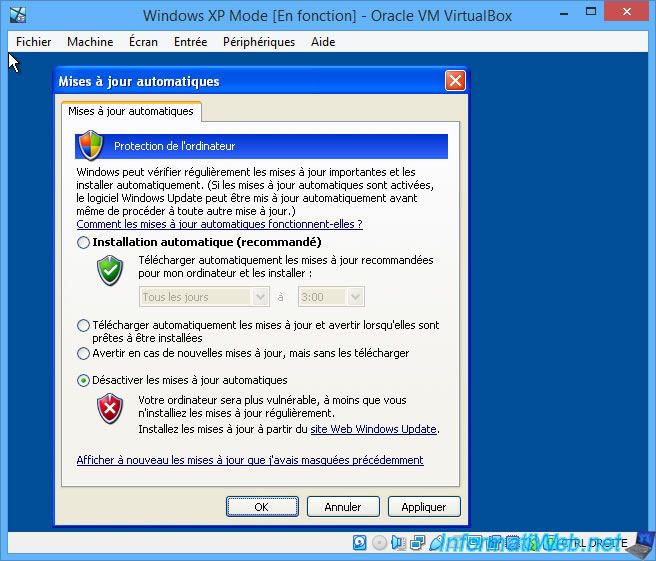
At the end of the installation, an "Automatic updates" window will appear.
Select the "Turn off Automatic Updates" option since Windows XP support has been discontinued for years and Windows Update on Windows XP is no longer able to connect to Microsoft's servers.
Note : on VirtualBox 7, if a black screen persists during a restart, force the virtual machine to restart by clicking on : Machine -> Restart.
This will fix the problem.
6. Uninstall old drivers used by Virtual PC
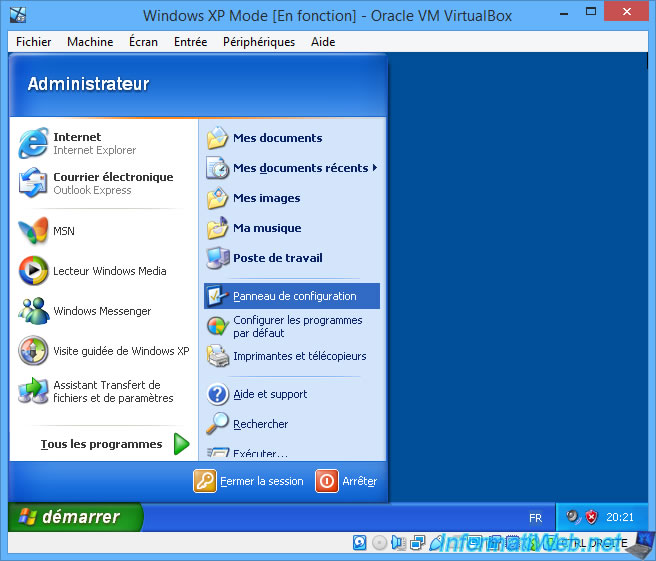
Once the installation of Windows XP is complete, open the start menu and open the control panel.
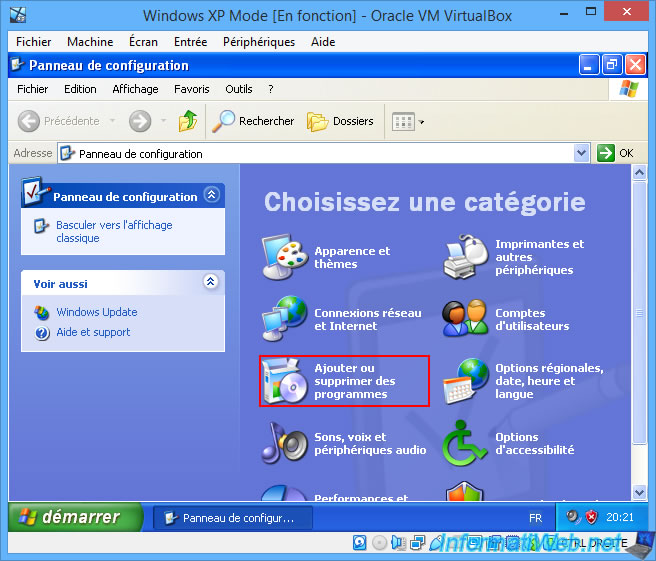
In the control panel that appears, go to : Add or Remove Programs.
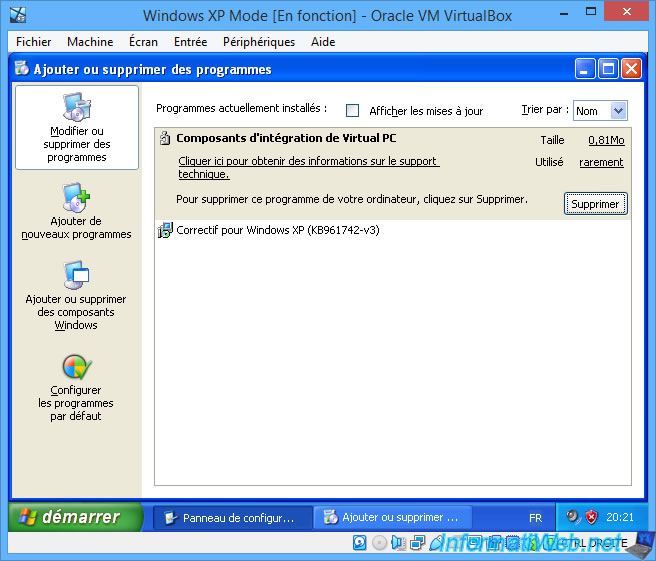
In the "Add or Remove Programs" window that appears, remove the "Virtual PC Integration Components" program.
Click Yes to uninstall this program.
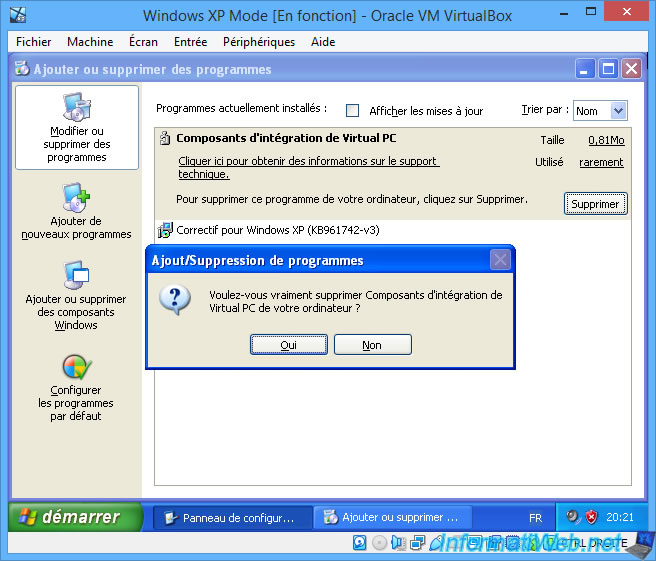
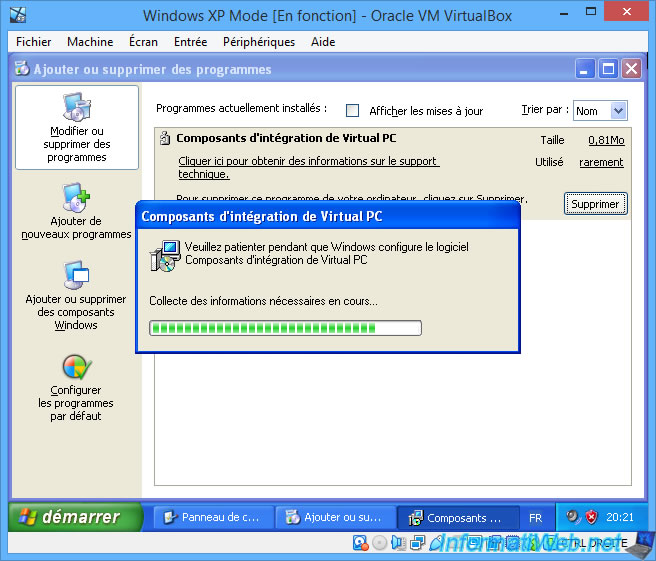
Wait while uninstalling this "Virtual PC Integration Components" program.
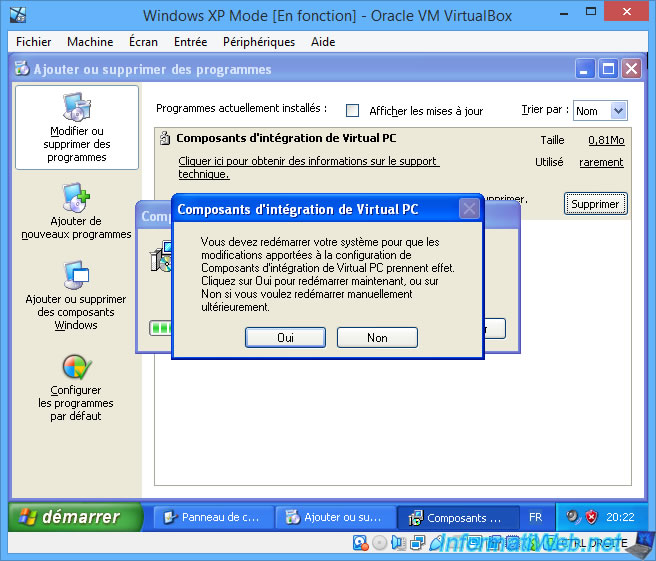
Click Yes to restart your VirtualBox virtual machine.
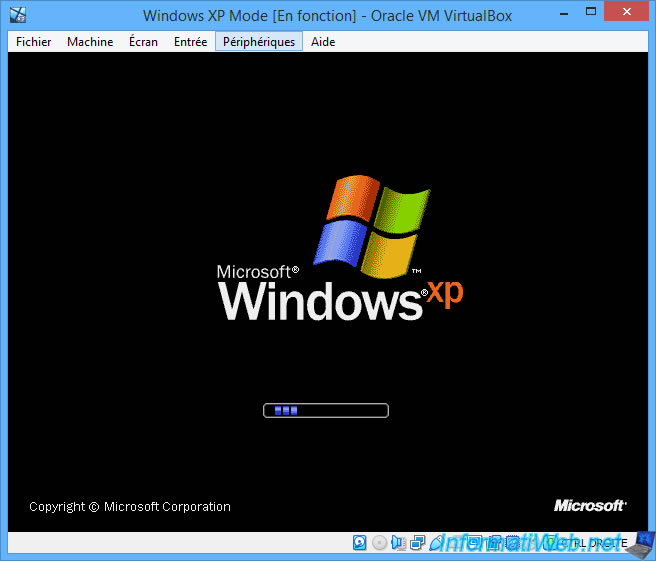
Wait while Windows XP restarts.
Share this tutorial
To see also
-
Virtualization 8/30/2019
Hyper-V - Coexistence with VirtualBox or VMware Workstation
-
Virtualization 8/25/2018
VirtualBox - Clone a virtual machine (VM)
-
Virtualization 7/22/2018
VirtualBox - Configure settings of your VMs
-

Virtualization 11/6/2020
VirtualBox - Connect an USB key to a VM
No comment