- Virtualization
- 22 November 2022 at 14:18 UTC
-

- 1/3
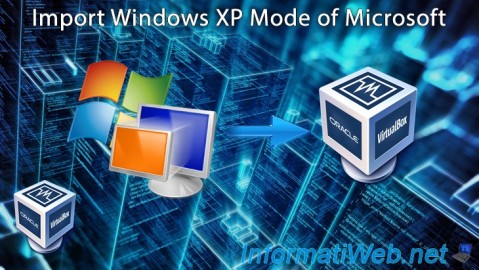
On Windows 7, you could use Windows XP Mode for free and easily.
This allowed you to continue using your old applications and games while benefiting from the new version of Windows.
If you still need Windows XP, but have migrated to Windows 8 or later, you no longer have access to Windows XP Mode.
Indeed, it's based on the Virtual PC virtualization solution which is only available on Windows 7 in the form of an update.
Nevertheless, there is a way to continue using this Windows XP Mode with a free third-party virtualization solution like VirtualBox.
Note : tutorial made with VirtualBox 6.0.24 and also tested with VirtualBox 7.0.2.
- Download Microsoft XP Mode
- Download a newer web browser (Firefox 52.9.0 ESR)
- Create a virtual machine for XP mode (on VirtualBox 6.0)
- Create a virtual machine for XP mode (on VirtualBox 7.0)
- Uninstall old drivers used by Virtual PC
- Install VirtualBox Guest Additions (drivers)
- Install a newer web browser (Firefox 52.9.0 ESR)
1. Download Microsoft XP Mode
First of all, officially, to be able to use Microsoft's XP mode, you must have a license of Windows 7 Pro, Enterprise or Ultimate.
Which is our case.
Note that you just need to own one. No need to install Windows 7 on a computer.
If you have a license for one of the supported editions of Windows 7, then download Microsoft's XP Mode via archive.org.
Indeed, since the end of support for Windows 7, the XP mode installer which was planned for this version of Windows has also been removed from Microsoft's servers.
The downloaded file will be : WindowsXPMode_en-us.exe.
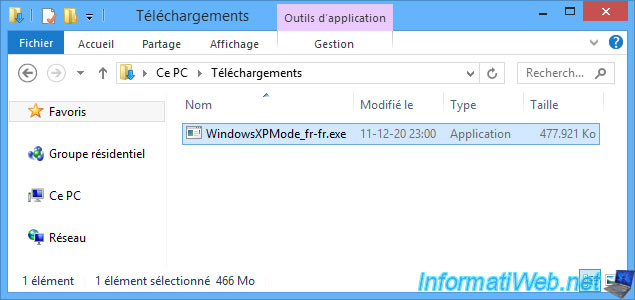
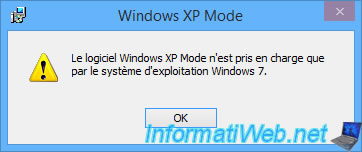
If you attempt to run the downloaded file, the following warning will be displayed and nothing else will happen.
Plain Text
Windows XP Mode software is only supported on Windows 7 operating system.
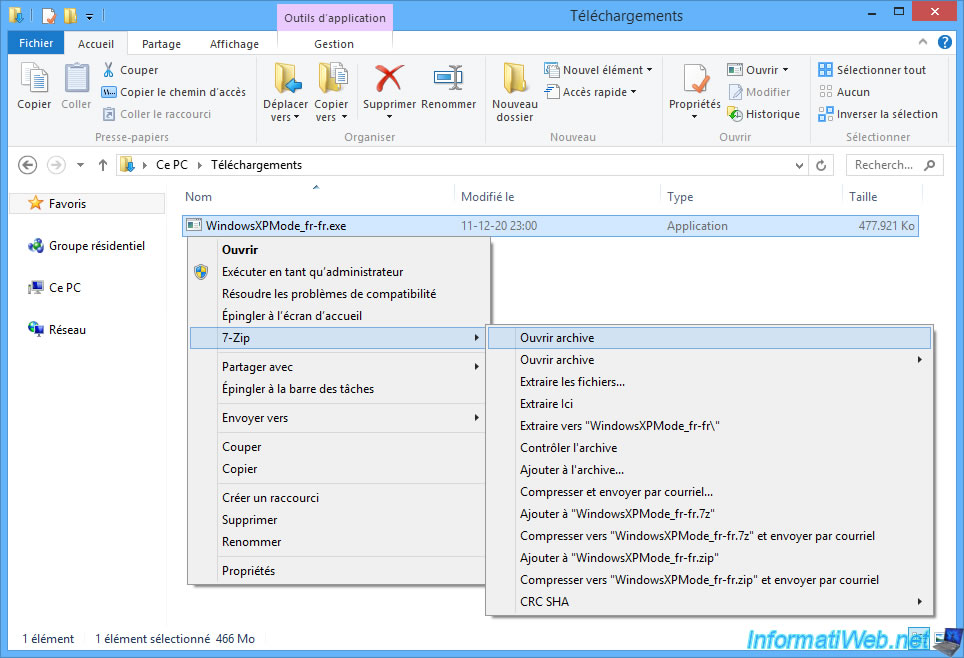
To use this XP mode from another virtualization solution and on another version of Windows than the one originally planned, namely Windows 7, you will need 7-Zip (free).
Once 7-Zip is downloaded and installed, right-click "7-Zip -> Open archive" on the "WindowsXPMode_en-us.exe" file downloaded previously.
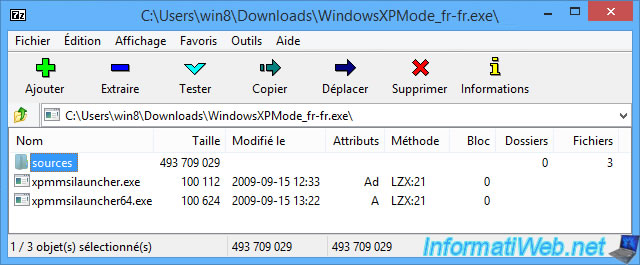
Double click on the "sources" folder.
Then double click on the "xpm" file to see what is there.
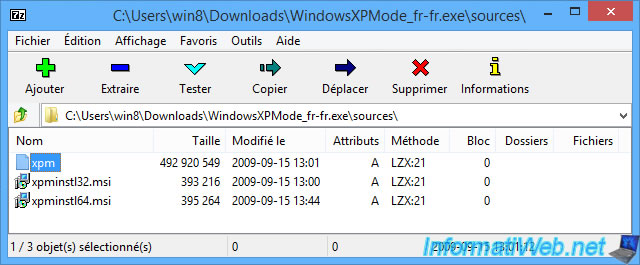
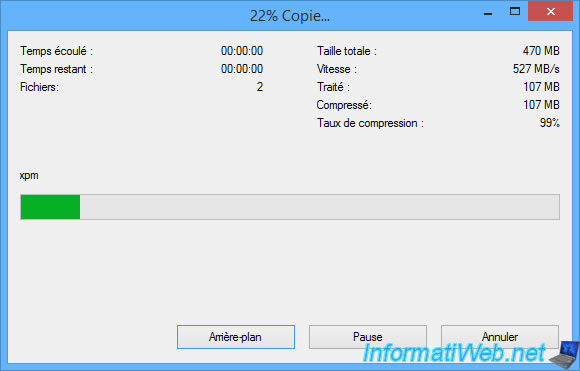
Wait for a few seconds.
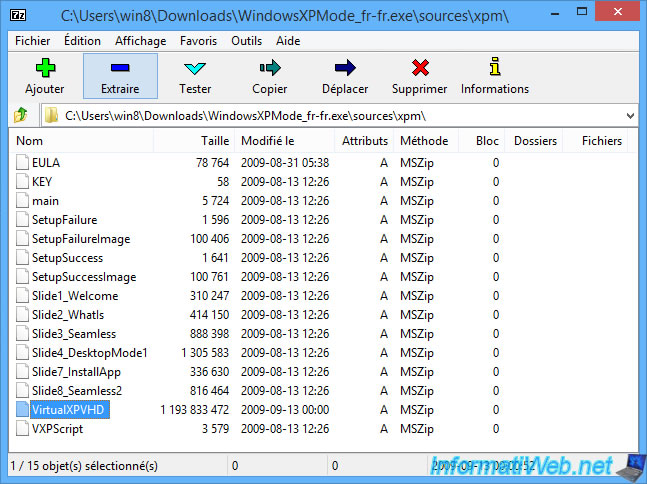
As you can see, the "xpm" file contains several files, including the Windows XP Mode virtual hard disk : VirtualXPVHD.
Select this "VirtualXPVHD" file and click on : Extract.
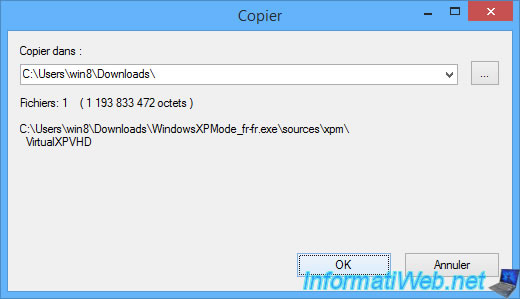
By default, this will extract to the current user's "Downloads" folder.
Click OK.
Wait while extracting this "VirtualXPVHD" file.
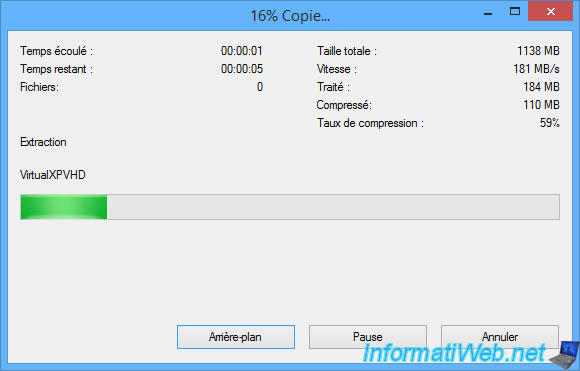
The "VirtualXPVHD" file once extracted will weigh around 1 GB.
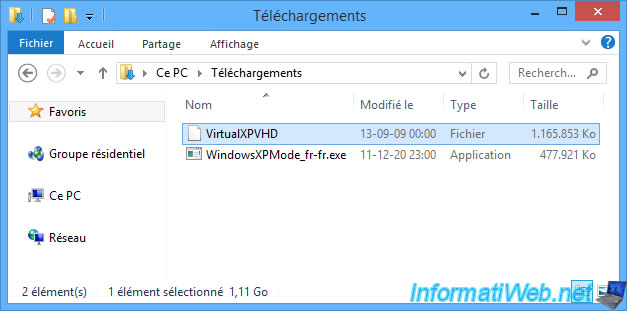
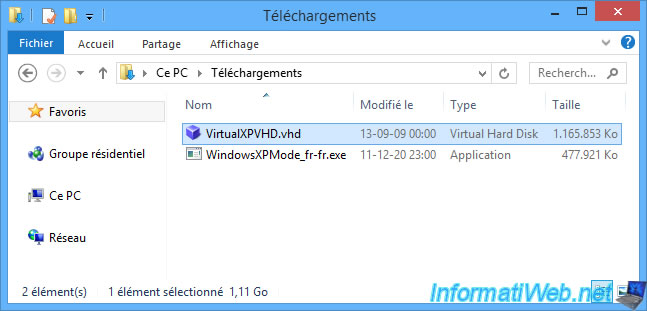
Rename this file to add the ".vhd" extension.
Once the file is renamed, it will become of the "Virtual Hard Disk" type and will have an icon due to the installation of VirtualBox on your computer.
2. Download a newer web browser (Firefox 52.9.0 ESR)
To be able to go on the Internet today from a virtual machine on Windows XP SP3, you need a more recent web browser than the one present by default (Internet Explorer 6).
In our case, we will use Firefox 52.9.0 ESR which is the latest version of Mozilla Firefox compatible with Windows XP.
Source : Firefox has ended support for Windows XP and Vista.
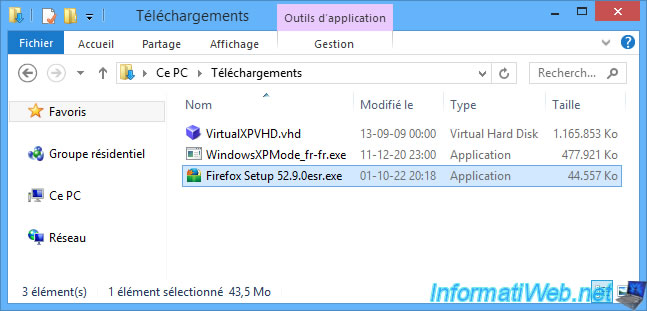
To simplify the installation of Mozilla Firefox on Windows XP, we recommend that you transfer the Firefox installation file to the virtual hard disk of Windows XP.
To do this, open file explorer and right-click "Manage" on "This PC" (or "Computer").
Then, in the "Computer Management" console that appears, go to "Disk Management" (in the left column).
Finally, go to the menu : Action -> Attach VHD.
Note : on recent versions of Windows, you just need to right click "Mount" on the downloaded "VirtualXPVHD.vhd" file.
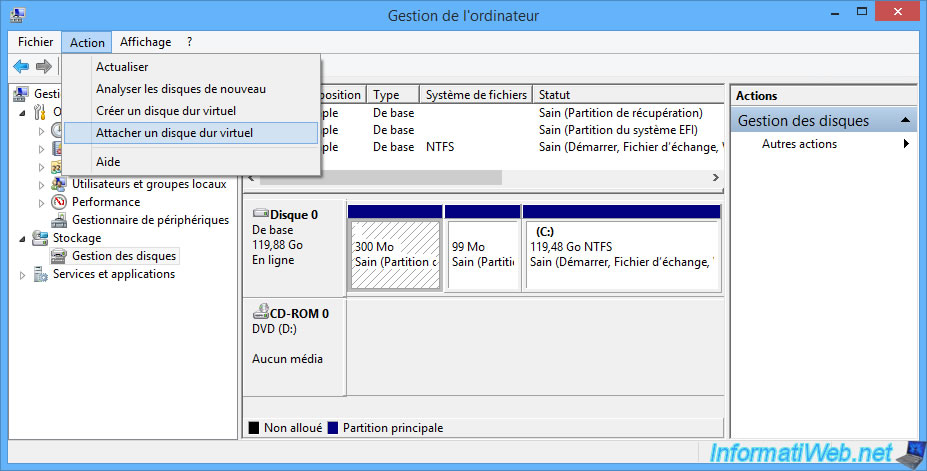
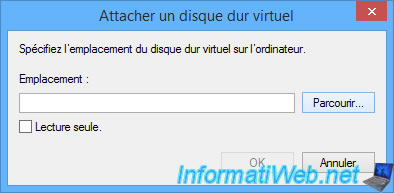
In the "Attach Virtual Hard Disk" window that is displayed, click on : Browse.
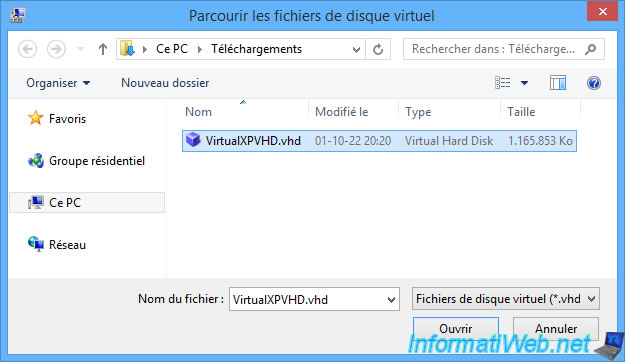
In the "Browse Virtual Disk files" window that appears, select the "VirtualXPVHD.vhd" file and click Open.
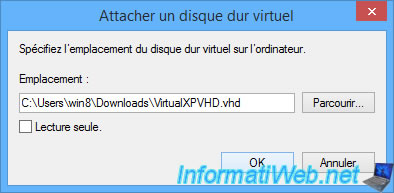
Click OK.
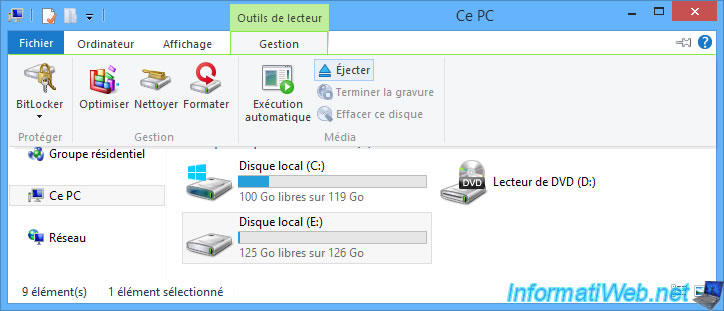
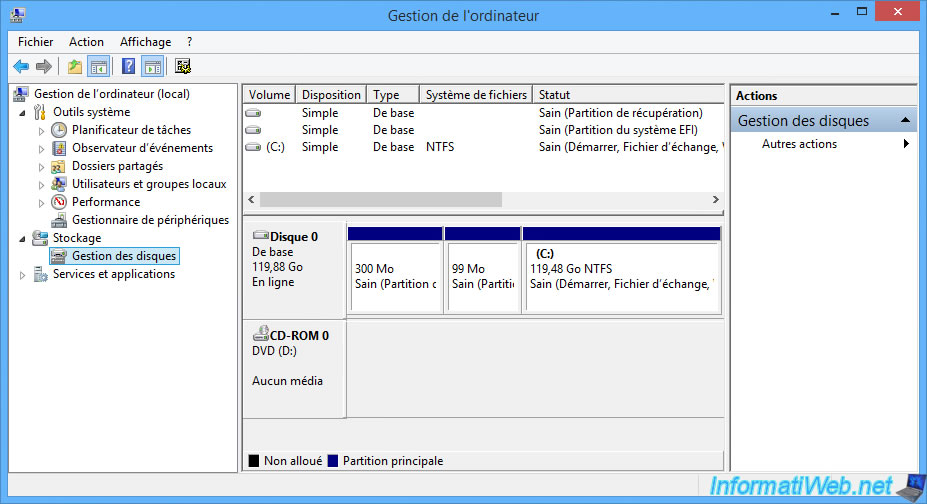
The virtual hard disk appears in Windows Disk Management with a turquoise icon.
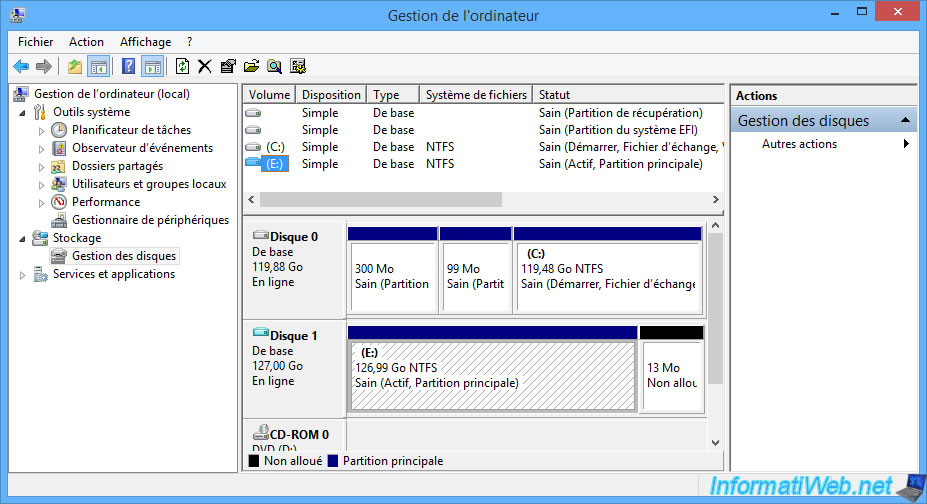
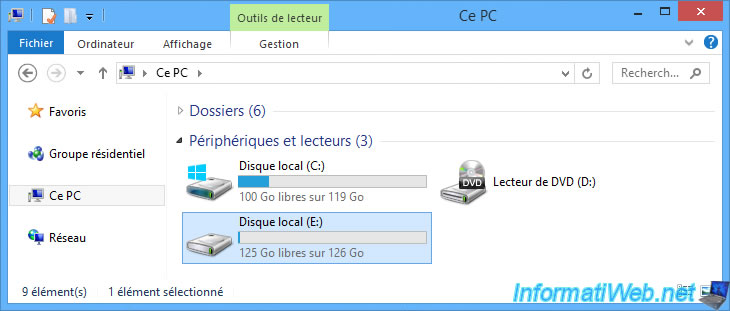
In the file explorer, you will see that an additional local drive has appeared.
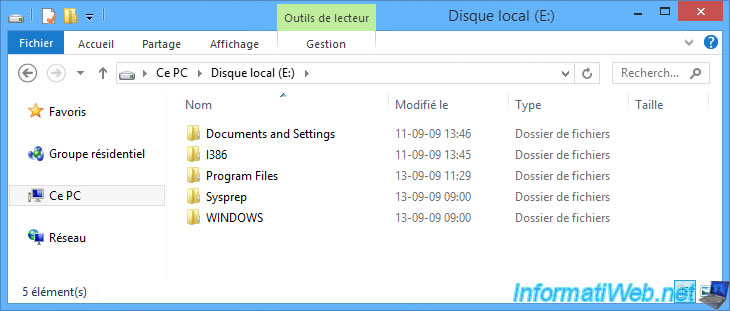
If you look at its contents, you will see that it corresponds to the usual contents of a partition where Windows is installed.
You will also notice that a "Sysprep" folder is present.
You will quickly understand why this folder is present.
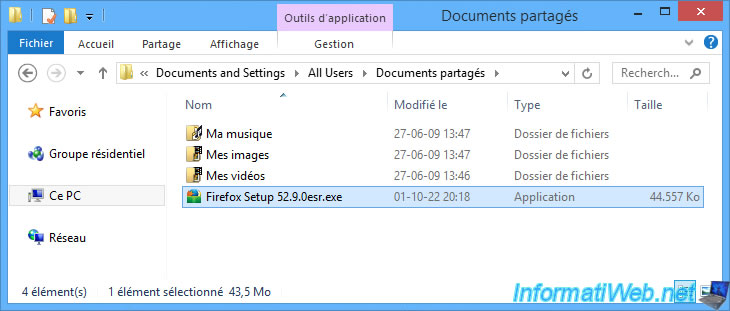
Go to the "C:\Documents and Settings\All Users\Shared Documents" folder and copy the Firefox installer there.
Thus, you can easily access it from your virtual machine on Windows XP SP3.
Once the Firefox installer has been copied into this virtual hard disk, select the local disk corresponding to the Windows XP virtual hard disk and click on : Management -> Eject.
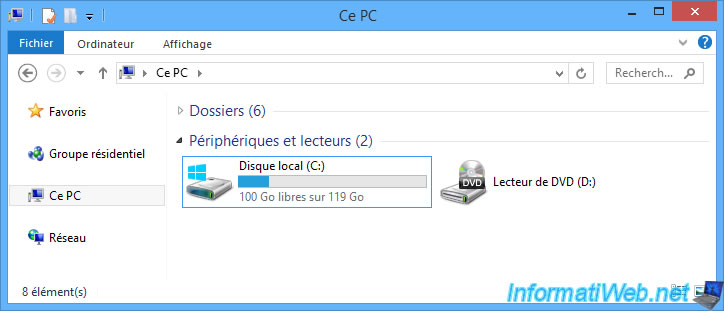
Or right click "Eject" on this local disk.
Local disk disappears from the file explorer.
This local disk also disappears from Windows Disk Management.
3. Create a virtual machine for XP mode (on VirtualBox 6.0)
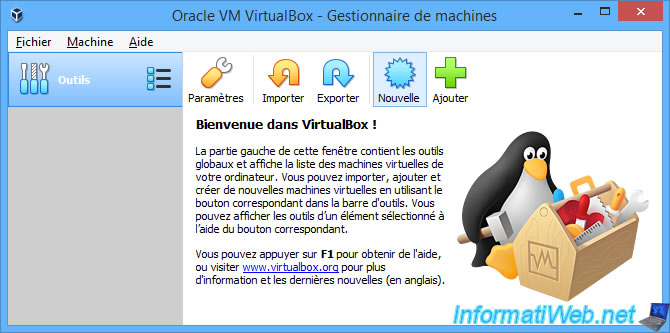
Launch VirtualBox and click on the "New" button.
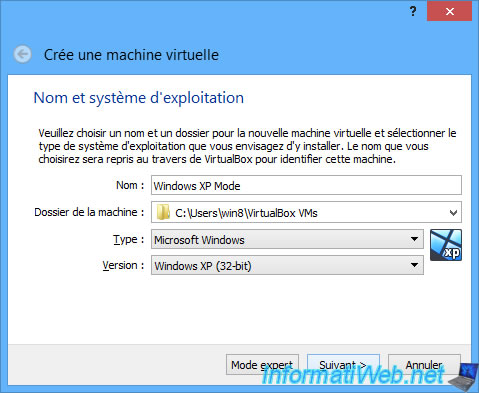
In the "Create Virtual Machine" wizard that appears, specify "Windows XP Mode" as the name and the wizard will automatically select the correct version of Windows :
- Type : Microsoft Windows.
- Version : Windows XP (32-bit).
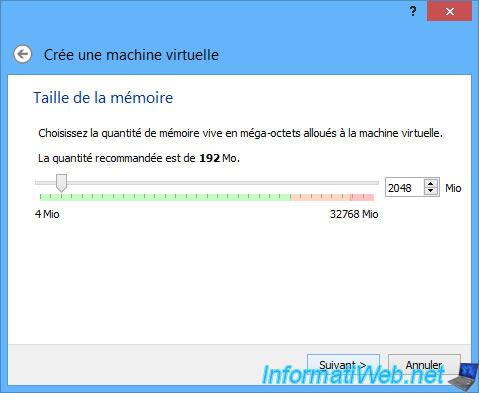
Indicate the amount of RAM you want to allocate to your virtual machine on Windows XP.
In our case, we have allocated 2048 MB (2 GB) of random access memory (RAM).
But, Windows XP can also run smoothly with just 512MB of RAM.
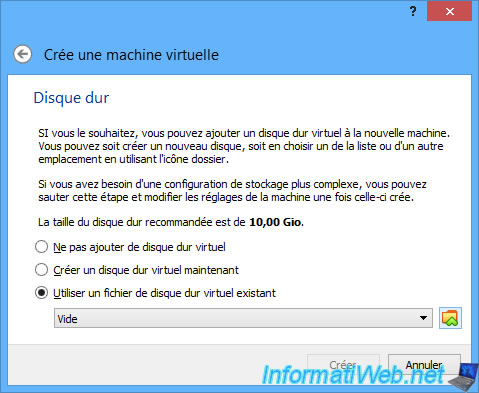
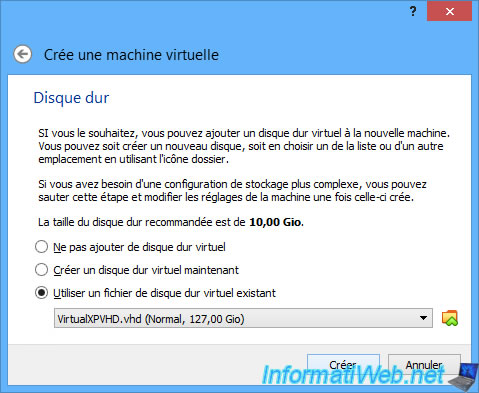
At the "Hard disk" step, select "Use an existing virtual hard disk file" and click on the small icon representing a folder.
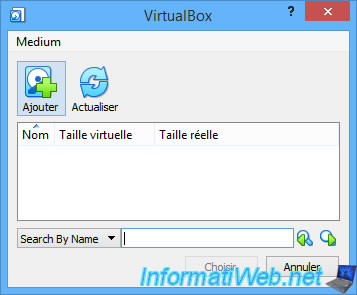
In the small window that is displayed, click on the "Add" button.
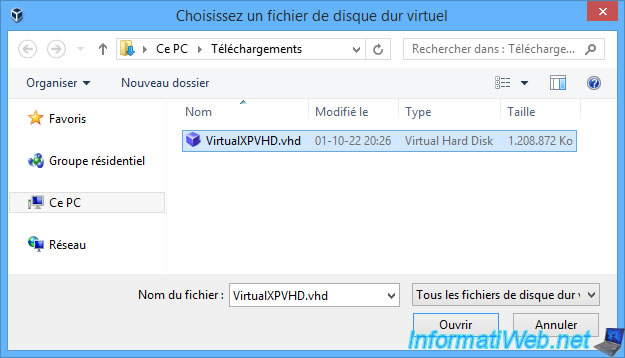
Choose your "VirtualXPVHD.vhd" file and click Open.
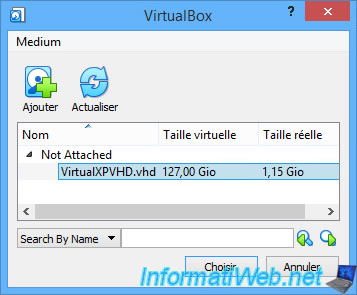
Select the "VirtualXPVHD.vhd" disk that appears in the list and click Choose.
Once the virtual hard disk is selected, click Create.
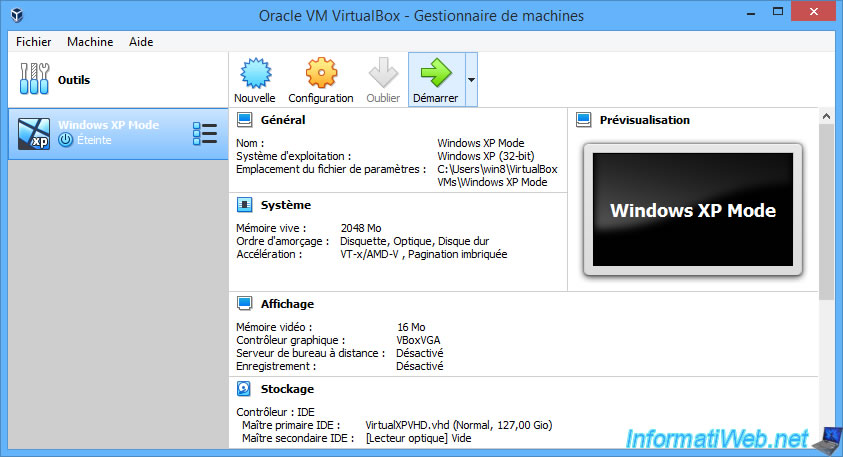
Click "Start".
Share this tutorial
To see also
-
Virtualization 8/30/2019
Hyper-V - Coexistence with VirtualBox or VMware Workstation
-
Virtualization 8/25/2018
VirtualBox - Clone a virtual machine (VM)
-
Virtualization 7/22/2018
VirtualBox - Configure settings of your VMs
-

Virtualization 11/6/2020
VirtualBox - Connect an USB key to a VM
You must be logged in to post a comment