Install VirtualBox 6.1 / 6.0 / 5.2 and virtualize your first machine
- Virtualization
- 07 July 2018 at 09:28 UTC
-

- 2/3
5. Create a virtual machine
To begin, click New.
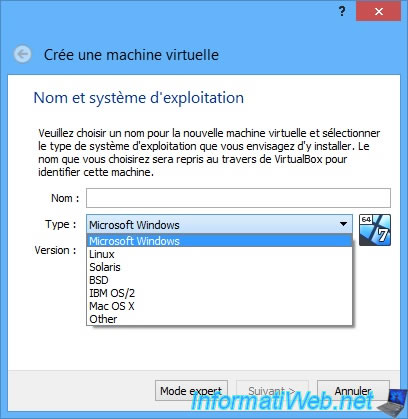
As you can see, you can virtualize most operating systems :
- Microsoft Windows
- Linux
- Solaris
- BSD
- Mac OS X
- and more
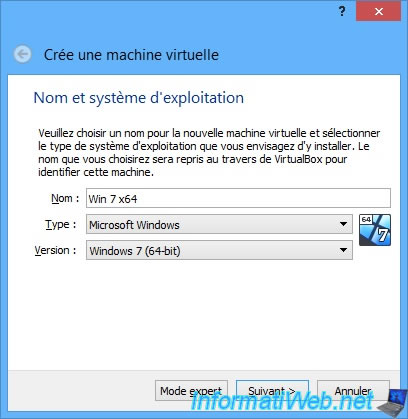
For this tutorial, we will virtualize Windows 7 (64 bits).
Note that if you specify the entire name of the operating system (for example, Windows 7 x64), VirtualBox will automatically select the correct type and version of the operating system you want to install.
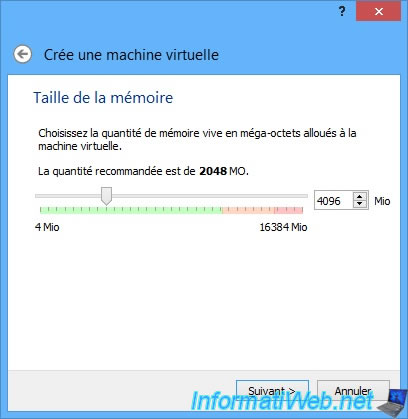
Since VirtualBox is intended for individuals, you will see that VirtualBox will tell you a lot of interesting information depending on the operating system you want to virtualize.
In this case, for Windows 7 x64, VirtualBox recommends that you allocate at least 2 GB (2048 MB) of RAM.
Since we have 16 GB of RAM, we can afford to put 4 GB of RAM.
Note : as you can see, VirtualBox tells you in color how much you can allocate to your virtual machine.
Indeed, if you allocate too much RAM to a virtual machine, the operating system of your physical PC may no longer have enough RAM.
This will slow down the physical PC and therefore the virtual machine afterwards.
If you allocate too little RAM to your virtual machine, your virtual machine may be slow. So, you have to find a good middle based on the performance of your PC and the amount of physical RAM you have in your computer.
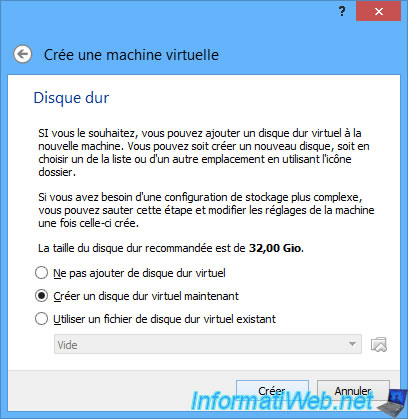
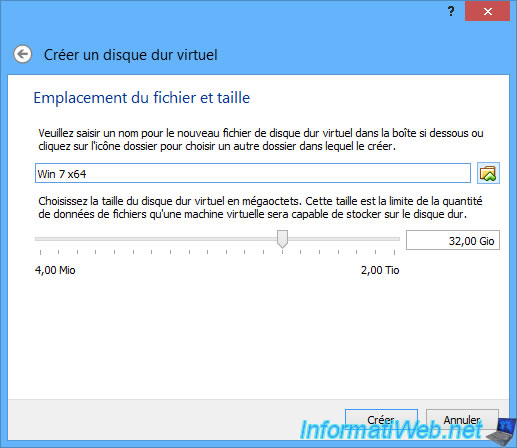
By default, the wizard will offer you to create a virtual hard disk to install the desired operating system.
Again, the recommended size indicated by the wizard depends on the operating system you want to virtualize.
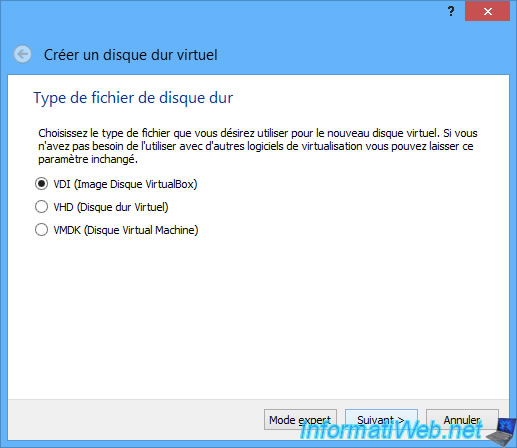
By default, VirtualBox uses the "VDI (VirtualBox Disk Image) format for the virtual hard disk.
But to increase compatibility with other virtualization solutions, you can also use other formats :
- VHD (Virtual Hard Disk) : format used by Hyper-V (the Microsoft virtualization server)
- VMDK (Virtual Machine Disk) : format used by VMware Workstation
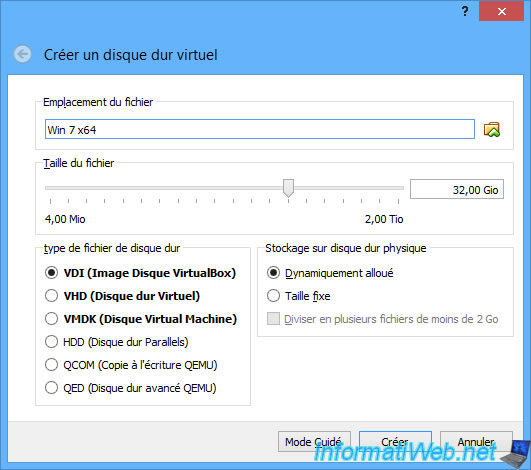
If you click the "Expert mode" button, you can even choose other types of virtual hard disks.
In expert mode, you can also use other types of hard disks :
- HDD (Parallels Hard Disk)
- QCOW (QEMU Copy-On-Write)
- QED (QEMU enhanced disk)
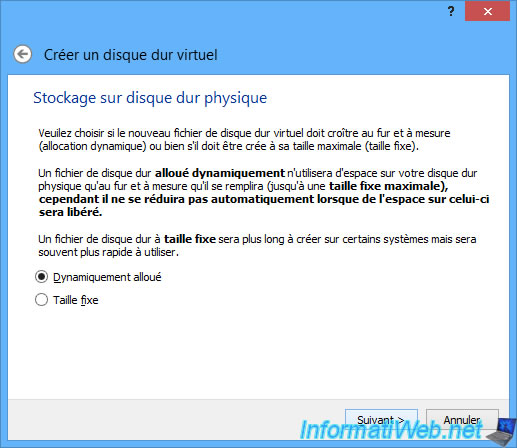
When you create a virtual hard disk, you will have to choose between :
- Dynamically allocated : a dynamic allocation
- Fixed size : a virtual hard disk whose space will be pre-allocated
When you use a "dynamically allocated" virtual hard disk, the file representing the virtual hard disk of your VM (virtual machine) will grow according to the amount of data stored in the hard disk of your virtual machine.
If you choose fixed size, the size of the virtual hard disk file will be equal to the maximum size of your virtual hard disk.
In addition, the space will be pre-allocated, which may take a long time depending on the performance of your PC.
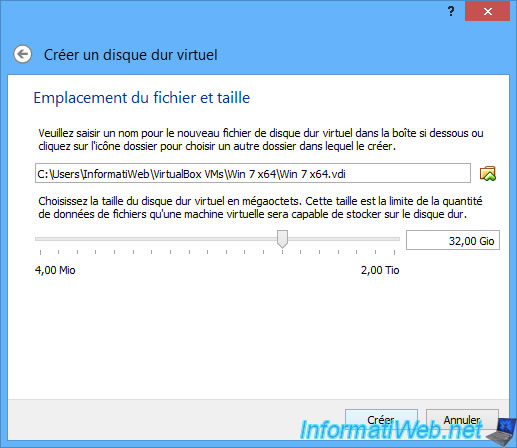
By default, virtual machines and associated virtual hard disks are stored in a "VirtualBox VMs" folder in your user directory.
Which means that you may soon run out of space in the C partition where Windows is installed.
This may pose a problem in the future.
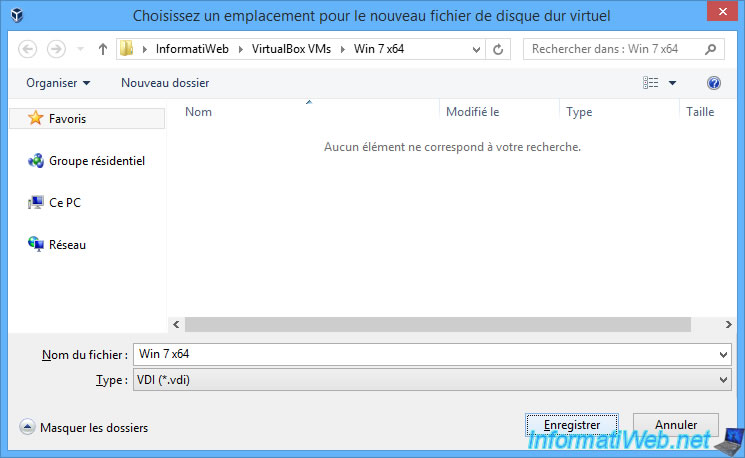
To store the virtual hard disks in another folder, click the small folder icon.
Choose the folder you want and specify a name for your virtual hard disk.
Change the maximum size of your hard disk if you wish.
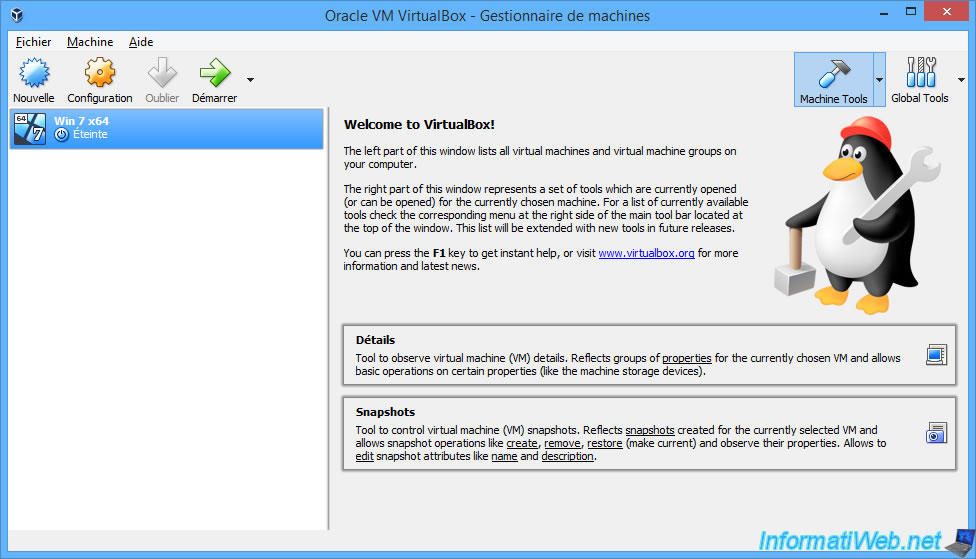
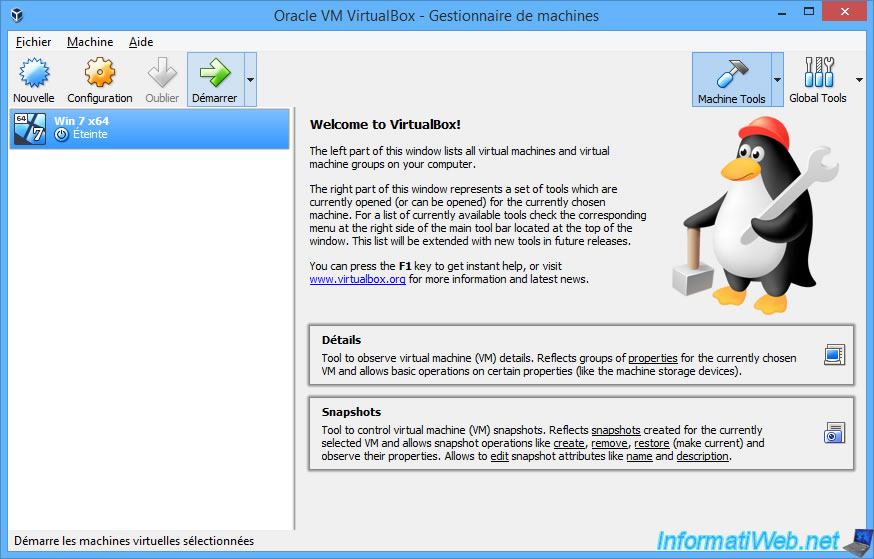
This is your first virtual machine.
Note that for the moment nothing is installed.
6. Installing the guest OS and drivers
To get started, start the virtual machine by clicking "Start".
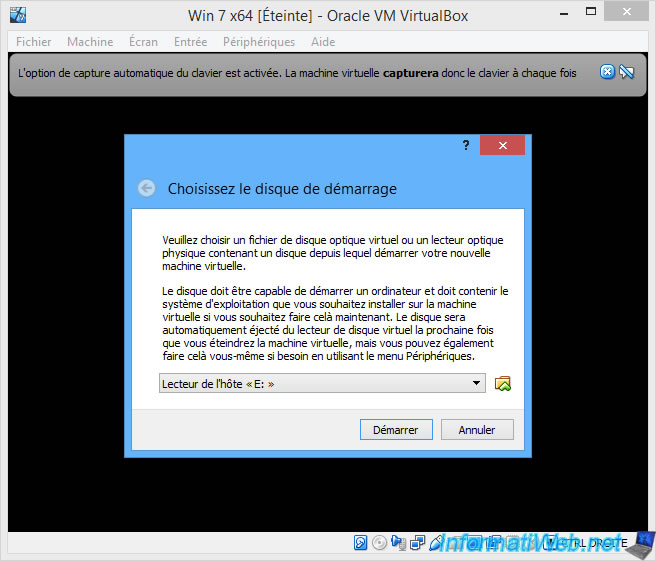
When you first start your virtual machine, VirtualBox will ask you to select the boot disk.
In other words, the installation CD/DVD of the operating system you want to install in your virtual machine.
As you can see, you have 2 possibilities :
- connect the CD/DVD drive of your physical PC to the CD/DVD drive of your virtual machine. This allows you to install the operating system in the virtual machine from a CD that is physically located in the CD/DVD drive of your PC.
- use an iso file by clicking on the folder icon.
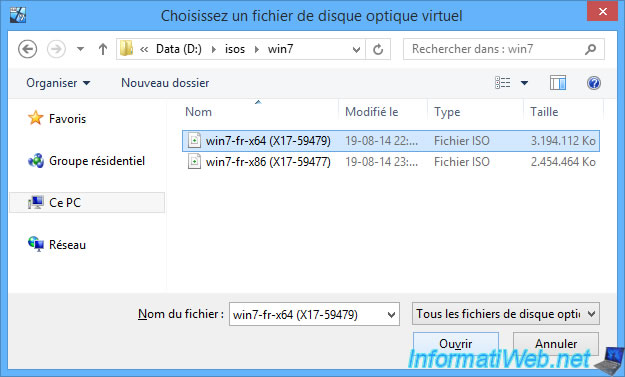
In our case, we will use the iso file of Windows 7 x64. So, we click on the small icon.
We choose the iso file of Windows 7 x64.
Now, we click on : Start.
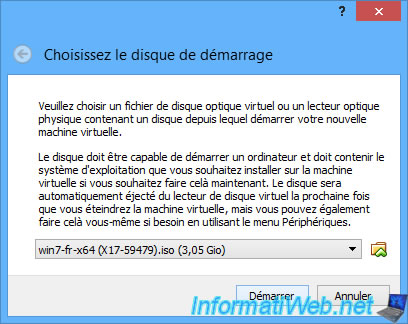
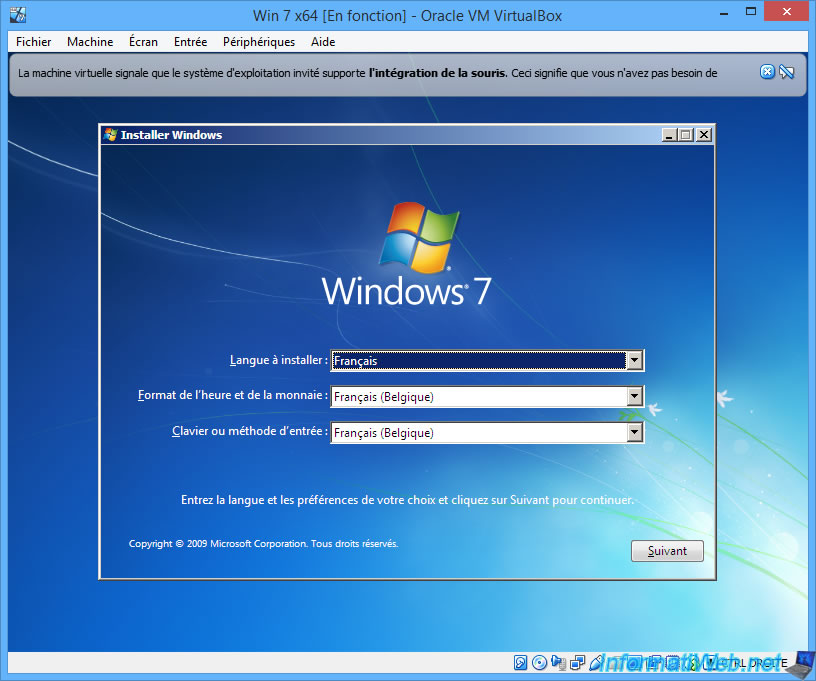
The virtual machine starts and arrives on the Windows 7 installer.
For those who need help installing Windows, refer to our tutorials :
- Windows XP - Formatting and reinstalling
- Windows Vista / 7 - Formatting and reinstalling
- Windows 8 / 8.1 - Formatting and reinstalling
- Windows 10 - Formatting and reinstalling
Important : for the installation of Windows 11, some manipulations are necessary so that it can work in a VirtualBox virtual machine.
To find out how, refer to our tutorial : VirtualBox - Virtualize Windows 11.
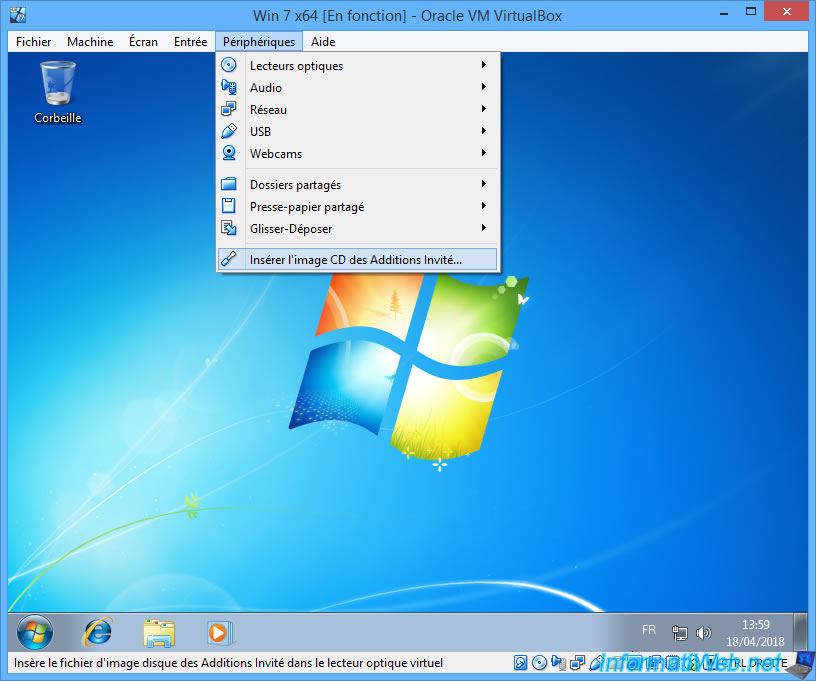
Once Windows is installed, you will obviously have to install the drivers for your virtual machine.

Since the virtual machine runs with hardware created or virtualized by VirtualBox, you will need to install the drivers provided by VirtualBox.
For VirtualBox, these are Guest Additions.
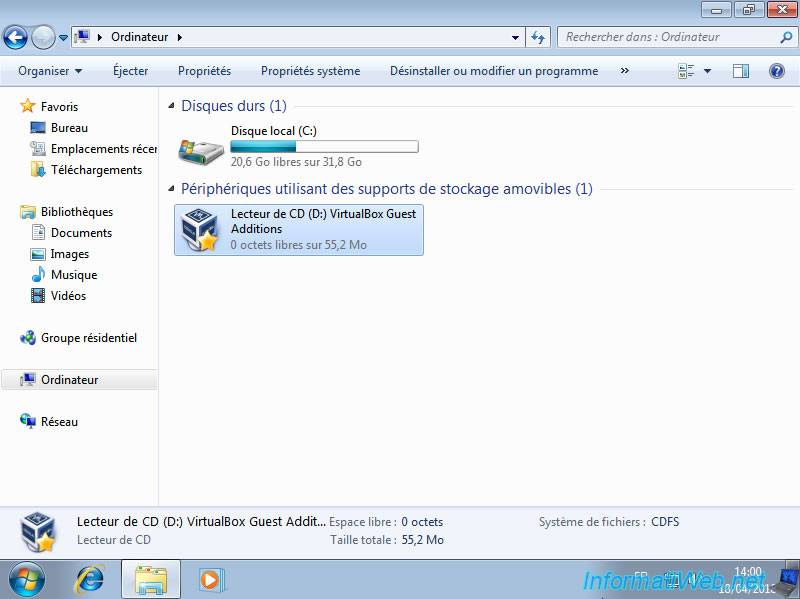
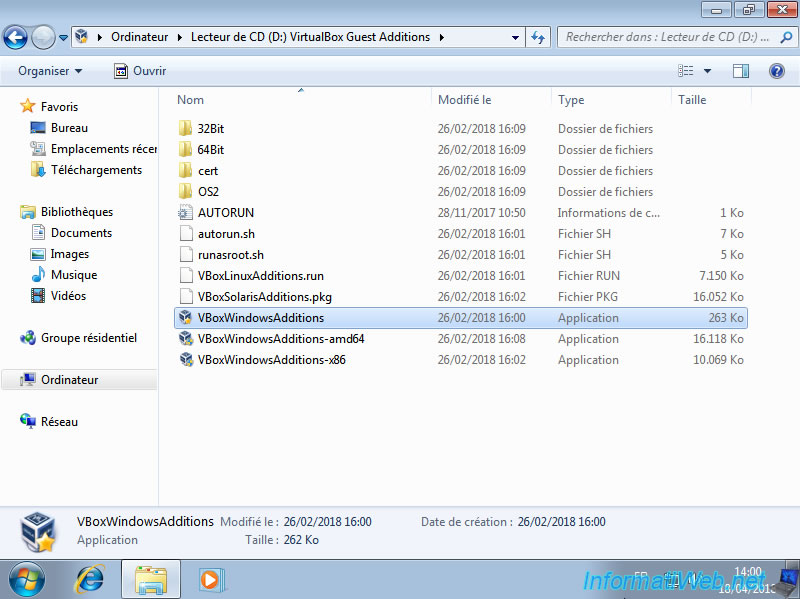
If the installation doesn't start automatically, go to Computer and double-click on the CD/DVD drive (whose name is VirtualBox Guest Additions).
Then, run this file : VBoxWindowsAdditions.exe
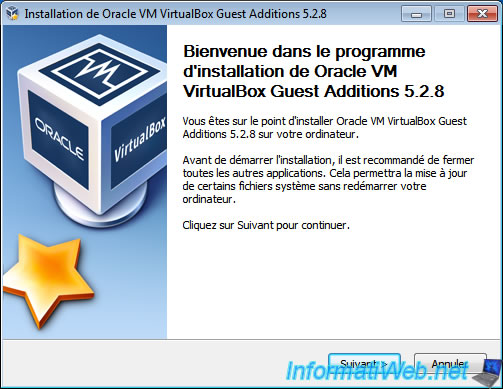
The Oracle VM VirtualBox Guest Additions installer starts.
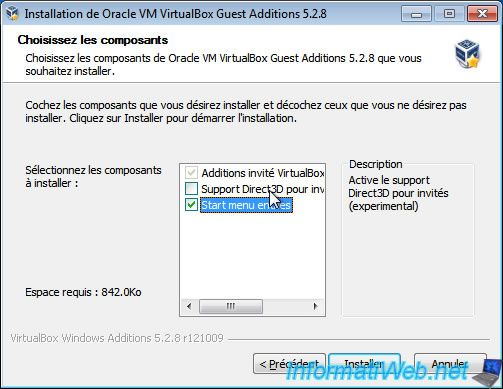
During the installation, you will see that there is a Direct3D support that is experimental at the moment.
Depending on the operating system you have installed, this one will be checked by default or not.
For Windows 7, this support is not enabled by default because Windows 7 can run without.
However, if you want to take advantage of the windows transparency (Aero interface) of Windows 7, you will have to activate it for this to work.
At first, we did not install it.
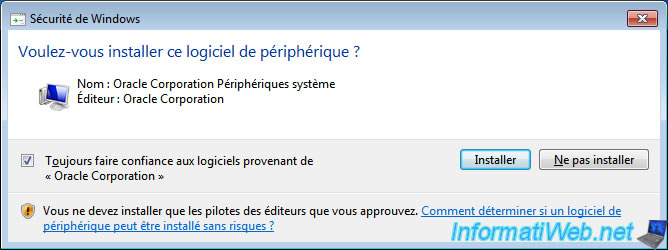
As you can see, this installer will install several drivers provided by Oracle Corporation.
The publisher who is currently developing VirtualBox.
Check the "Always trust software from Oracle Corporation" box and click Install.
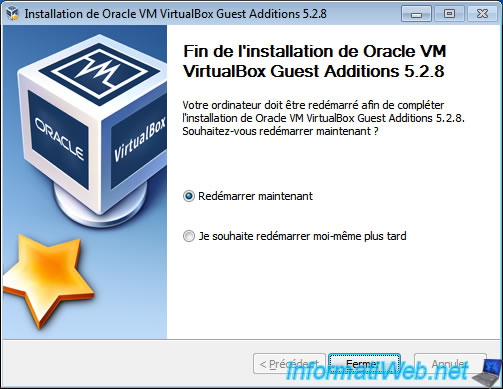
At the end of the installation, you will have to restart the virtual machine.
Share this tutorial
To see also
-

Virtualization 8/30/2019
Hyper-V - Coexistence with VirtualBox or VMware Workstation
-
Virtualization 8/25/2018
VirtualBox - Clone a virtual machine (VM)
-
Virtualization 7/22/2018
VirtualBox - Configure settings of your VMs
-

Virtualization 11/6/2020
VirtualBox - Connect an USB key to a VM
No comment