- Virtualization
- 23 February 2022 at 09:42 UTC
-

- 1/3
With VirtualBox, you can virtualize many operating systems, including the latest Windows 11.
However, it's important that the virtual machine is created and configured correctly so that most of the prerequisites are met.
Important : at this time, VirtualBox doesn't support providing the Trusted Platform Module (TPM) required by Windows 11.
Indeed, as it's indicated on the page "How to enable Secure Boot in a guest VM to install Windows 10?" of the official VirtualBox forum, this feature is not available because an individual doesn't need it.
Although its implementation would have facilitated the virtualization of Windows 11 by these individuals on VirtualBox.
But, it should also be remembered that VirtualBox is free, unlike its VMware Workstation equivalent which has made it possible to provide a virtual TPM module to a virtual machine for a long time.
Info : tutorial produced on VirtualBox 6.1.30.
Important : to benefit from virtual hardware fully supported by Windows 11, you will need to upgrade to VirtualBox 7 and follow our new tutorial "Virtualize Windows 11 using VirtualBox 7 thanks to the TPM 2.0 module, secure boot, ...".
- Create a Windows 11 virtual machine
- Virtualize Windows 11 on VirtualBox
- Install the drivers for Windows 11 on VirtualBox
1. Create a Windows 11 virtual machine
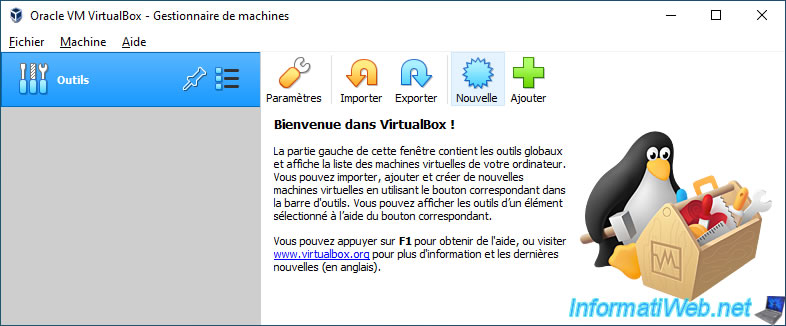
To start, launch VirtualBox and click on : New.
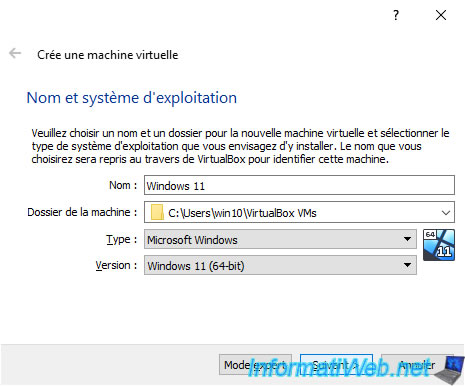
Specify "Windows 11" as the virtual machine name and VirtualBox will automatically select these options :
- Type : Microsoft Windows
- Version : Windows 11 (64-bit)
If the "Windows 11 (64-bit)" version is not available in your case, install the latest version of VirtualBox or select "Windows 10 (64-bit)".
Note that since Windows 11, only the 64-bit (x64) architecture is supported.
There is therefore no 32-bit (x86) version of Windows 11.
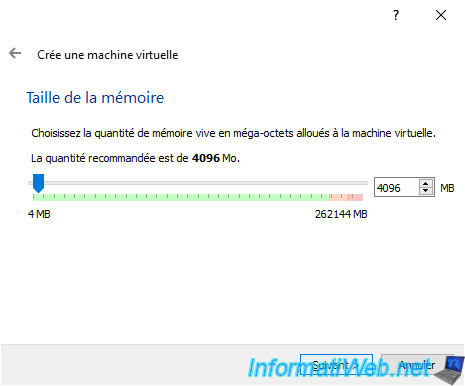
Allocate at least 4096 MB (4 GB) of random access memory (RAM).
Important : Windows 11 requires at least 4 GB of RAM.
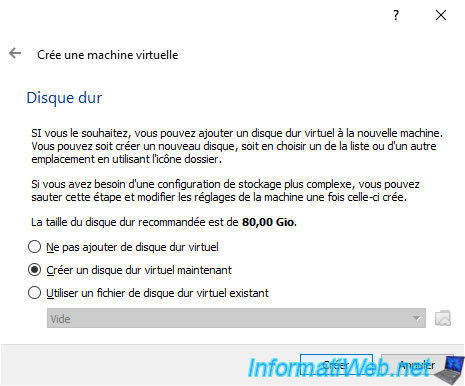
Leave the "Create a virtual hard disk now" option selected and click : Create.
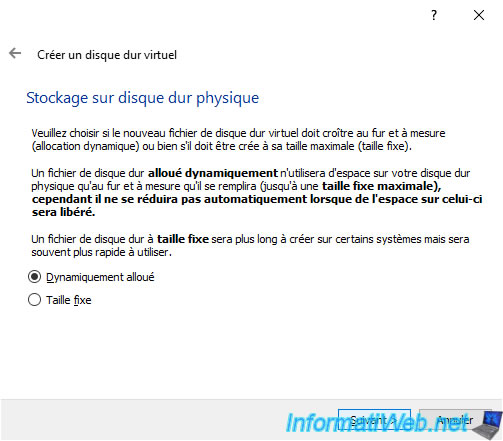
Select "Dynamically allocated" to save disk space on your physical hard drive, then click Next.
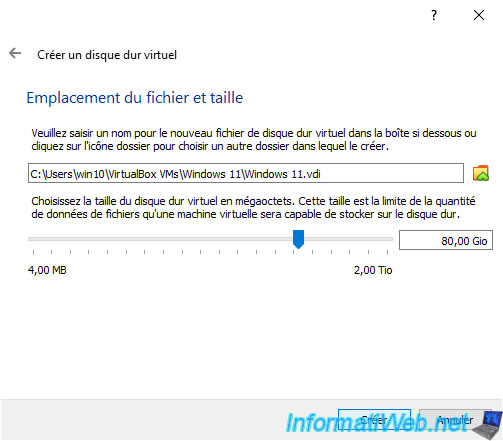
By default, VirtualBox will report a size of 80 GiB. Click on Create.
Important : Windows 11 requires at least 64 GB of hard disk space.
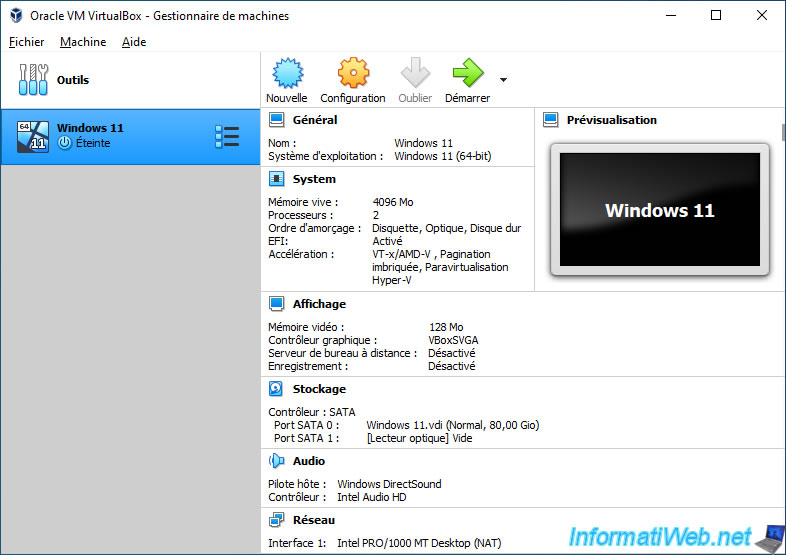
Your "Windows 11" virtual machine has been created.
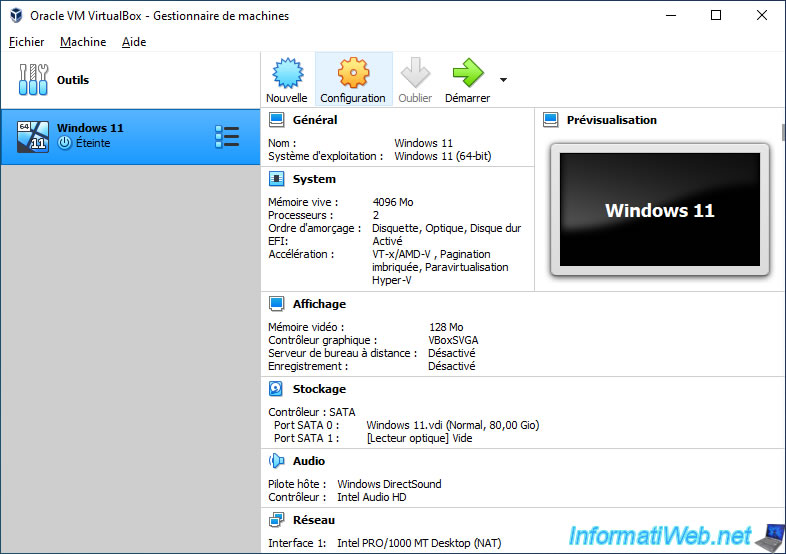
Click on the "Configuration" button.
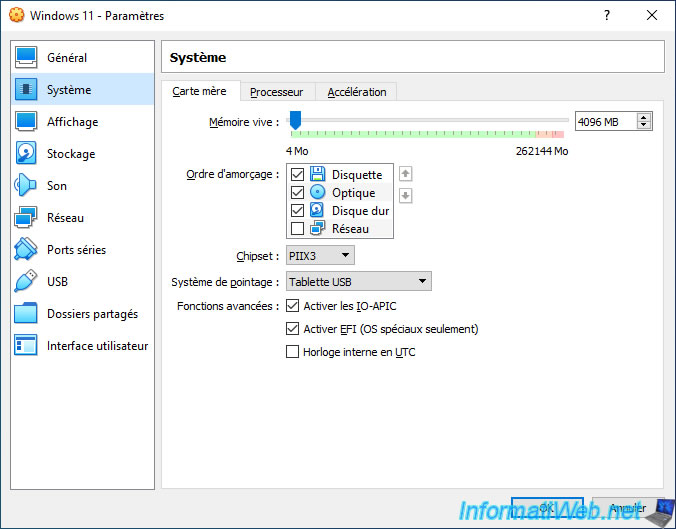
In the "System -> Motherboard" section, check that :
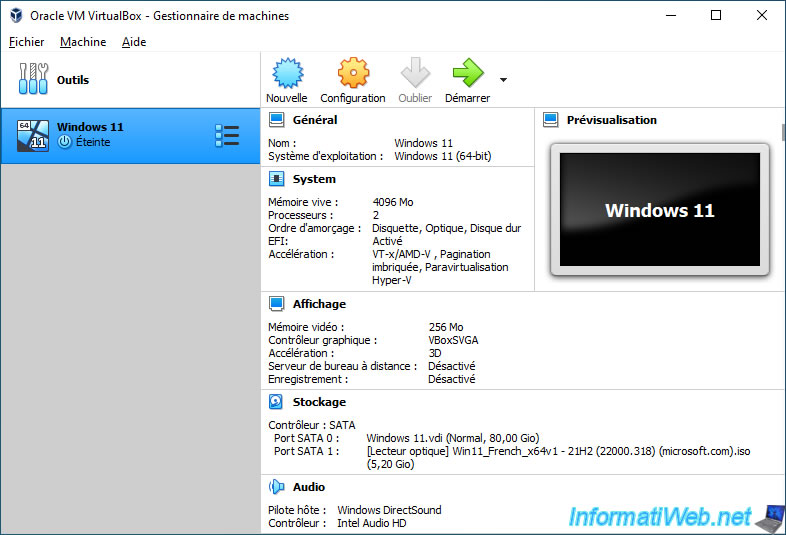
- RAM : at least 4096 MB of RAM has been allocated for this virtual machine.
- Extended Features : the "Enable EFI (special OSes only)" box is checked so that the virtual machine uses EFI firmware instead of the old BIOS (LEGACY BIOS).
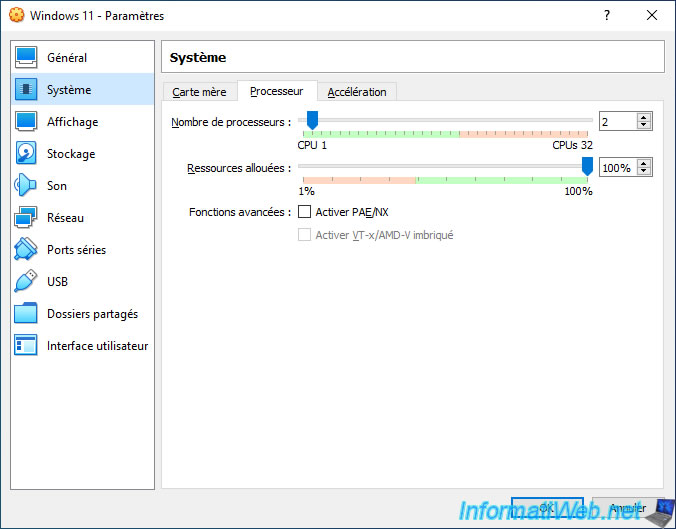
In the "System -> Processor" section, allocate at least 2 processors (or more exactly : processor cores).
Important : again, Windows 11 requires at least a processor with 2 cores. You must therefore specify at least "2" for the "Processor(s)" setting.
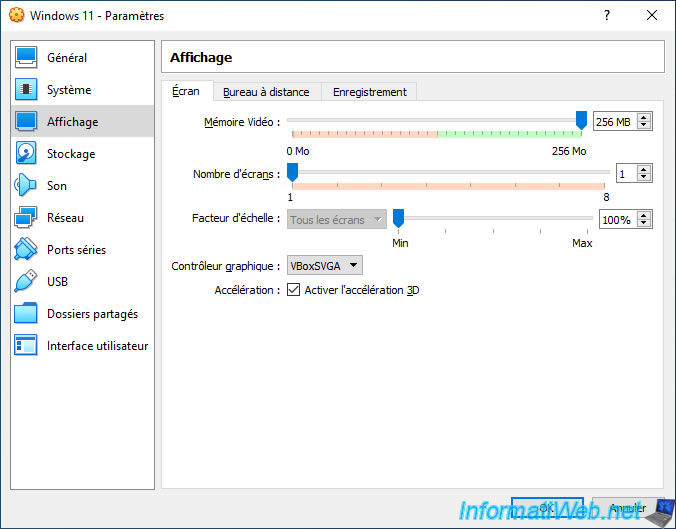
In the "Display" section, check the "Enable 3D Acceleration" box and allocate as much video memory as possible in your case.
In our case, the maximum value for the video memory is : 256 MB.
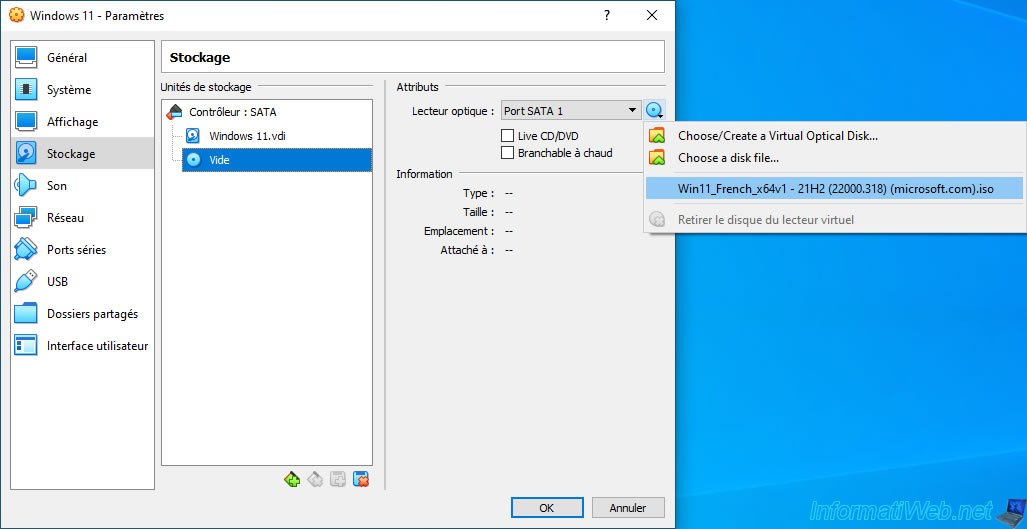
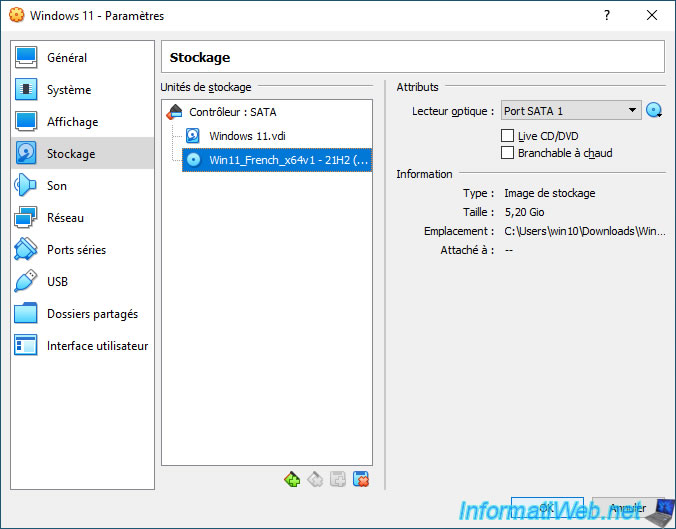
In the "Storage" section, select the virtual CD/DVD drive of this virtual machine and click on the icon to the right.
Then, click on "Choose a disk file" and select your Windows 11 ISO file.
Now, click on OK.
Your virtual machine is correctly configured and all the prerequisites (except the TPM module which is absent in VirtualBox) are fulfilled.
2. Virtualize Windows 11 on VirtualBox
2.1. Start the virtual machine on the Windows 11 installation DVD
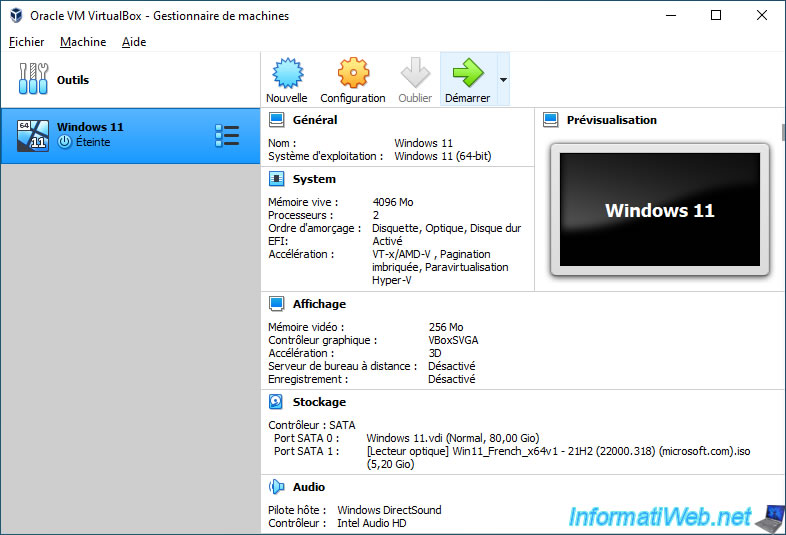
Start your new "Windows 11" virtual machine.
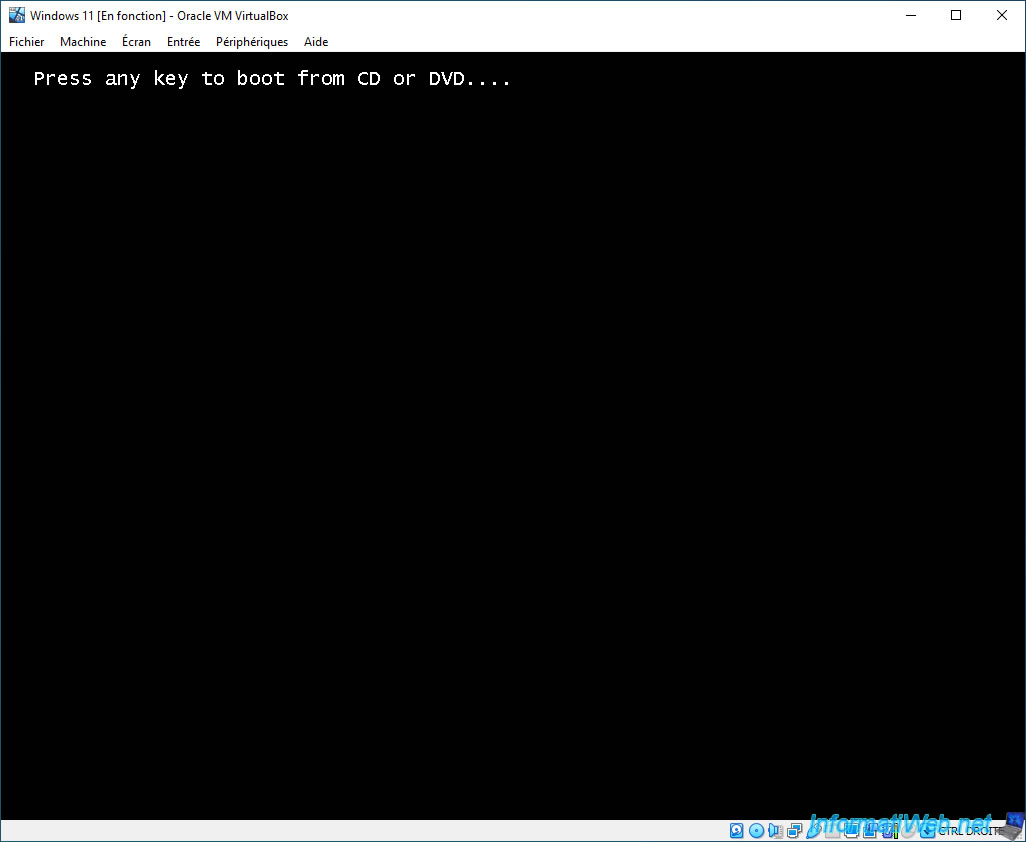
When the "Press any key to boot from CD or DVD" message appears, press Enter.
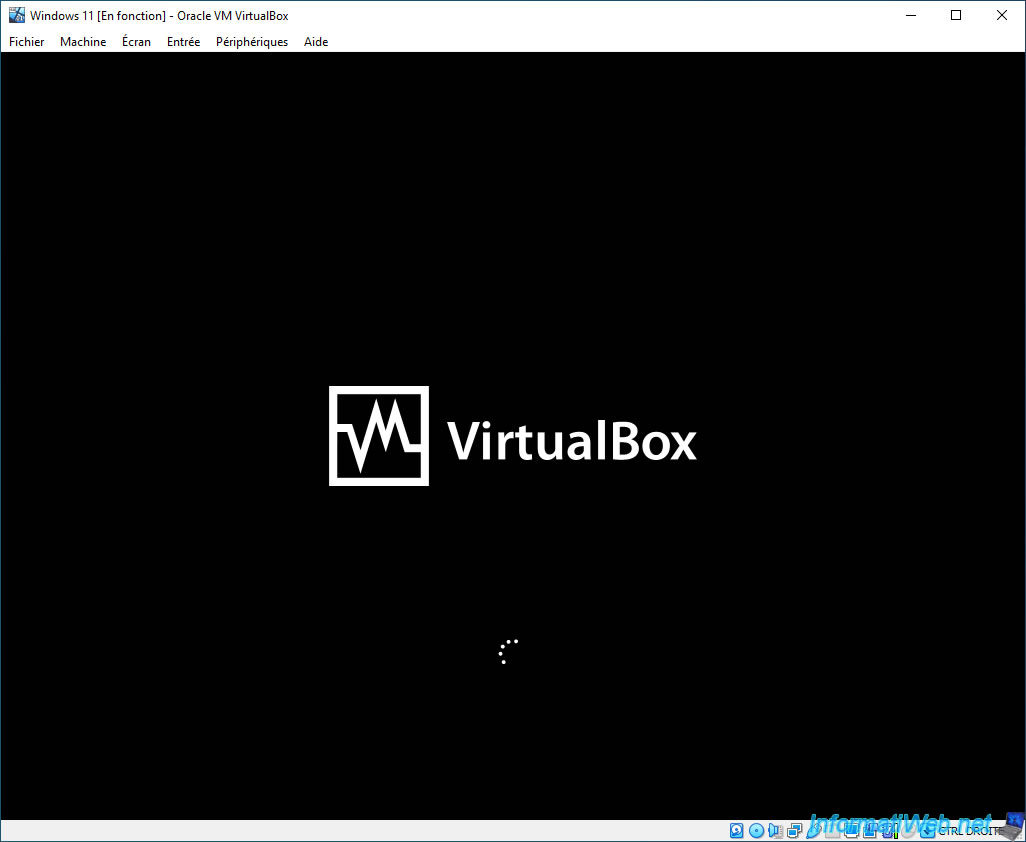
The VirtualBox logo appears with a loading icon.
This indicates that your virtual machine boots in EFI mode and not with an old BIOS (BIOS LEGACY).
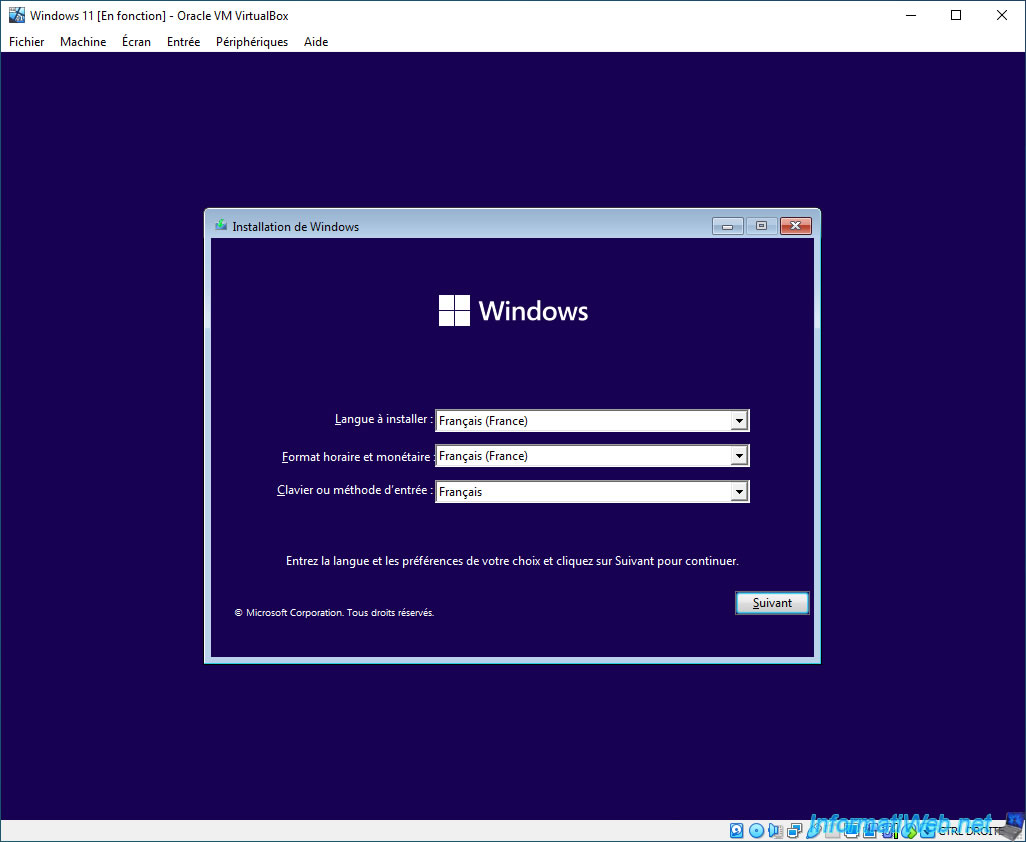
The Windows 11 installer appears.
Select your country and language, then click Next.
These choices are important because it will also affect the position of the various letters, numbers and characters on your keyboard.
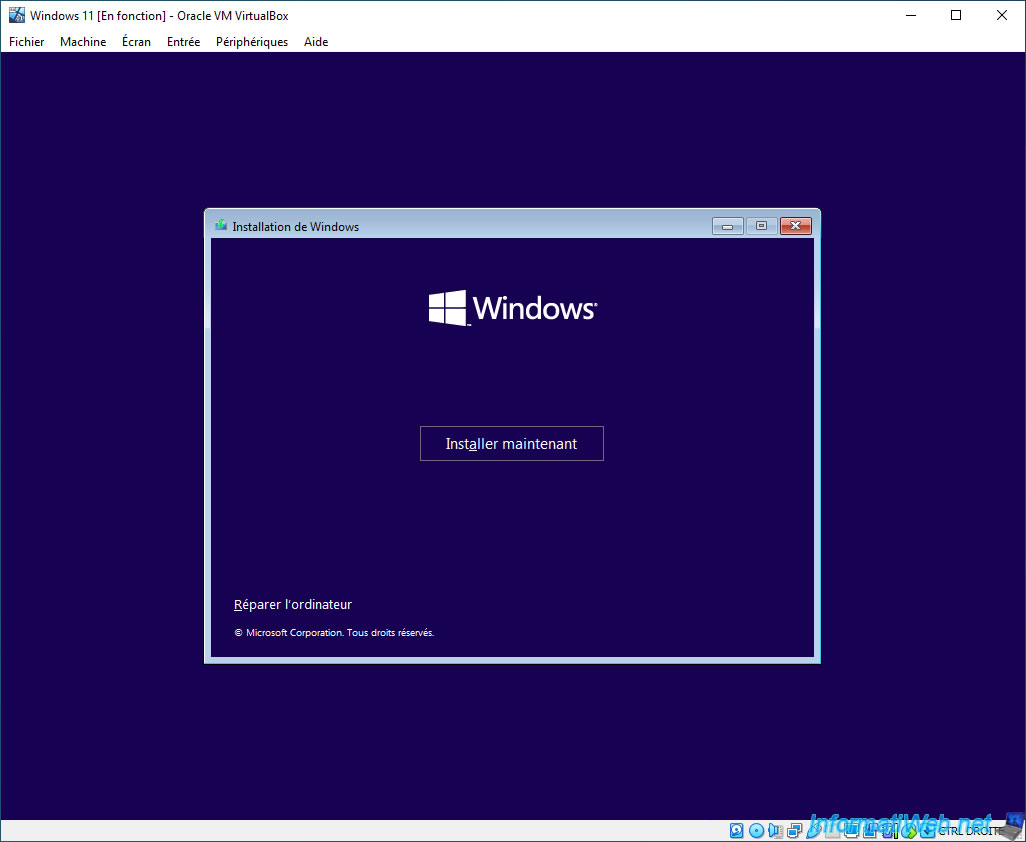
Warning : don't click on the "Install now" button immediately.
Indeed, as indicated previously, Windows 11 requires a Trusted Platform Module (TPM) and it's not present in VirtualBox.
If you still attempt to install Windows 11 in your virtual machine, a "This PC doesn't meet the minimum requirements to install this version of Windows" error message will appear.
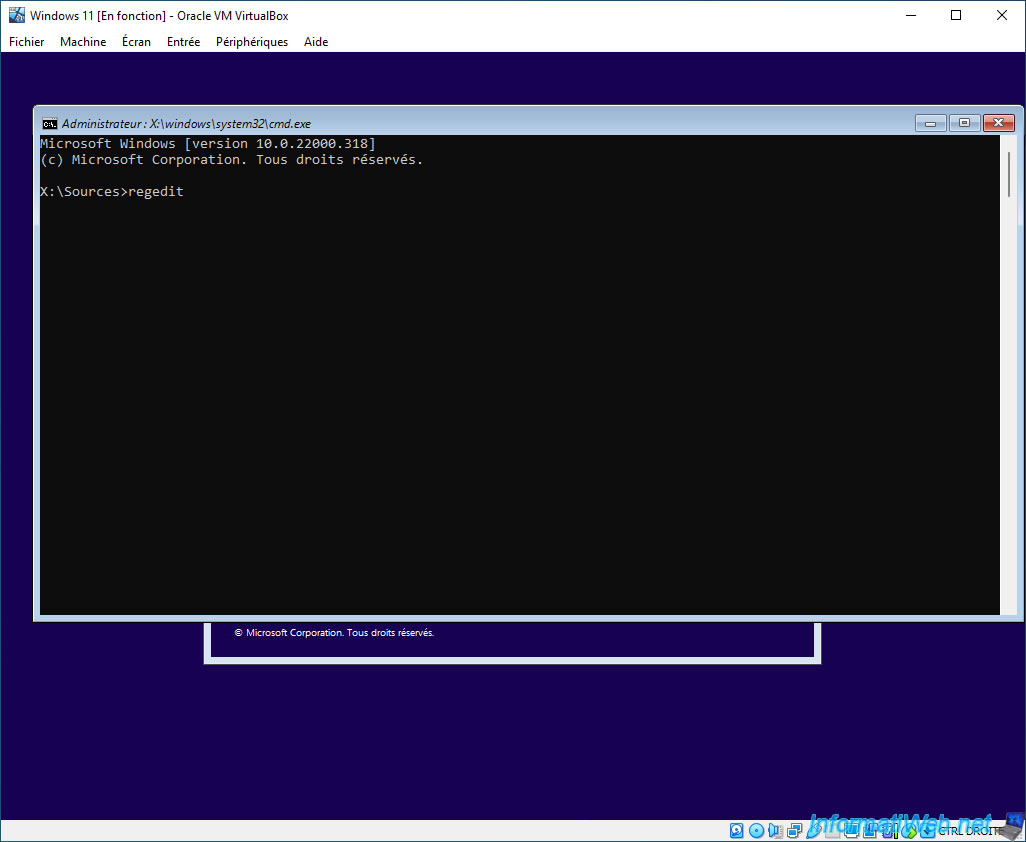
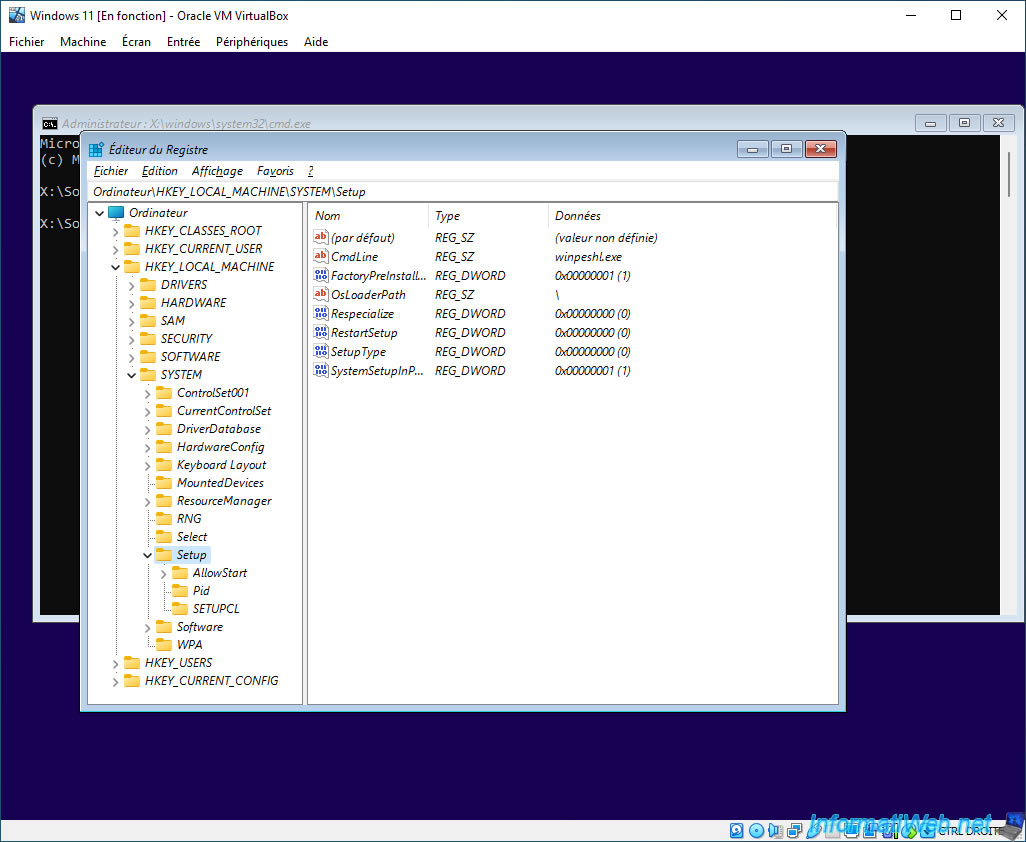
Press the "SHIFT + F10" keys and a command prompt (cmd.exe) will appear.
Type "regedit" and press Enter.
In the registry editor that appears, go to the "HKEY_LOCAL_MACHINE -> SYSTEM -> Setup" key.
If you are wondering how this is possible, then you should know that the installation DVDs for Windows Vista, 7, 8, 8.1, 10 and 11 are based on a Windows PE environment (the version of which changes with each version of Windows).
Hence the fact that you see the name of a "winpeshl.exe" program in the "CmdLine" data present in this registry key.
The registry that you see here is therefore that of the Windows PE environment present on the Windows 11 installation DVD.
Share this tutorial
To see also
-
Virtualization 8/30/2019
Hyper-V - Coexistence with VirtualBox or VMware Workstation
-
Virtualization 8/25/2018
VirtualBox - Clone a virtual machine (VM)
-
Virtualization 7/22/2018
VirtualBox - Configure settings of your VMs
-

Virtualization 11/6/2020
VirtualBox - Connect an USB key to a VM
You must be logged in to post a comment