Manage your VirtualBox 6.1 / 6.0 / 5.2 virtual machines from another PC on Windows or Linux with Hyperbox
- Virtualization
- 20 October 2018 at 11:14 UTC
-

- 2/4
4. Firewall configuration for Hyperbox Server
On the machine where you installed Hyperbox Server, create a new inbound rule.
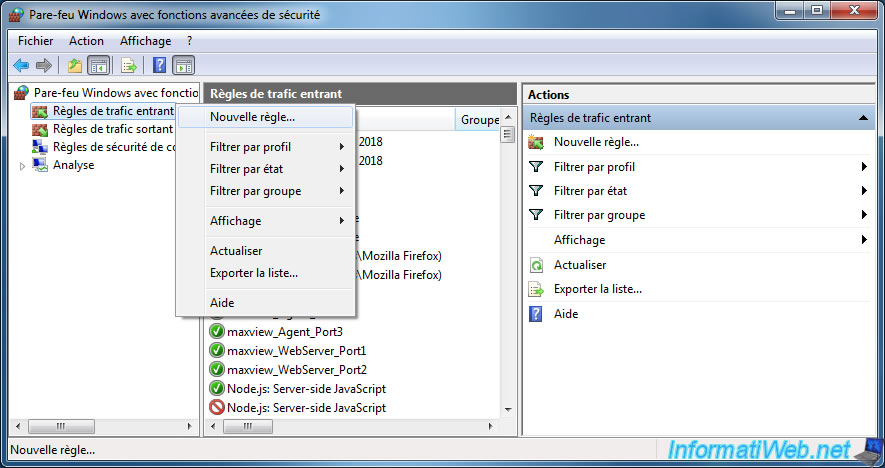
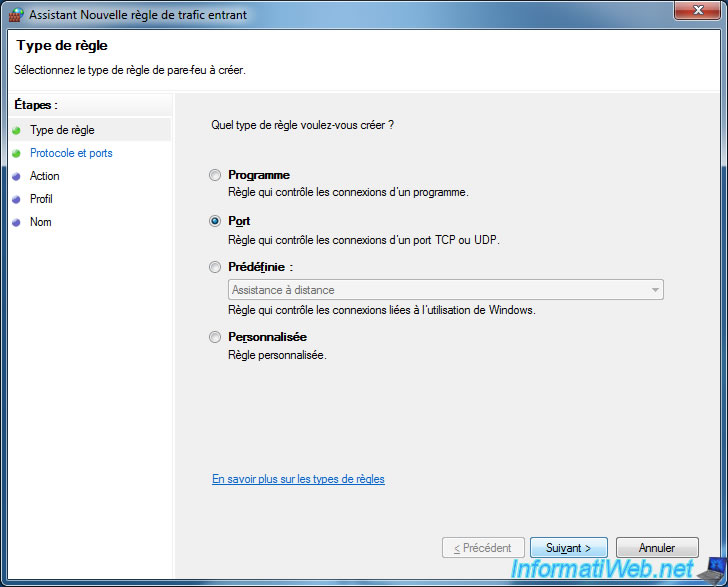
Choose "Port".
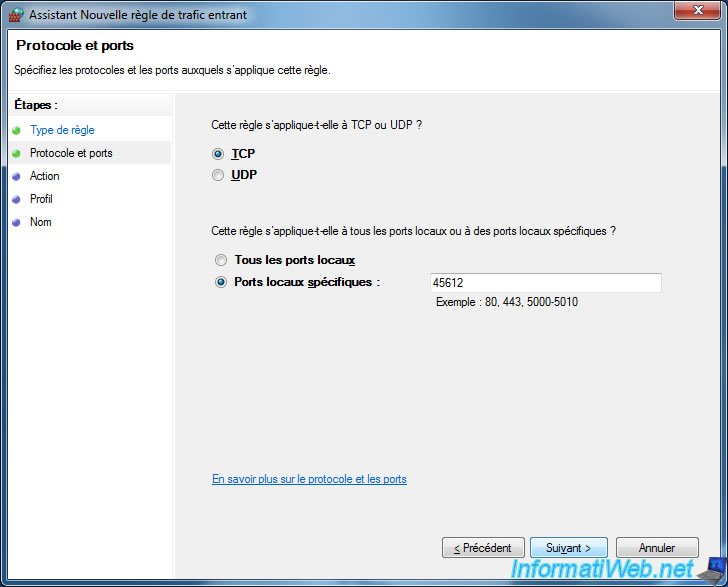
Select "TCP" and enter "45612" for the port number.
Select "Allow connection".

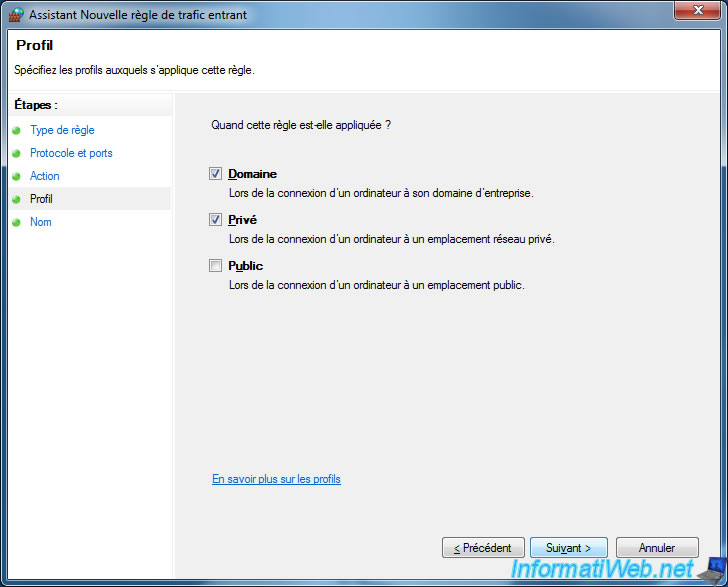
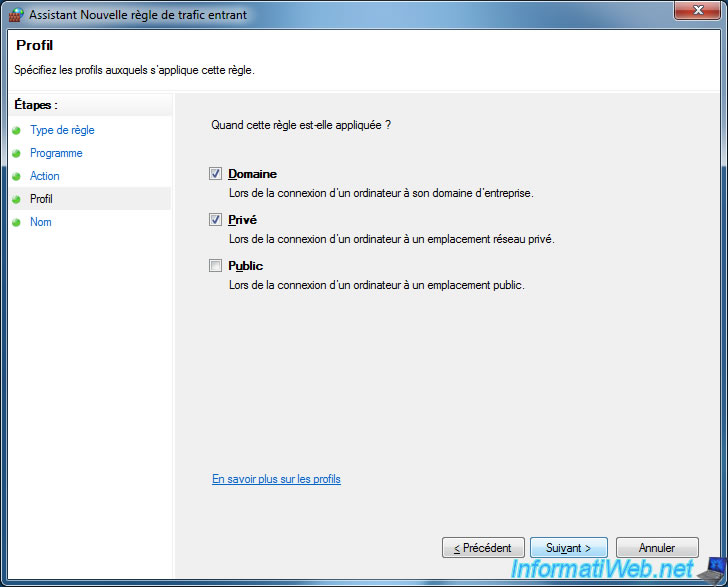
Check only the "Domain" and "Private" boxes.
Note : don't check the "Public" box. Thus, Hyperbox Server will no longer be accessible when you connect to a public Wifi.
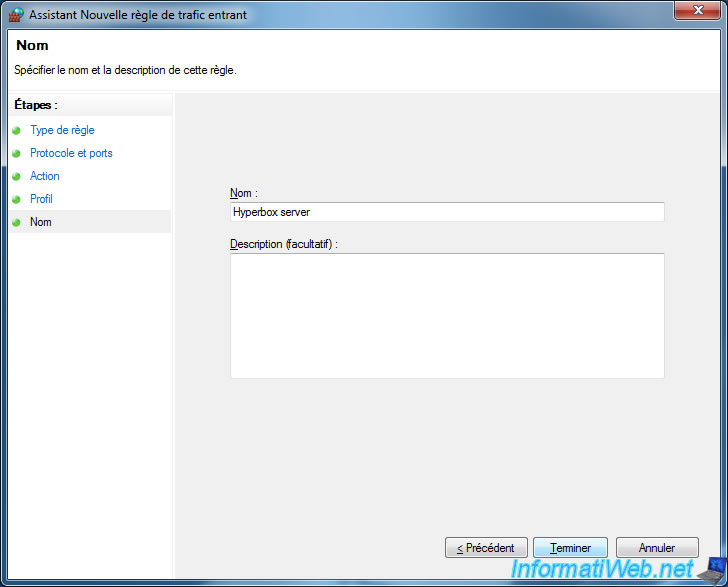
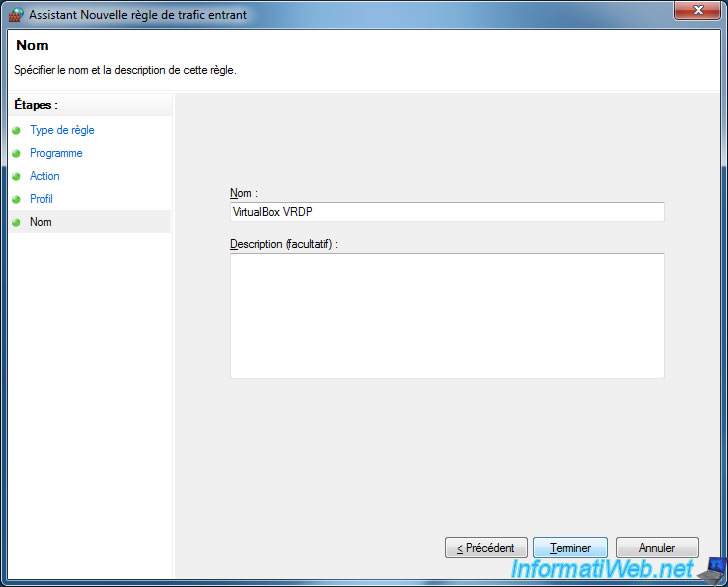
Specify "Hyperbox server" as the rule name.
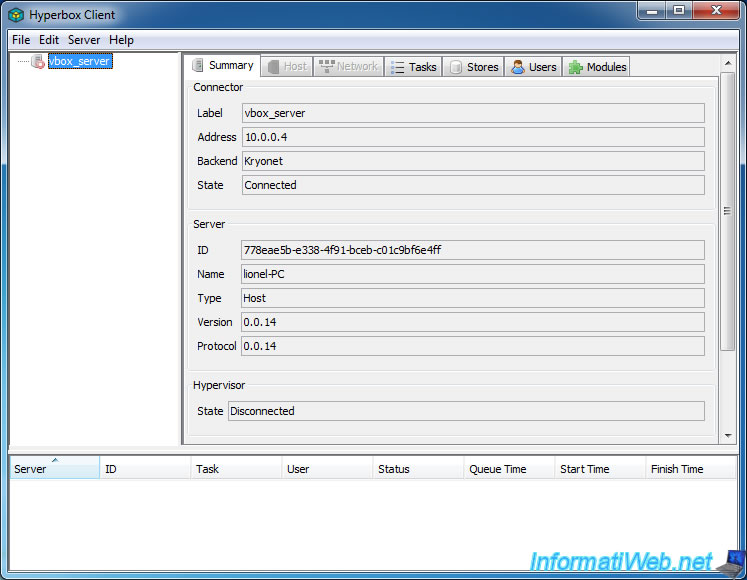
Now, right-click "Connect" again on your Hyperbox server.
This time, the state in the Connector section will be : Connected.
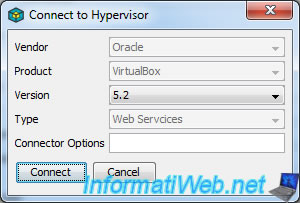
5. Connecting to the hypervisor : VirtualBox
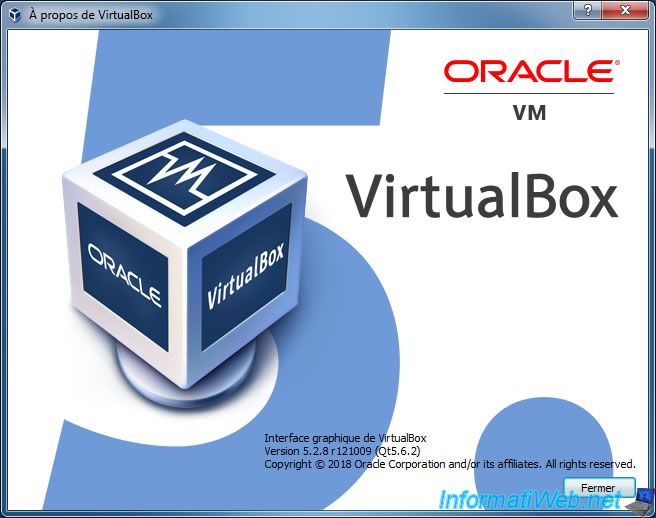
As previously explained, we will use VirtualBox version 5.2.8.
In Hyperbox Client, right click on your server and click on : Hypervisor -> Connect.
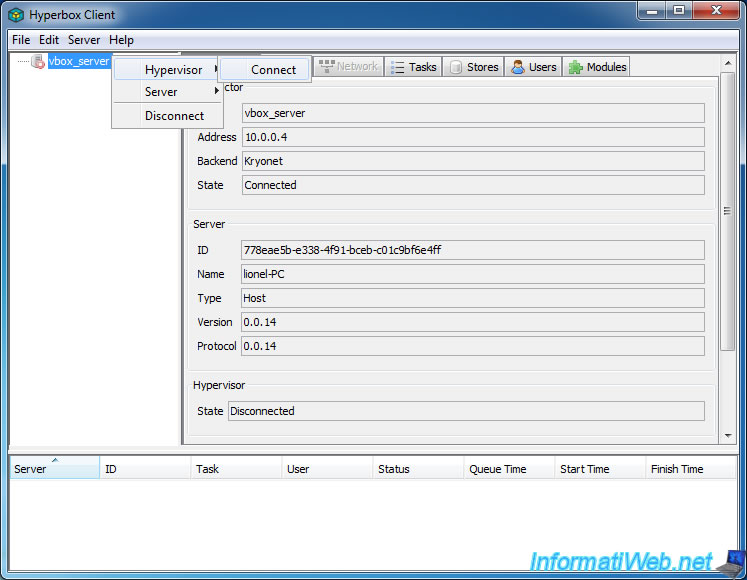
Select the version of VirtualBox you are using (in our case : 5.2), and then click Connect.
The status of the hypervisor becomes : Connected.
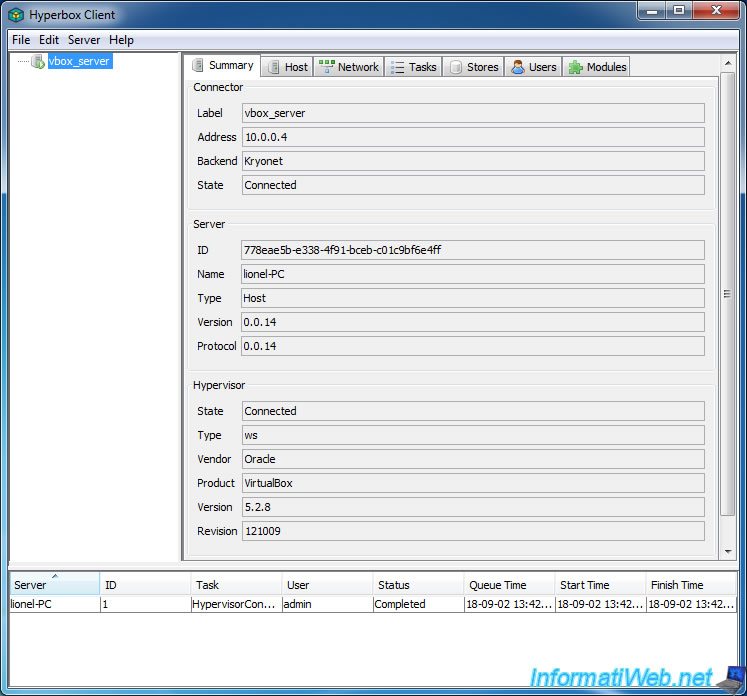
In the various tabs available from Hyperbox Client, you will be able to obtain different information about your server.
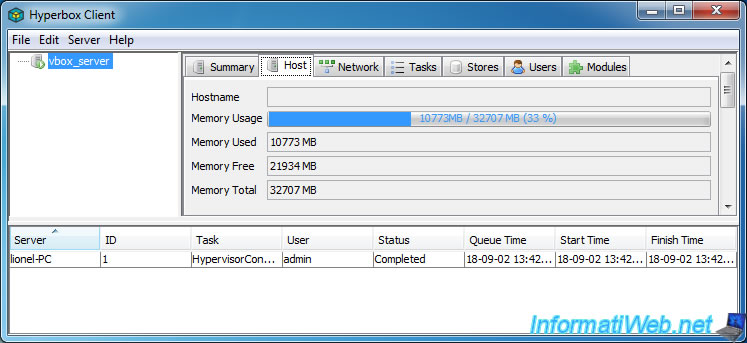
Including information about :
- the memory (RAM) used
- the amount of memory available
- the amount of memory present on your server
In the "Network" tab, you can get information about :
- the network configuration of your server : list of network cards available on your server
- the VirtualBox HostOnly adapter (VirtualBox Host-Only Ethernet Adapter)
- NAT network adapters (NATNetwork)

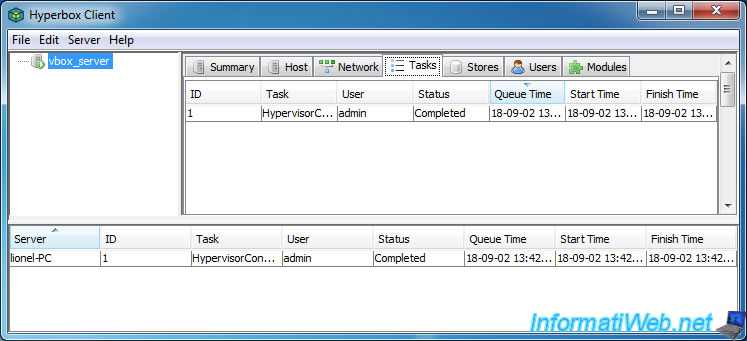
In the "Tasks" tab, you will find a history of the different operations performed on this server.
This is the same information as displayed at the bottom of the program.
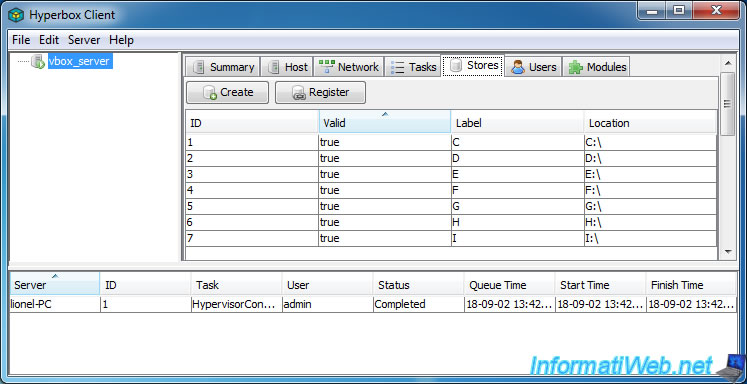
In the "Stores" tab, you will have information about the partitions available on your server.
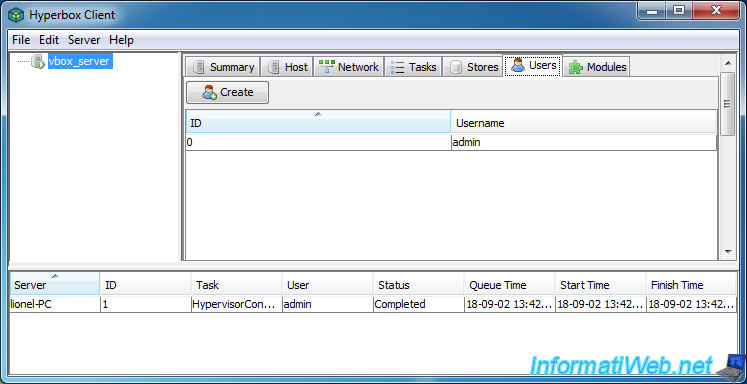
In the Users tab, you will be able to create new users if you wish.
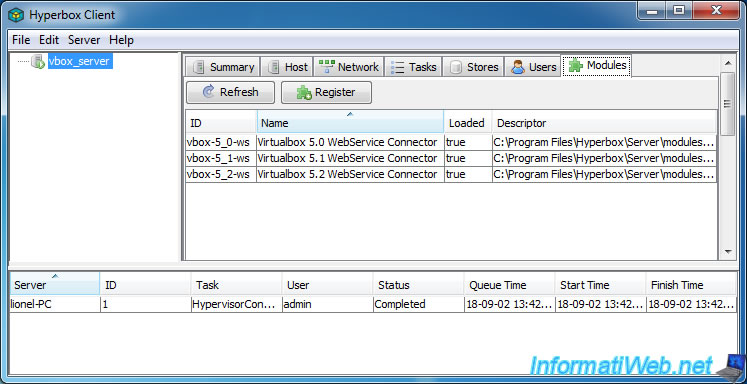
In the Modules tab, you will find the list of modules (including connectors for connecting to VirtualBox remotely).
6. Allow access to virtual machines via the VRDP protocol
If you have already tried to remotely control a VirtualBox virtual machine, you may know that this is possible thanks to the VRDP protocol provided by VirtualBox.
Although this is handled by the "virtualbox.exe" process by default, it's not the same when you do it via Hyperbox.
Indeed, if you look on the official website of Hyperbox, you will see that it is managed via the "headless" mode of VirtualBox.
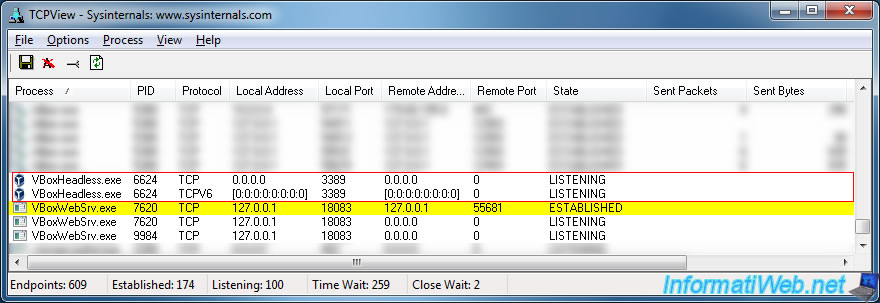
You can also check this with the "TCPView" program of Sysinternals (Microsoft).
Once you start a virtual machine from Hyperbox Client, you will see on the server that the VirtualBox VBoxHeadless process is currently listening on the port displayed in the "Display" section of Hyperbox Client .
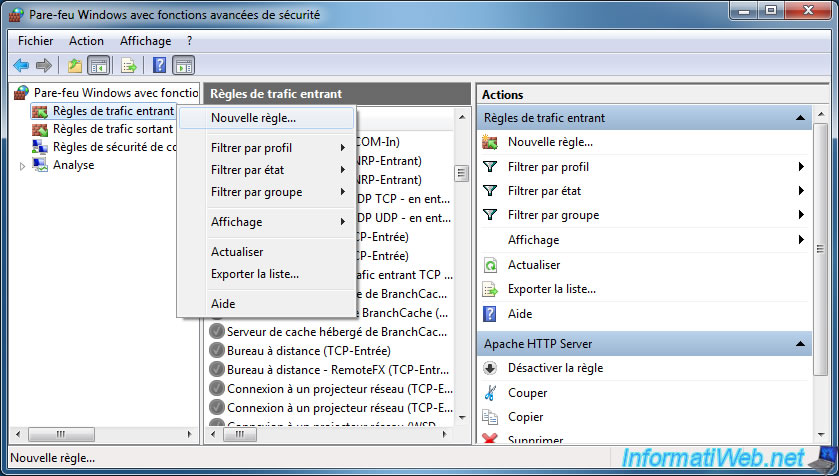
On the server machine, go to the Windows firewall settings and create a new inbound rule.
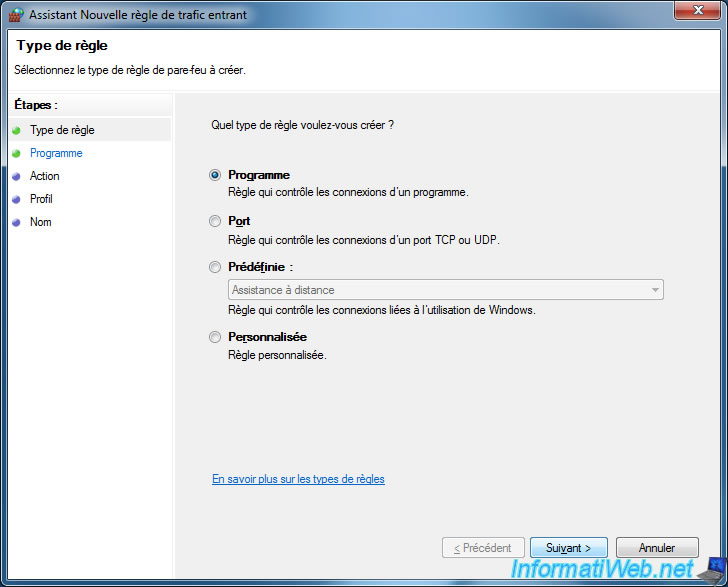
This time, select : Program.
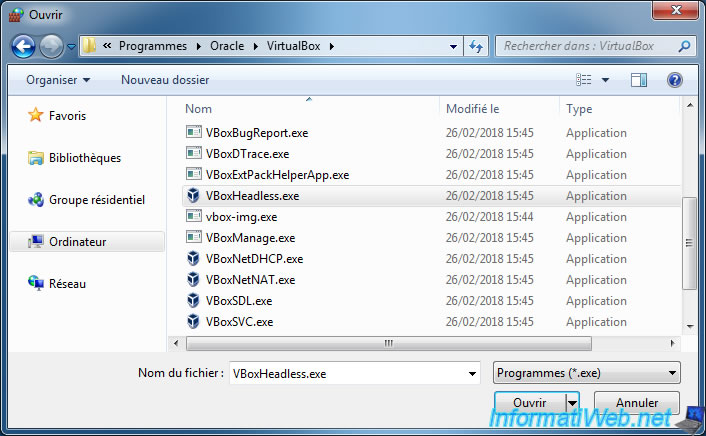
Select this file : C:\Program Files\Oracle\VirtualBox\VBoxHeadless.exe
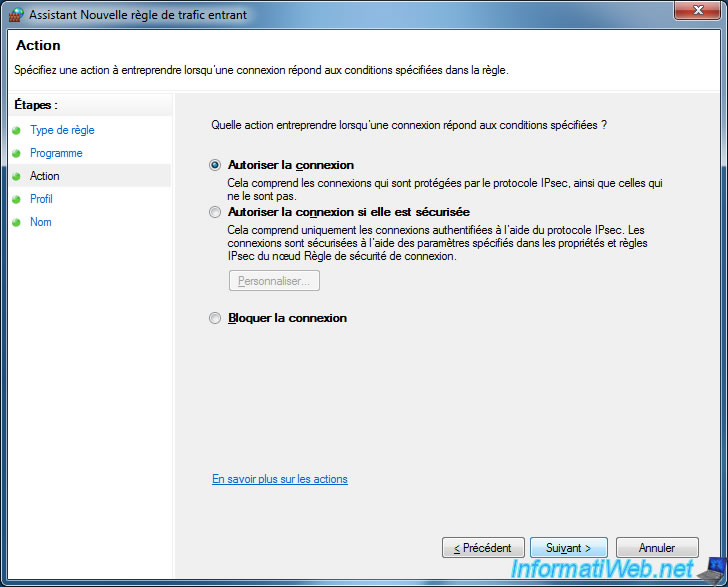
Select "Allow connection".
Preferably, uncheck the "Public" box to make your virtual machines unavailable when you are connected to a public wifi.
Specify "VirtualBox VRDP" as the rule name.
Share this tutorial
To see also
-

Virtualization 8/30/2019
Hyper-V - Coexistence with VirtualBox or VMware Workstation
-
Virtualization 8/25/2018
VirtualBox - Clone a virtual machine (VM)
-
Virtualization 7/22/2018
VirtualBox - Configure settings of your VMs
-

Virtualization 11/6/2020
VirtualBox - Connect an USB key to a VM
No comment