Manage your VirtualBox 6.1 / 6.0 / 5.2 virtual machines from another PC on Windows or Linux with Hyperbox
- Virtualization
- 20 October 2018 at 11:14 UTC
-

- 3/4
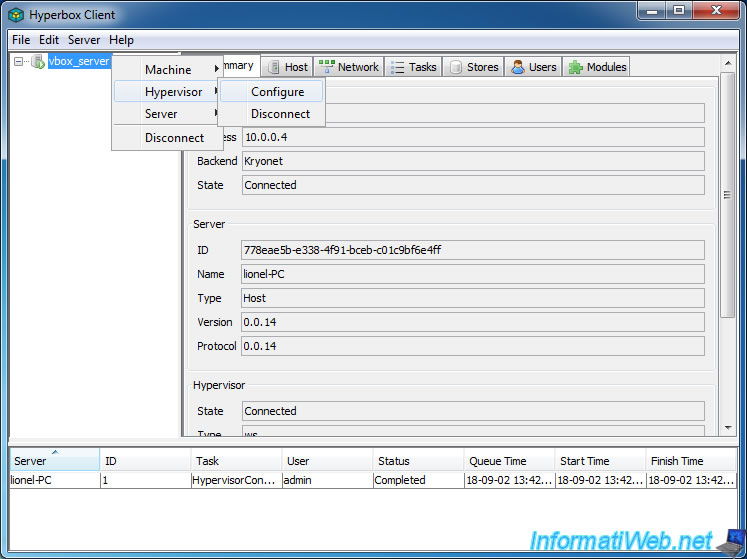
7. Hypervisor configuration
To change the location of the virtual machines created by Hyperbox Client, right-click on the Hyperbox server and click : Hypervisor -> Configure.
As you can see, Hyperbox is configured to store your virtual machines by default in the Windows system account profile (on the server machine).
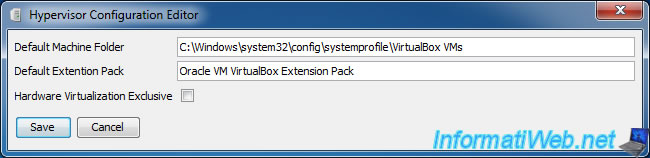
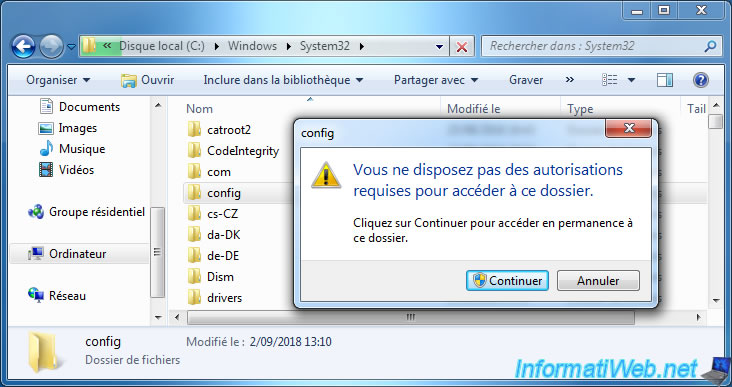
However, if you try to access this folder yourself from Windows, you will not be able to access it by default.
And changing the permissions on this folder is strongly discouraged to not affect the security of Windows.
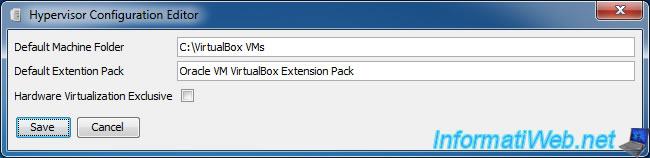
So, we recommend telling Hyperbox to store your virtual machines elsewhere.
In our case : C:\VirtualBox VMs
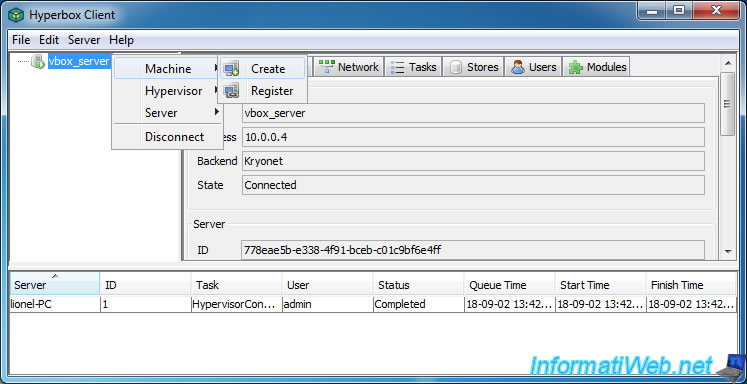
8. Create a virtual machine from Hyperbox Client
To create a new virtual machine on your server from Hyperbox Client, select the desired server and right-click "Machine -> Create" on it.
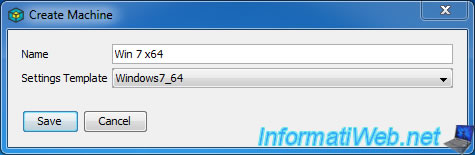
Just like with VirtualBox, the wizard will ask you what model it should use to create your virtual machine.
Note : the model to choose varies depending on the operating system you want to install in your virtual machine. Like when you create a virtual machine from VirtualBox.
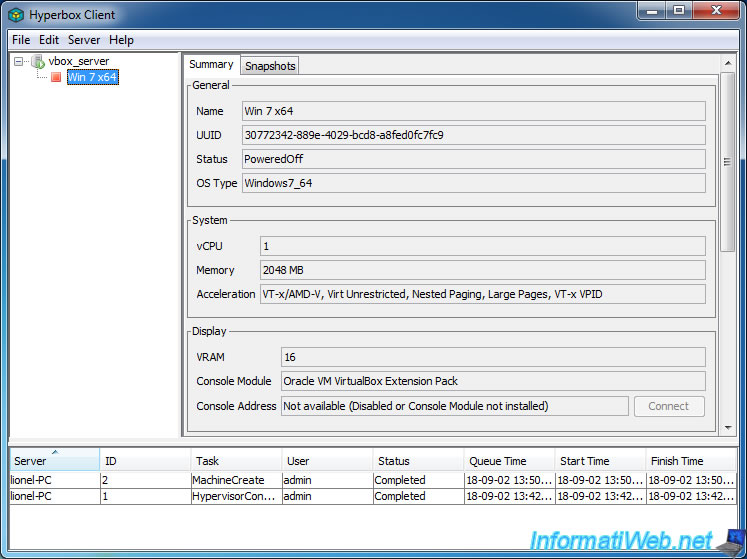
As you will soon notice, Hyperbox preconfigures your virtual machine without asking you anything.
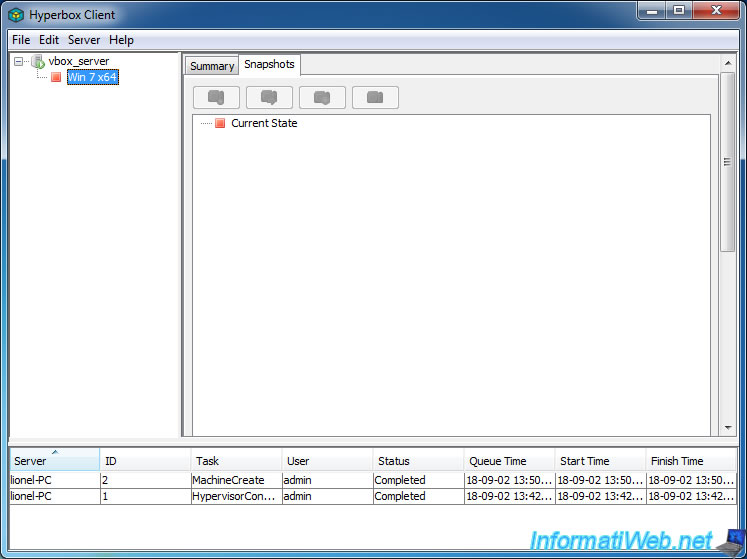
As in VirtualBox, you will be able to manage the snapshots of your virtual machine.
9. Configure a virtual machine from Hyperbox Client
To configure your machine and create a virtual hard disk for it, right click "Edit Settings" on it.
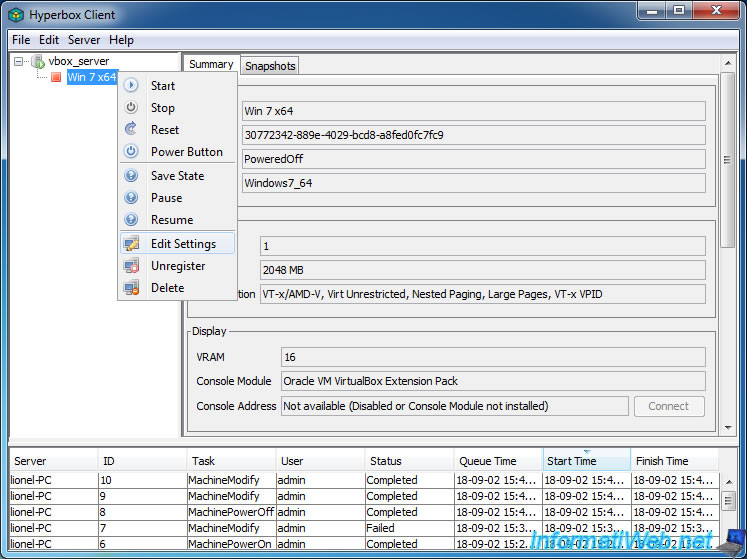
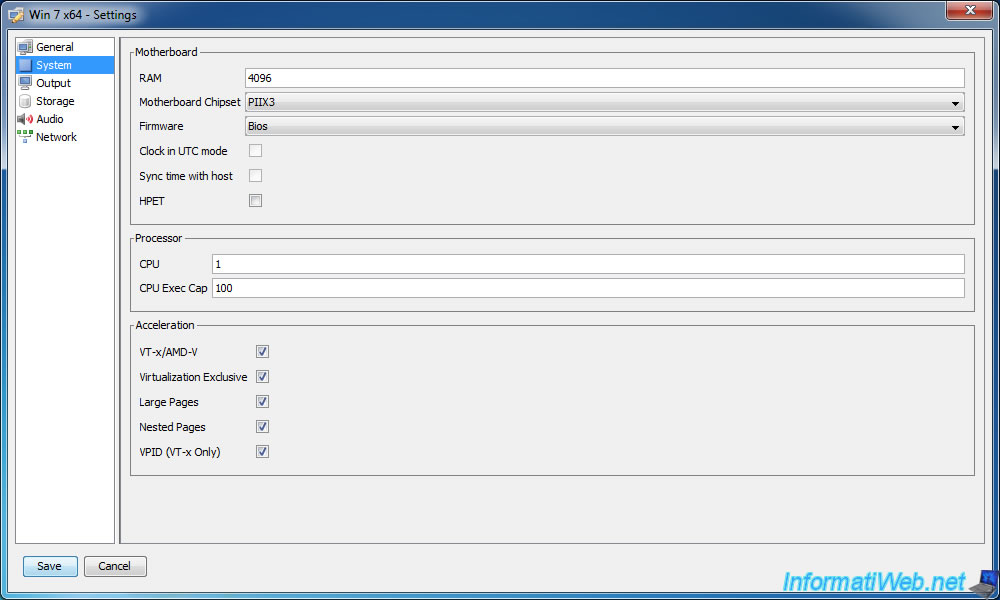
Adjust the amount of memory (RAM) that will be allocated to this virtual machine, if needed.
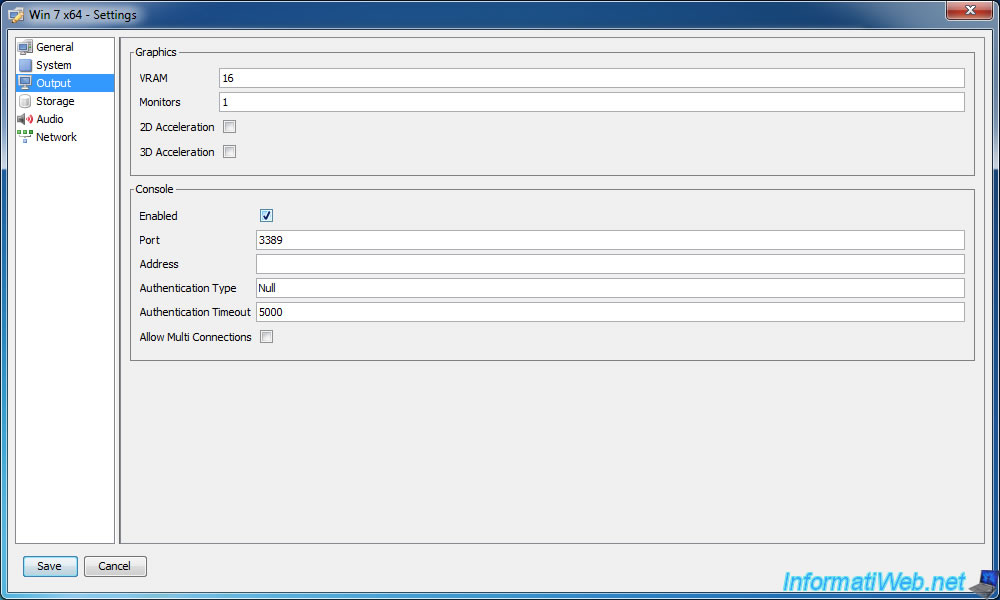
To be able to use your virtual machine remotely, you will have to enable the console of this one via the "Output" tab.
To do this, simply check the "Enabled" box in the "Console" section. No need to change other settings (including address).
Info : la VRAM correspond à la mémoire vidéo. Inutile de la modifier.
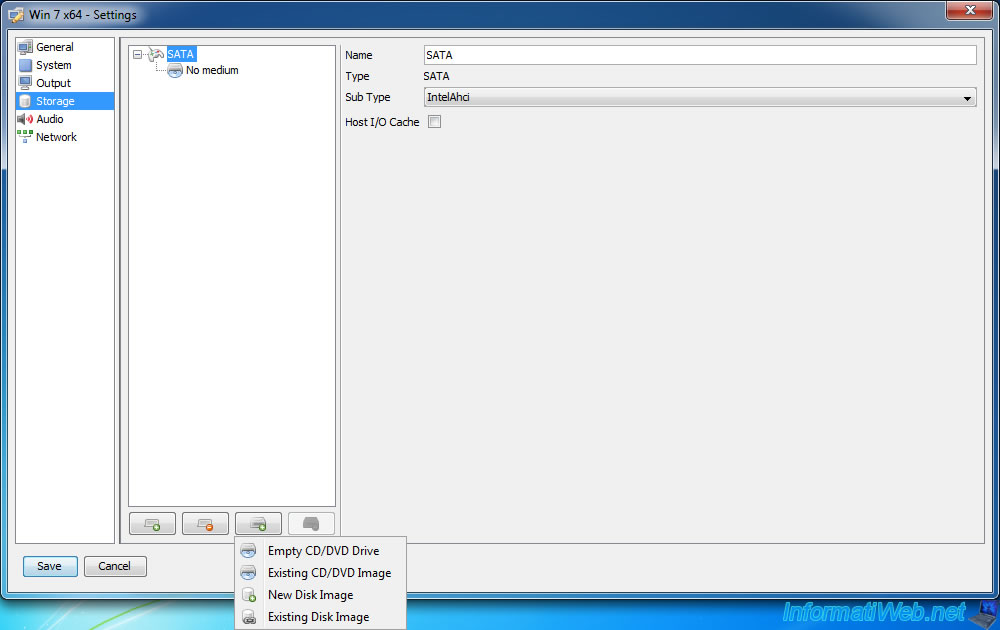
In the "Storage" tab, select the present controller (SATA in this case) and click on the bottom icon (as in the image below).
To create a new virtual hard disk on the server, click on "New Disk Image".
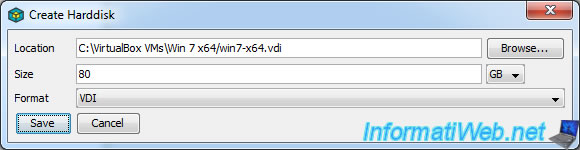
In the "Create Harddisk" window that appears, select the format of the virtual hard disk (in our case : VDI), and then click Browse.
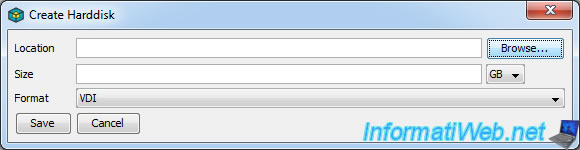
Create the virtual hard disk where you want.
In our case, we will store it in the folder of our virtual machine : C:\VirtualBox VMs\Win 7 x64
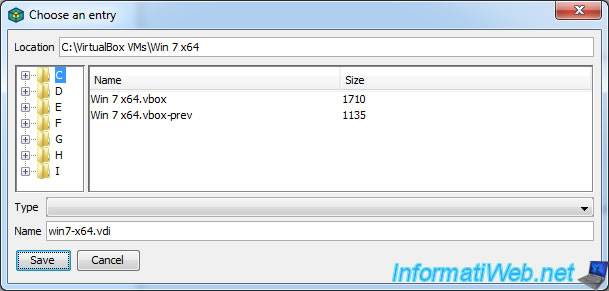
Click Save.
Small flaw, we can't select iso file from the settings of the virtual machine.
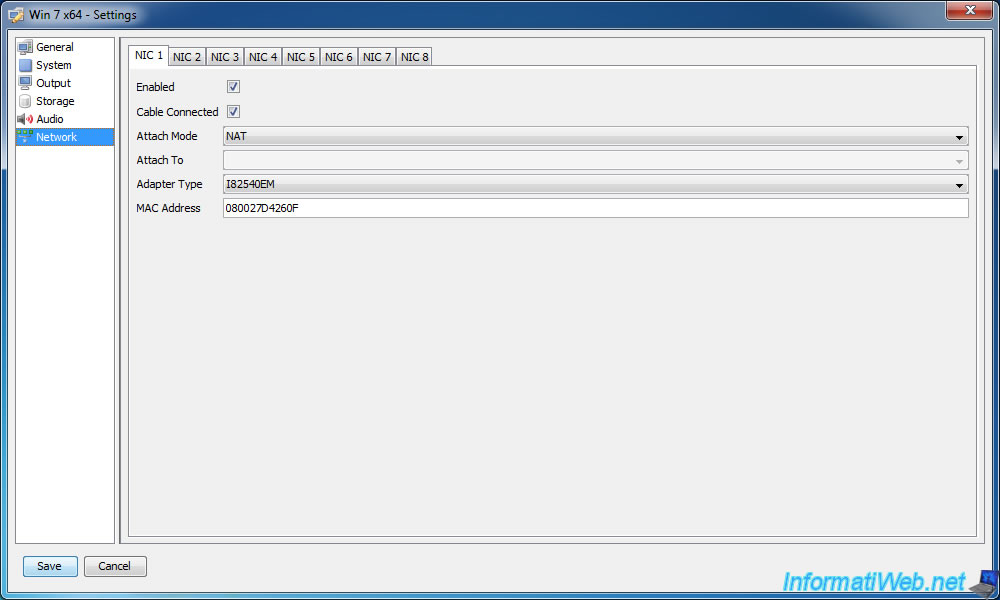
Finally, you can change the network access mode to use for this virtual machine, if you wish.
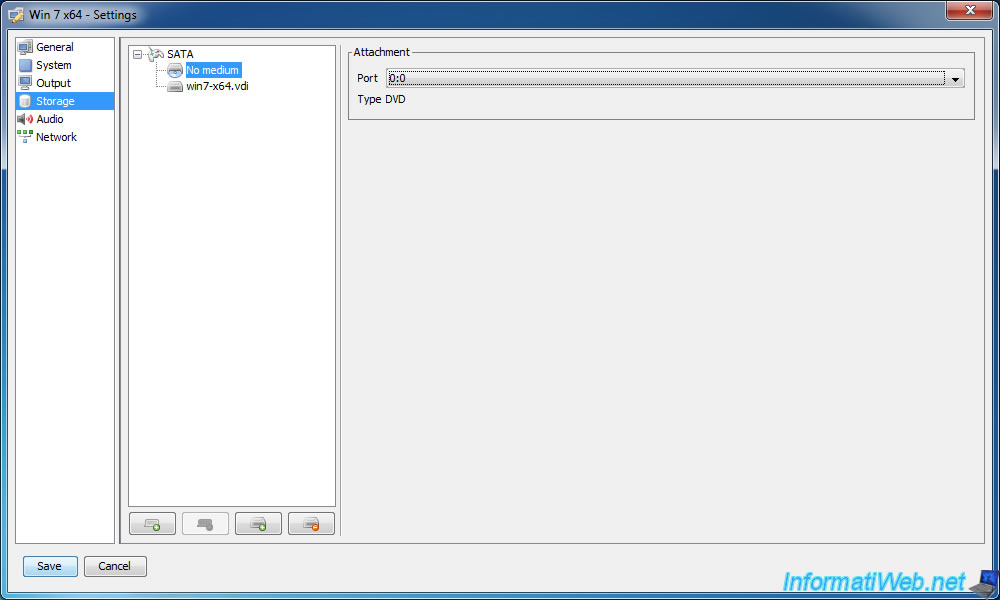
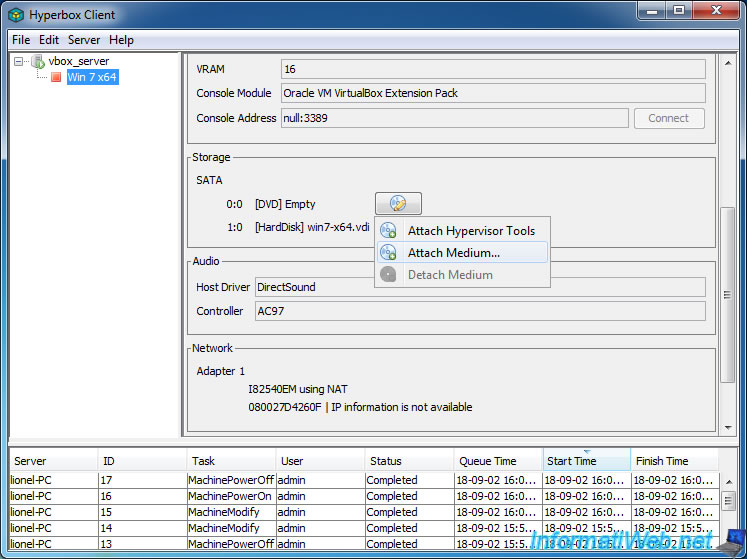
In order to install Windows (or any other operating system) in your virtual machine, you will need to insert the appropriate iso file into the DVD drive of your virtual machine.
To do this, in the "Storage" section of your virtual machine, locate the "[DVD] Empty" option and click on the button to its right.
Then, click on "Attach Medium".
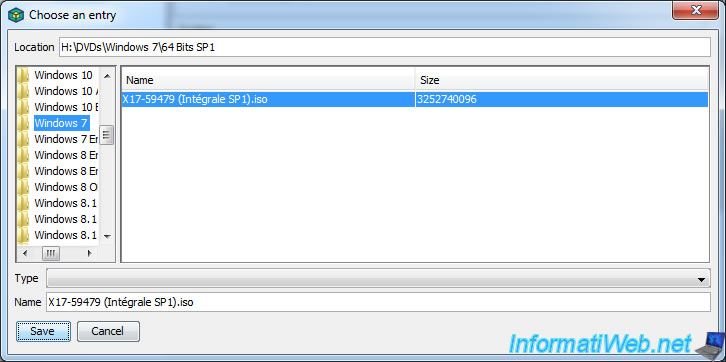
Select the iso file from the server's file system.
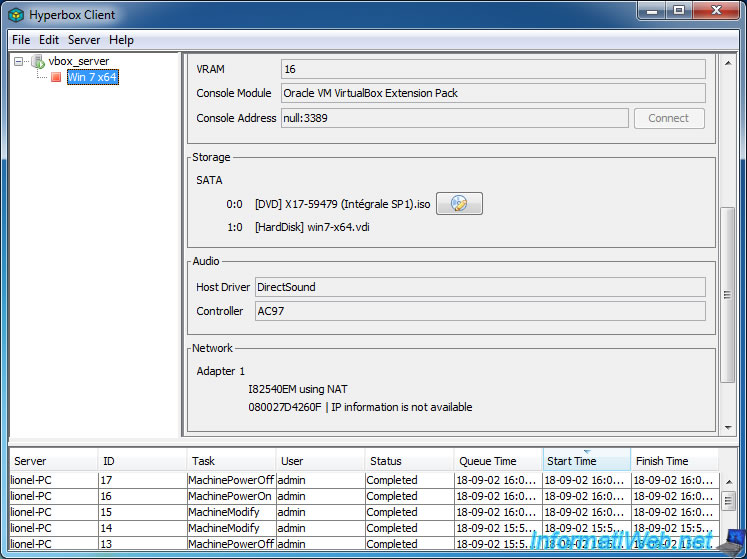
Check that the iso file has been inserted into the DVD drive.
Share this tutorial
To see also
-

Virtualization 8/30/2019
Hyper-V - Coexistence with VirtualBox or VMware Workstation
-
Virtualization 8/25/2018
VirtualBox - Clone a virtual machine (VM)
-
Virtualization 7/22/2018
VirtualBox - Configure settings of your VMs
-

Virtualization 11/6/2020
VirtualBox - Connect an USB key to a VM
No comment