Manage your VirtualBox 6.1 / 6.0 / 5.2 virtual machines from another PC on Windows or Linux with Hyperbox
- Virtualization
- 20 October 2018 at 11:14 UTC
-

- 4/4
10. Start a virtual machine from Hyperbox Client
Start your virtual machine by right-clicking "Start" on it.
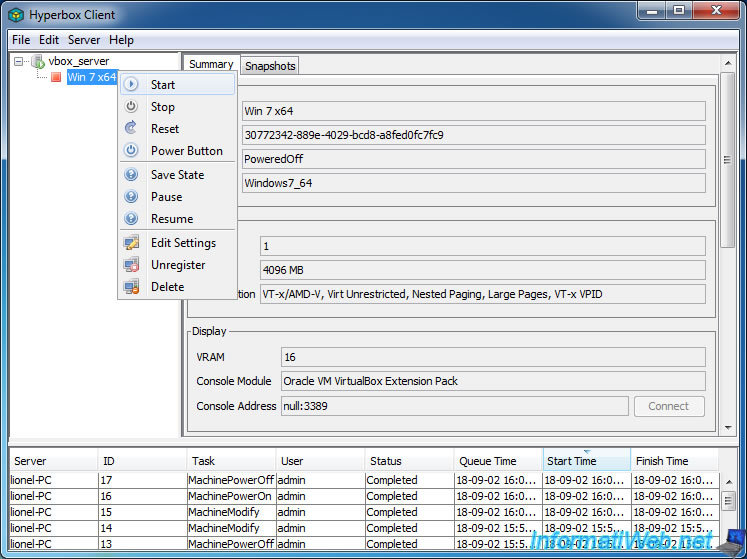
The virtual machine starts in the background on the server.
In order to install Windows (or the desired operating system), click on the "Connect" button in the "Display" section.
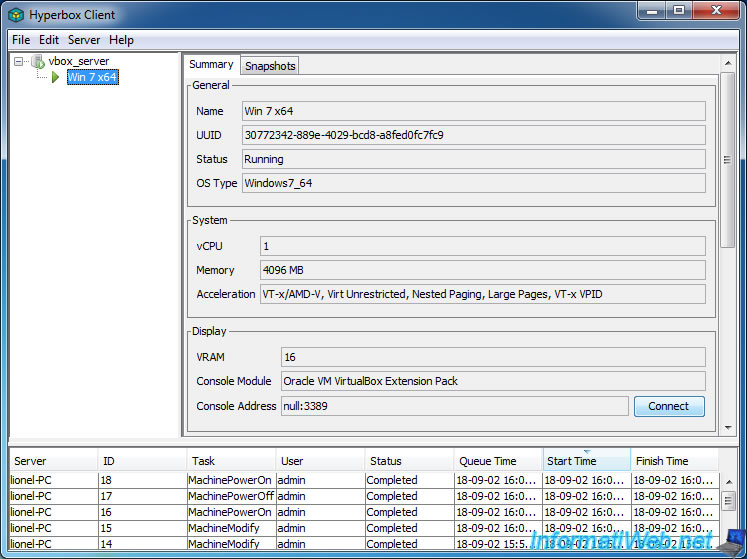
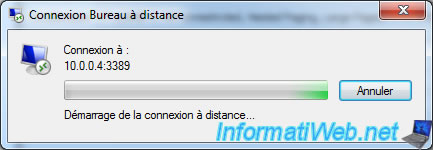
Hyperbox Client will launch the Windows RDP client to connect to your virtual machine's console using VirtualBox RDP (VRDP).
Important : this is only possible if you have enabled the console in the "Output" settings of your virtual machine. If not, it will not work.
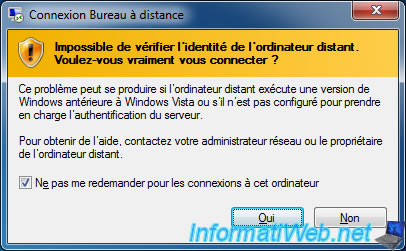
If the RDP client is able to connect to the remote machine, a warning will be displayed.
This is because VirtualBox uses a self-signed certificate to secure the remote connection.
Check the "Don't ask me again for connections to this computer" box and click Yes.
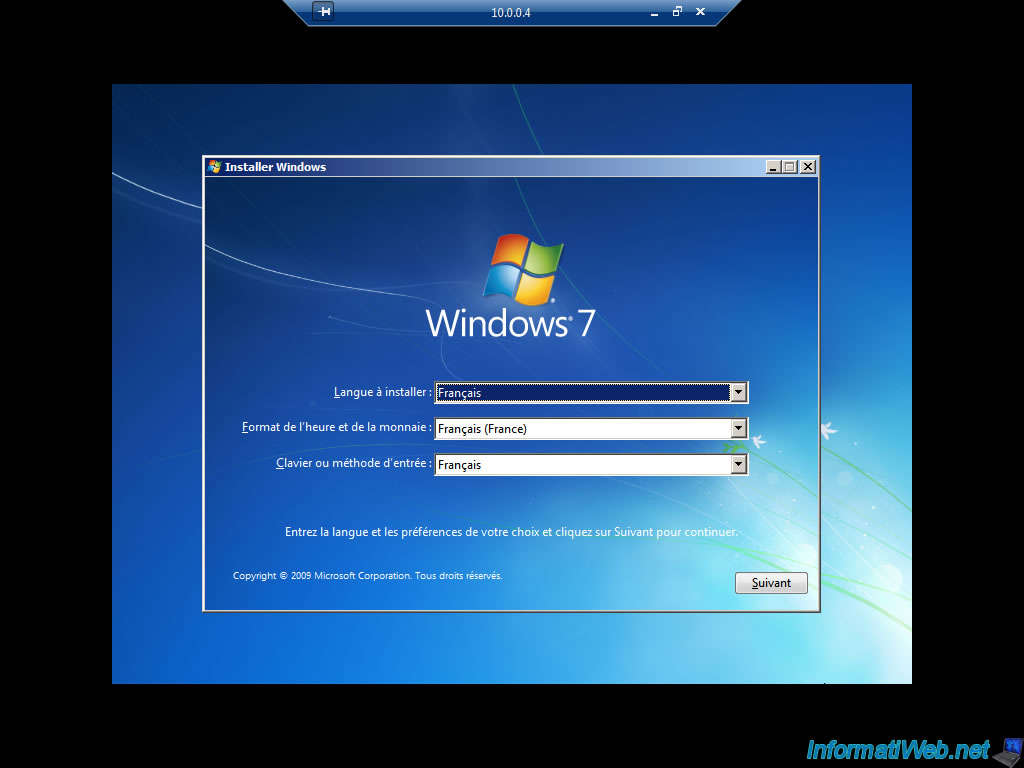
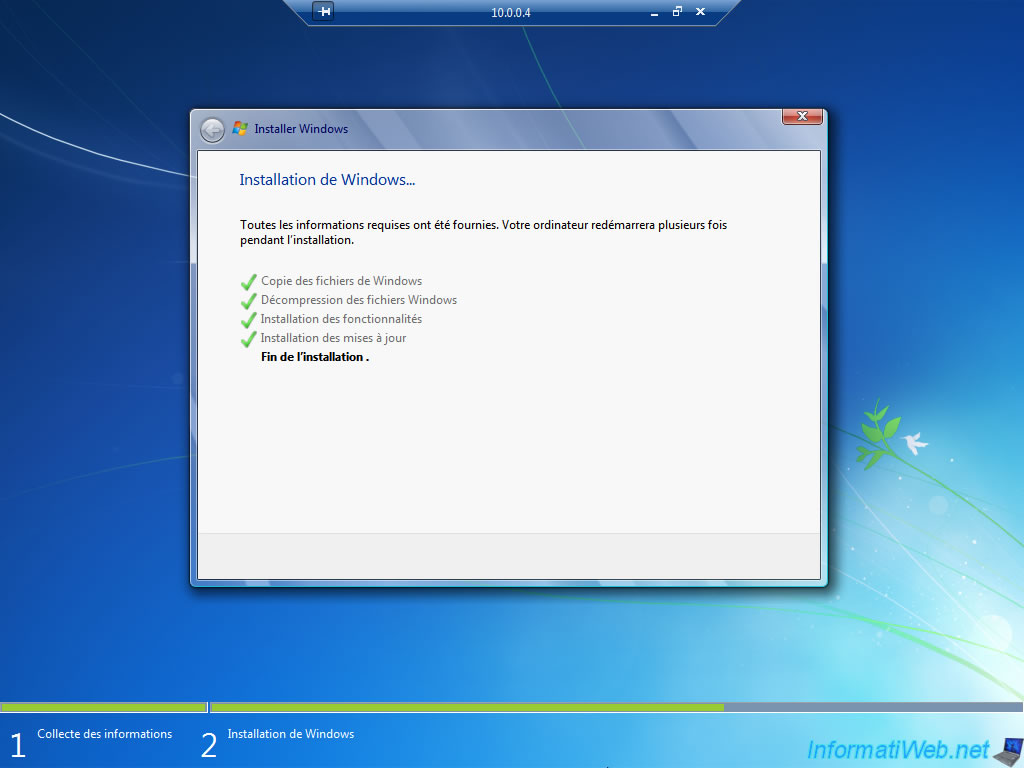
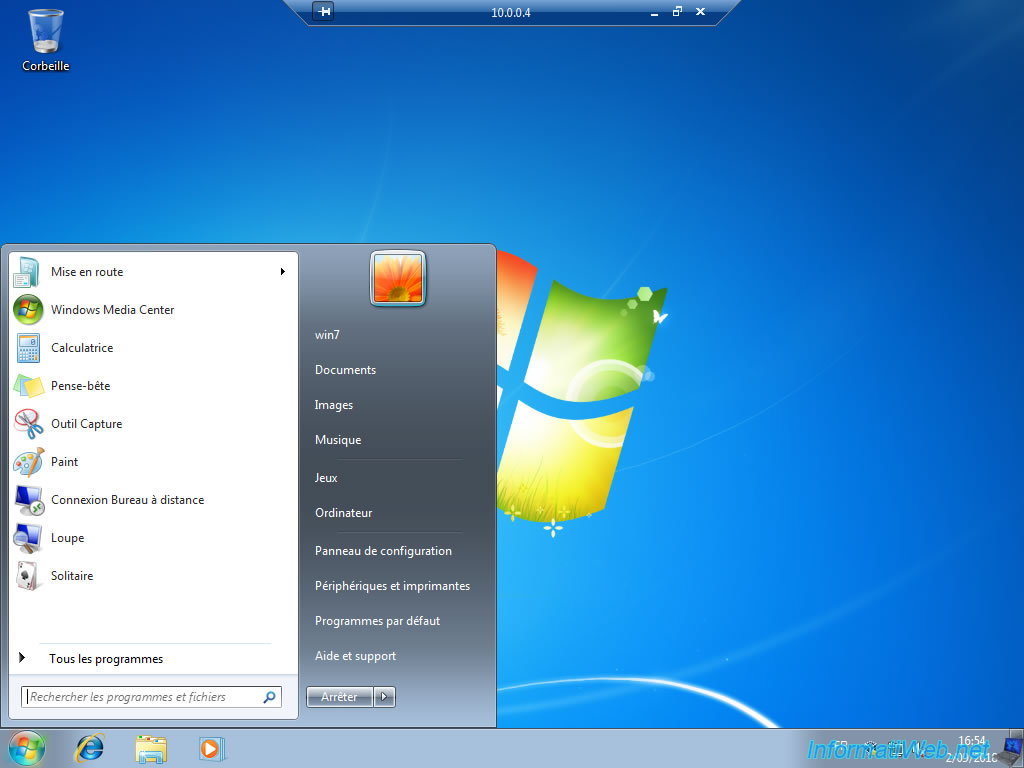
Now, you have access to your remote VM console to install the operating system you want.
If necessary, refer to one of our tutorials :
- Windows 10 - Formatting and reinstalling
- Windows 8 / 8.1 - Formatting and reinstalling
- Windows Vista / 7 - Formatting and reinstalling
- Windows XP - Formatting and reinstalling
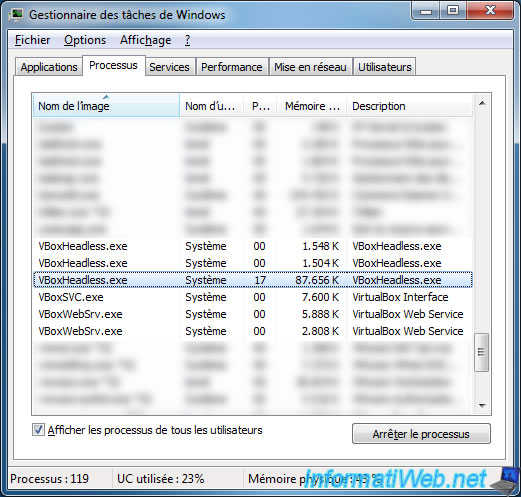
As you can see by launching the task manager on your server, the virtual machine managed from Hyperbox Client is managed on the server via "VBoxHeadless.exe" processes.
11. Install the drivers (guest additions) in the virtual machine
To install guest additions in the virtual machine, there is a shortcut in Hyperbox Client.
Minimize this window to return to Hyperbox Client.
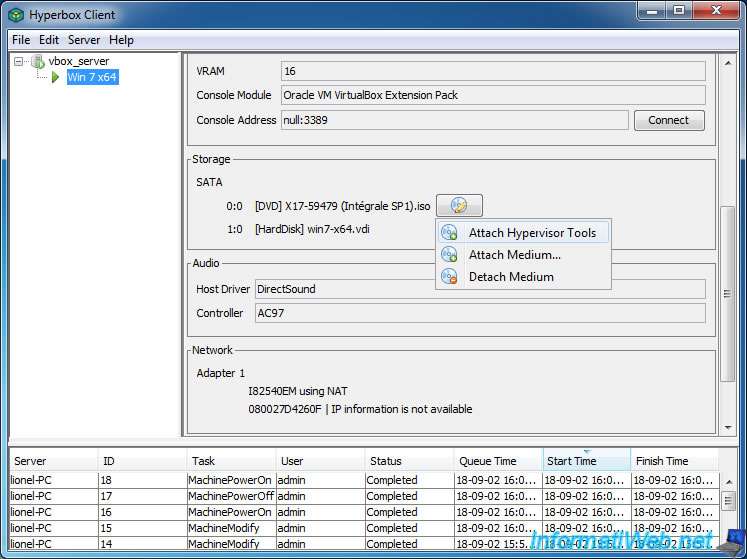
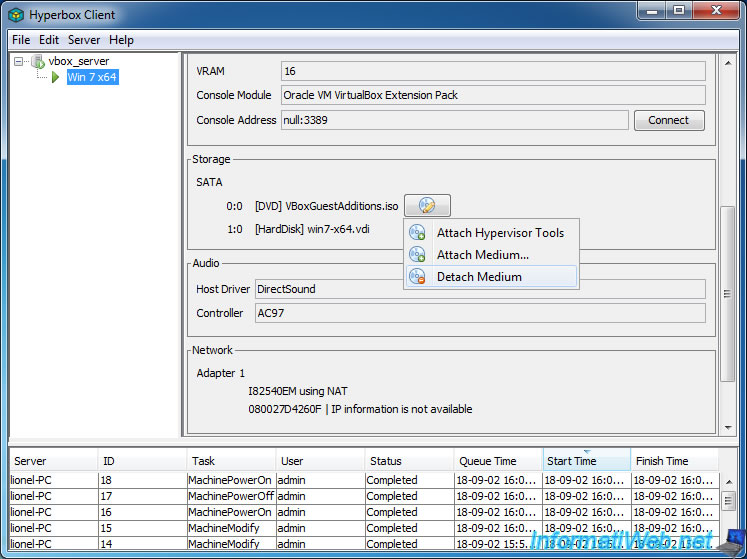
In the "Storage" section of your virtual machine, click on the button next to the "DVD drive" and then click on "Attach Hypervisor Tools".
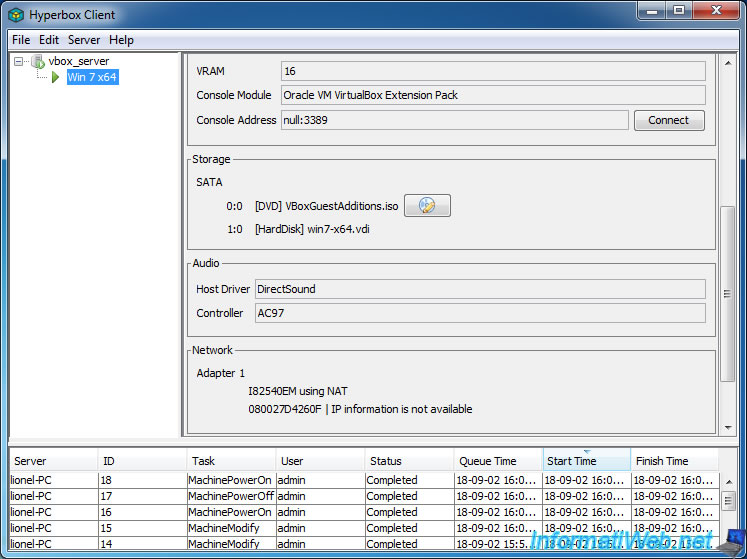
As you can see, Hyperbox will automatically insert the "VBoxGuestAdditions.iso" file into the DVD drive of your virtual machine.
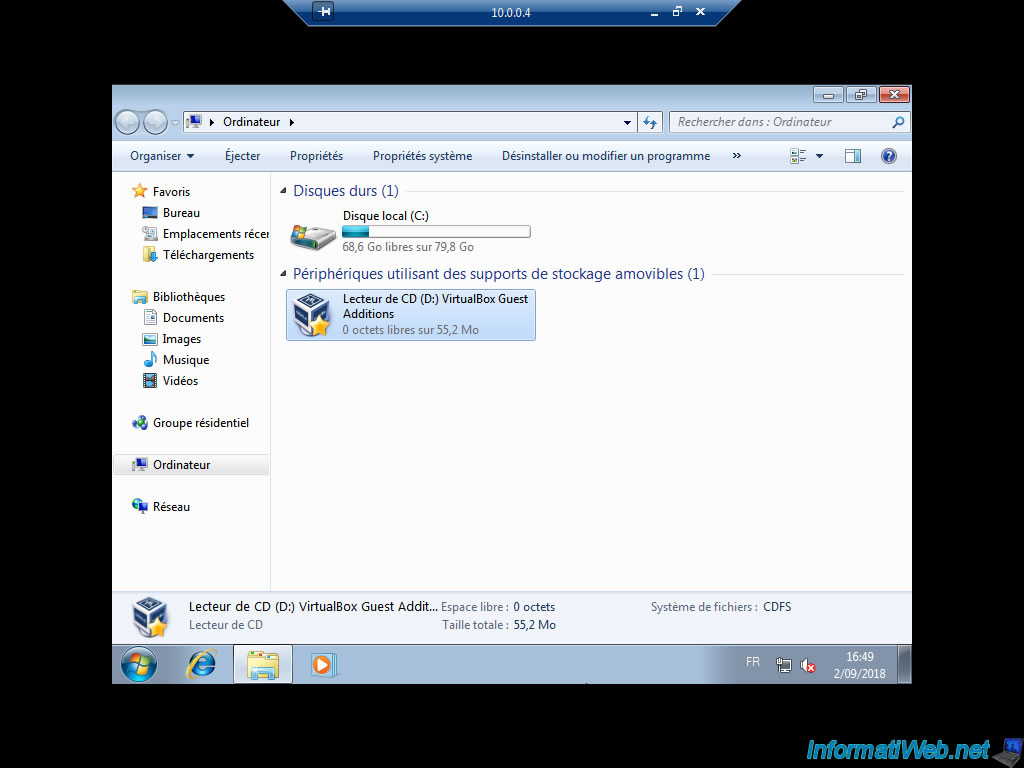
In your virtual machine, you will see the "VirtualBox Guest Additions" CD appear in the workstation (or Computer) on Windows.
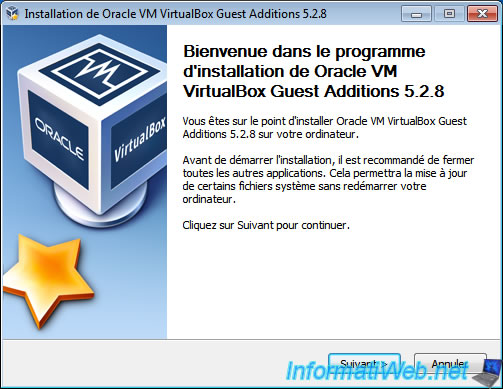
Start the installation of the drivers.
Once you have restarted your virtual machine, you can use it as in VirtualBox.

In Hyperbox Client, remove the drivers CD by clicking on "Detach Medium".
When you have finished using it, don't forget to turn it off so that it continues to turn unnecessarily in the background.
12. Storing virtual machines on the server
As mentioned before, Hyperbox will store your virtual machines in the folder configured from Hyperbox Client.
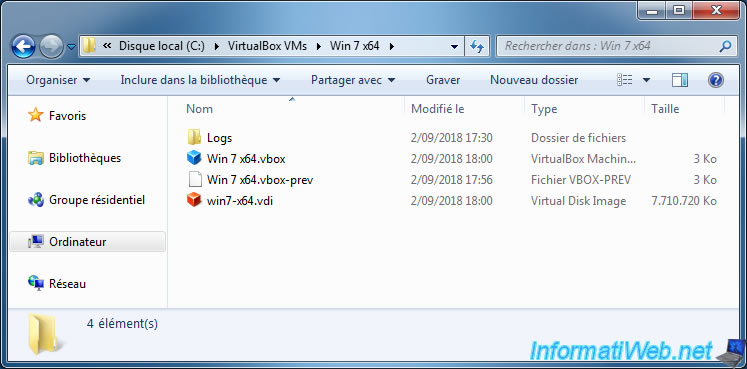
For each virtual machine, you will find the files used by VirtualBox by default :
- the configuration file in vbox format
- the virtual hard disk of this virtual machine
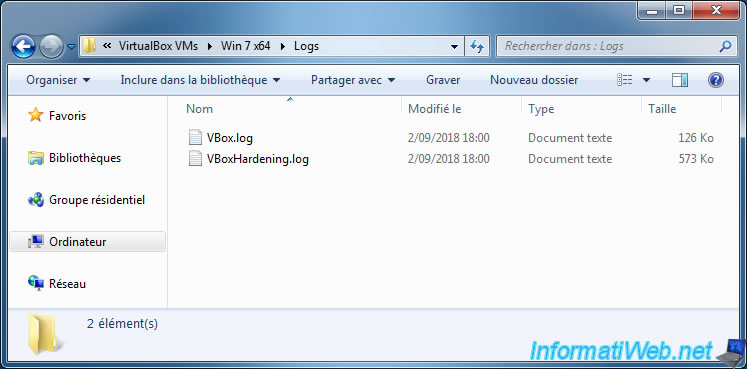
- a Logs folder
In the Logs folder, you will find helpful debug files when you have problems with your virtual machine.
Although Hyperbox uses VirtualBox in the background, virtual machines created from Hyperbox Client will not appear by default.
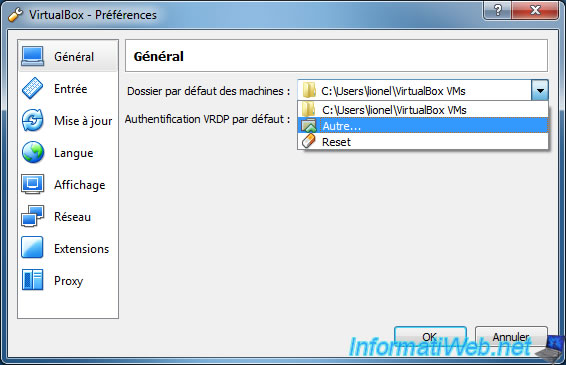
12.1. Change the default VM folder for VirtualBox
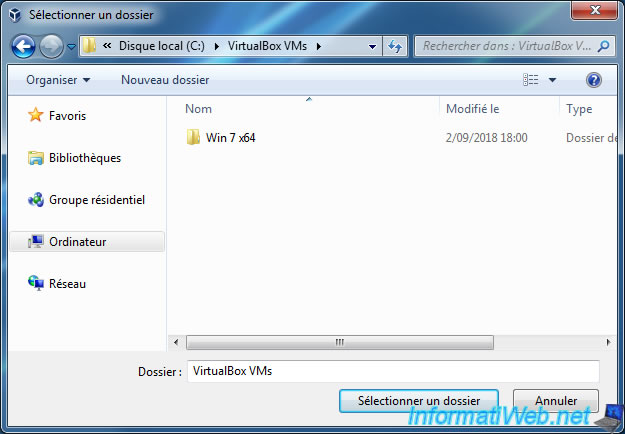
If you want to store VirtualBox and Hyperbox virtual machines in the same place, here's how to change the default machine folder in VirtualBox.
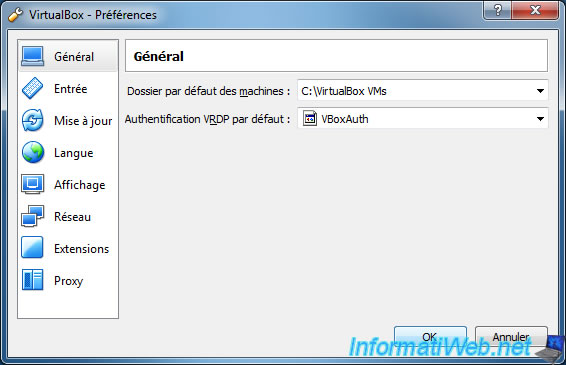
In our case, we selected this folder : C:\VirtualBox VMs
12.2. Add the virtual machine in VirtualBox
To add a virtual machine created via Hyperbox, simply double click on the ".vbox" file of this one.
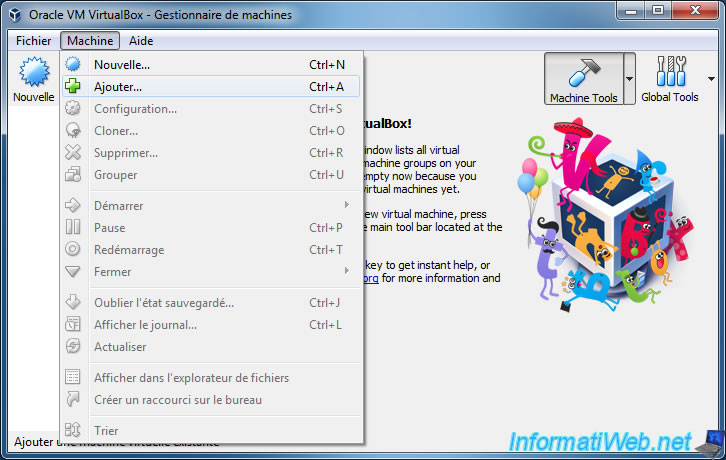
Or go through the "Machine -> Add" menu of VirtualBox.
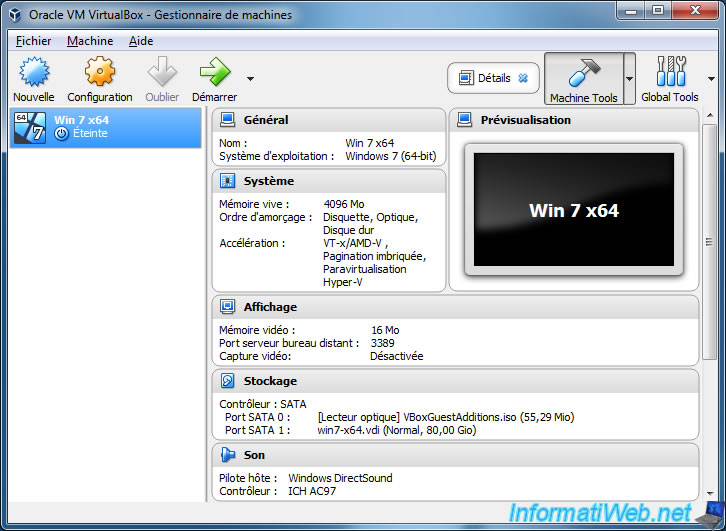
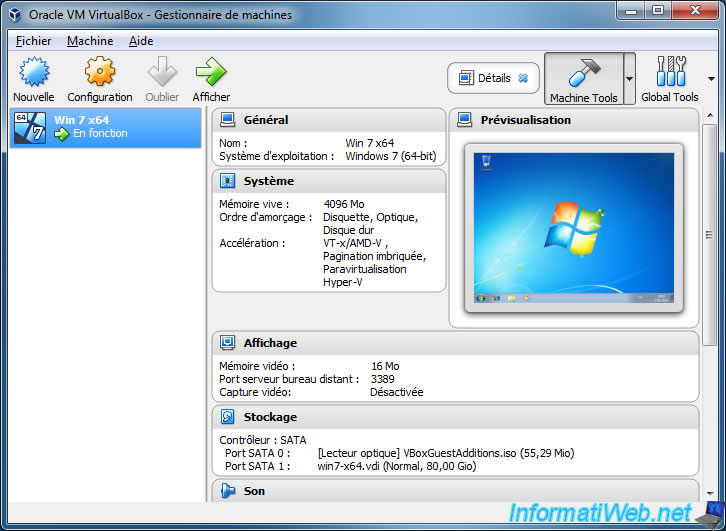
The virtual machine created from Hyperbox Client will appear in VirtualBox.
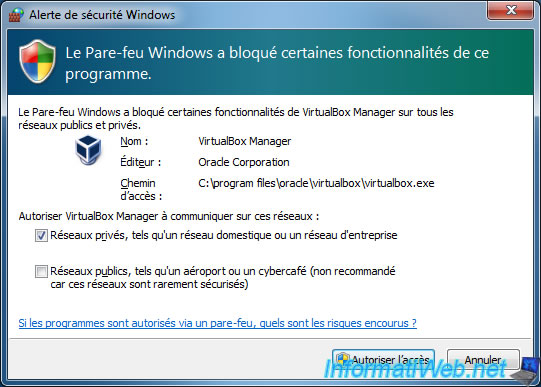
When you launch your virtual machine, Windows may display a security alert.
This is because the console (the Remote Desktop feature) of your virtual machine is enabled and VirtualBox manages this desktop remotely through the "virtualbox.exe" process.
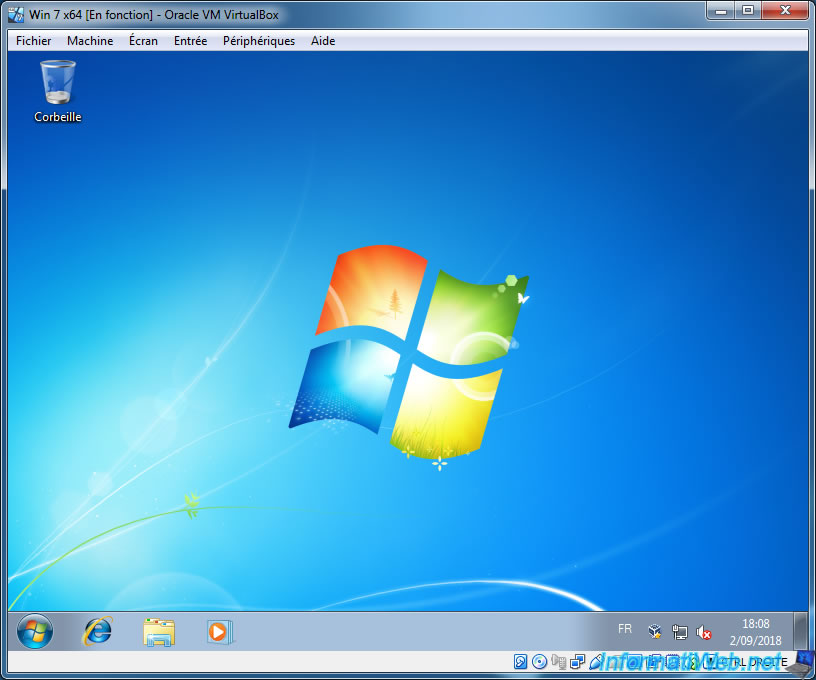
Since the virtual machine is well managed by VirtualBox (although you used it before via Hyperbox Client), it will also boot without any problems from VirtualBox.
Share this tutorial
To see also
-

Virtualization 8/30/2019
Hyper-V - Coexistence with VirtualBox or VMware Workstation
-
Virtualization 8/25/2018
VirtualBox - Clone a virtual machine (VM)
-
Virtualization 7/22/2018
VirtualBox - Configure settings of your VMs
-

Virtualization 11/6/2020
VirtualBox - Connect an USB key to a VM
No comment