- Windows
- Windows 7, Windows Vista
- 03 September 2020 at 09:25 UTC
-

- 1/4
Note: given the similarities between the installation of Windows Vista and of Windows 7, we decided to do one tutorial based on Windows 7 which is more popular than Windows Vista. So you can follow this tutorial to format your computer and reinstall Windows Vista or Windows 7.
This tutorial is primarily aimed at individuals and beginning to allow their format their computer and then reinstall "Windows Vista or Widows 7" (any edition). DVD of Windows Vista / 7 you are using must be the one corresponding to the edition you purchased and in good architecture.
Since Windows XP, Windows operating systems are available in two different architectures. Either 32 bits or 64 bits. The difference of these two architectures entered lies above the level of the bus width can be used. Either you install a Windows 32-bit and you can use a maximum of about 3 Gb of RAM or you install a Windows 64-bit and you are no longer limited only from the motherboard, depending on the number of RAM it supports.
Notes :
- Publishing "Starter" is not available in 64-bit version.
- There is no need to install Windows 64 with less than 4 Gb of RAM because it will have the opposite effect in performance. Same in the other direction, if you install a 32-bit Windows with more than 3 GB of RAM, the rest will anyway not be used. This is a hardware limit and not software.
- Warning : In 2 cases, if you do not have a graphics card, a small portion of the RAM (random access memory) is reserved for use as graphics memory.
If you have a license for Windows Vista or Windows 7 and you have lost your installation DVD, you can upload them by clicking on its name : Windows Vista / Windows 7.
Warning : first, as you warn that formatting erases all data on the partition where you perform. It is therefore necessary to save important data to another hard drive or another partition where Windows is located (usually "c"). If you do not have access to Windows, you must use a Live CD like "Hiren Boot CD". The Live CD contains a "Mini XP" that starts in RAM and can do much of anything. To use "Mini XP" Read our new article "Hiren Boot CD - Mini Windows Xp".
- Install Windows 7 / Vista
- Install the drivers of your computer
- Update Windows 7 to SP1
- Install SP2 (or Win 7 SP1 Convenience Rollup)
- Activate Windows 7
- Evaluate Windows 7 performance
- Update Internet Explorer to version 11
- Install the new Microsoft Edge web browser
- Enable automatic updates
- Install all remaining updates available for Windows 7
1. Install Windows 7 / Vista
Configure your BIOS to boot from the CD / DVD drive. If you do not know how, read our tutorial "Change the BIOS boot priority".
If the BIOS is configured correctly and the CD "Windows Vista" or "Windows 7" is in the CD / DVD drive, you should see the following message "Windows is loading files".
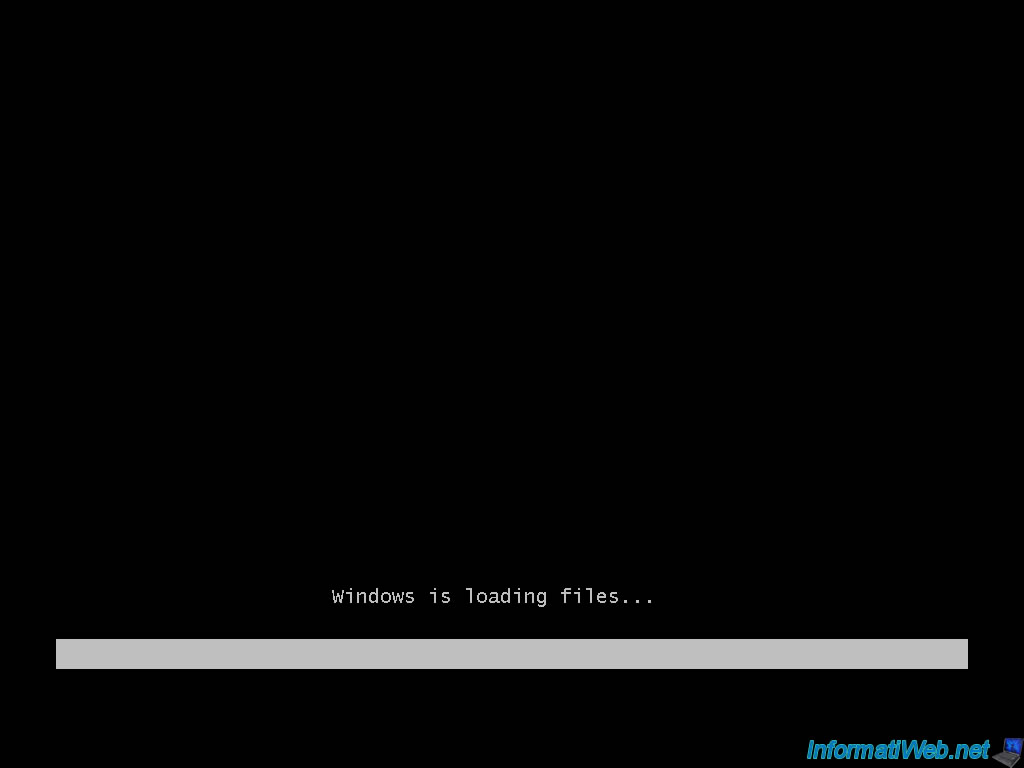
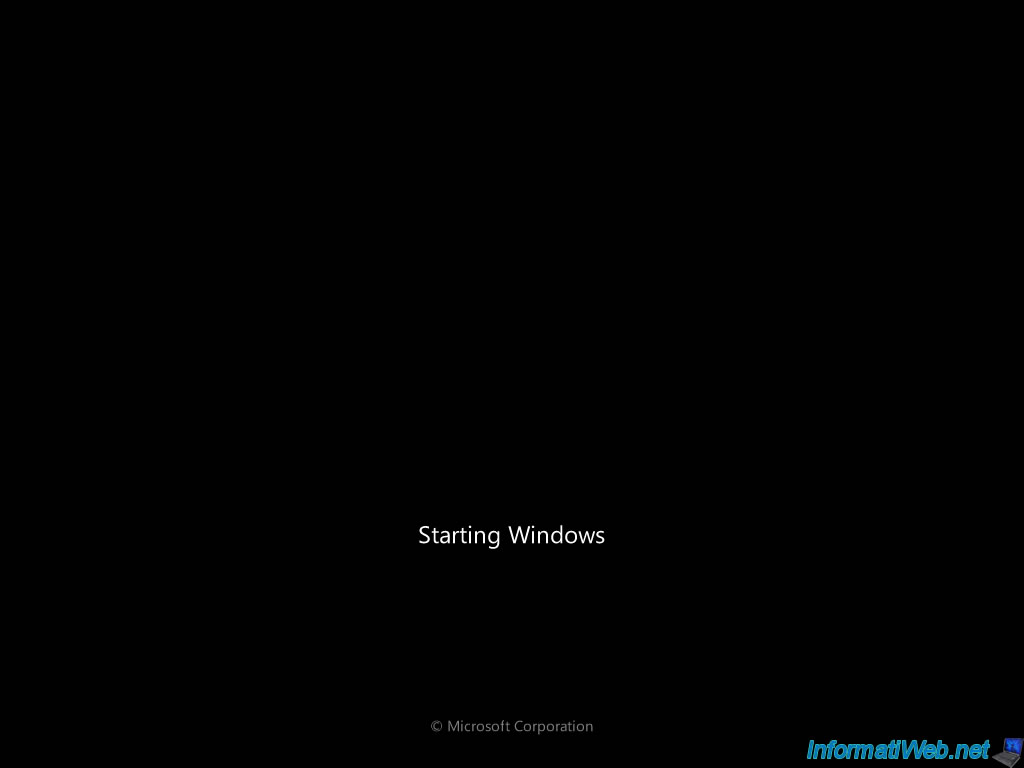
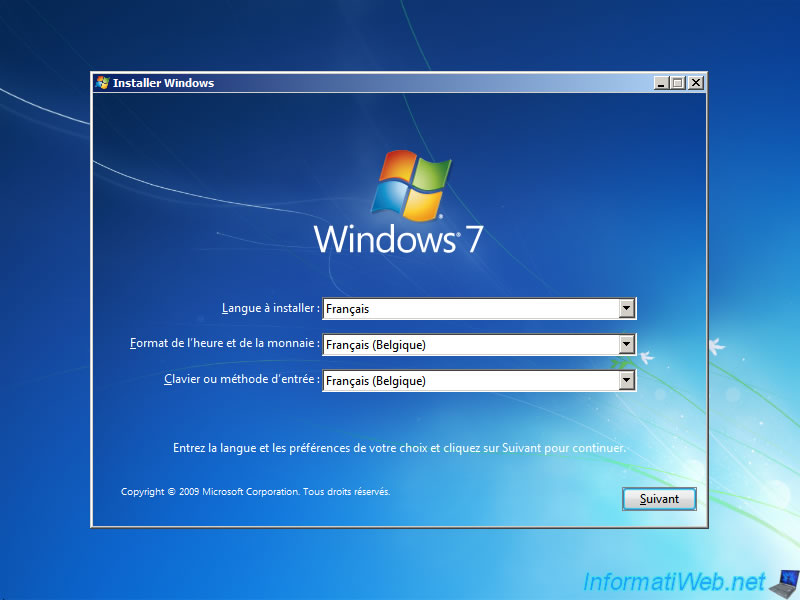
Select the language to install, the date format, the keyboard language, ...
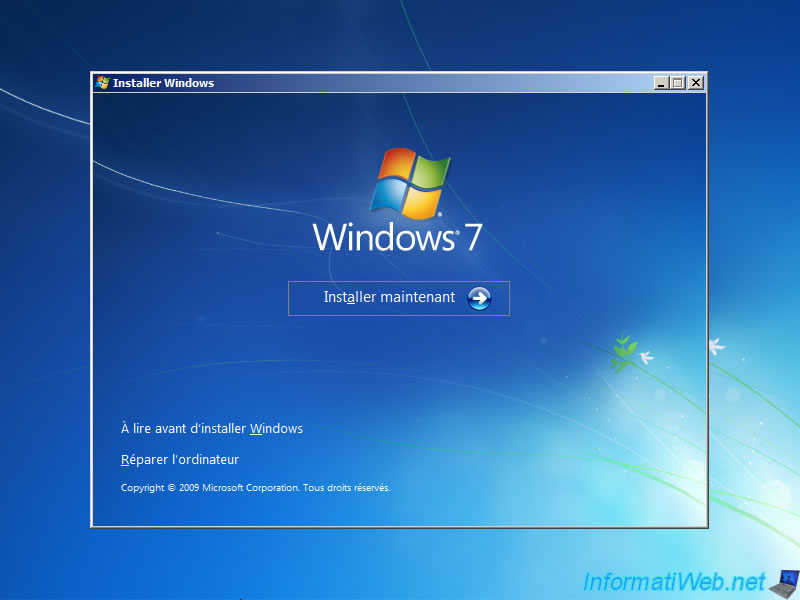
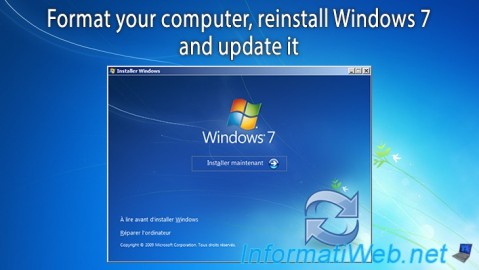
Click "Install Now."
Note : The "Repair your computer" option allows for example to repair the Windows startup, system files, test the memory (RAM), ...
The installer starts.
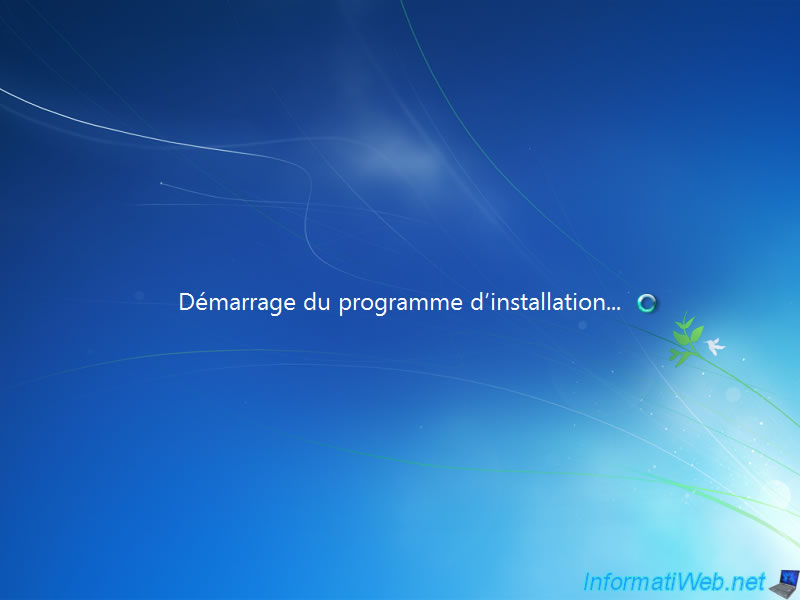
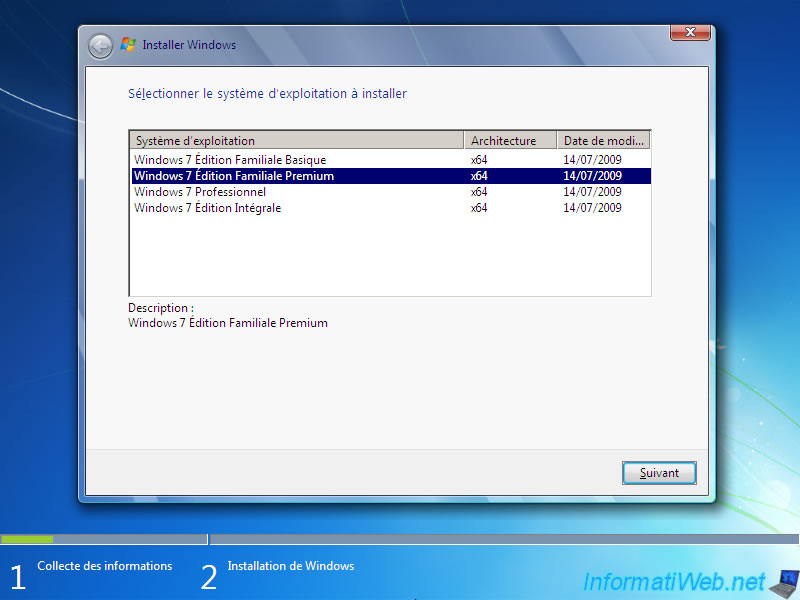
This screen is not displayed with the official DVD (unmodified) Windows.
If you removed the "ei.cfg" file located in the "sources" folder on the DVD of Windows Vista / 7, the installation wizard will prompt you to select the edition to install. It's very important to choose the edition you bought because otherwise you will not know to activate your copy of Windows, so that the operating system will remain in the trial version.
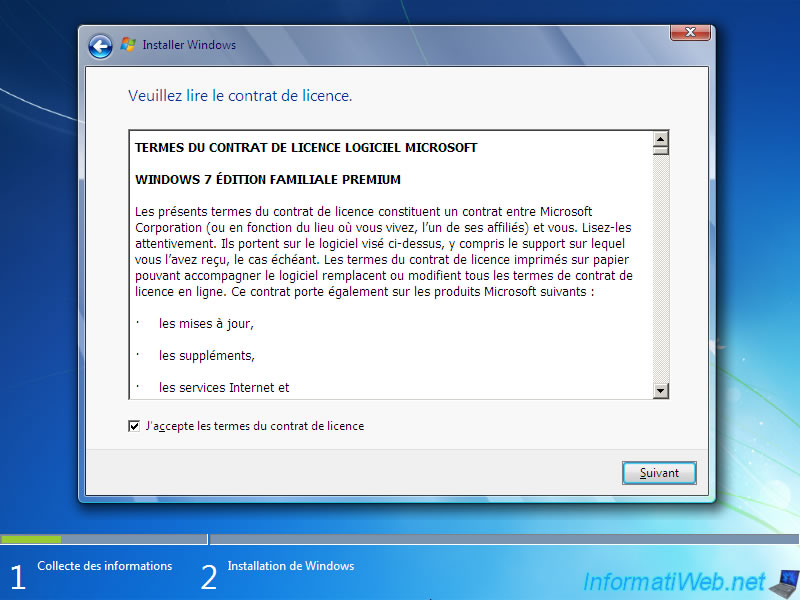
Check the "I agree..." box and click "Next".
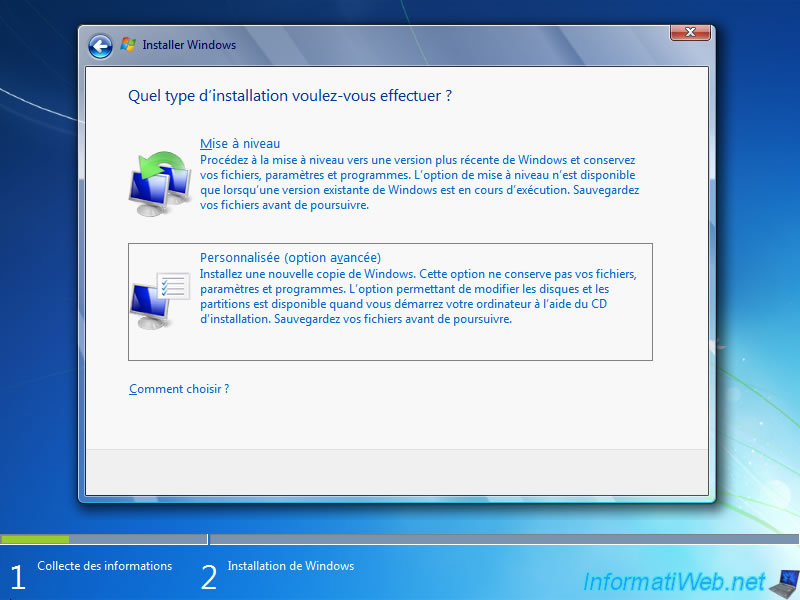
At this stage, two options are available:
- Either you have a full license and therefore you reinstall from scratch (format) by clicking on "Custom". This is the most common type of installation.
- Either you have an older version (license) and you perform an upgrade to "update" your version of Windows. It is possible to upgrade from "Windows XP" or "Windows Vista" to "Windows 7". Having said this type of installation must be run from Windows and not starting on the DVD. This version is less expensive because you must have purchased a previous version of Windows compatible with this upgrade.
In our tutorial, we will choose "Custom".
At this point :
- Whether you have a new hard drive you just bought so it isn't initialized or partitioned
- Either you have a hard drive where there is already data for example an operating system like Windows Vista or Windows 7, ...
In the first case, we must first create the partitions.
Since this tutorial is for beginners, we will explain so clear what is it.
Logically partition can cut your hard drive into several parts.
For example :
- In Part 1 (first partition), we will install Windows
- In other parts (other partitions), we will install games, programs and store personal data. Such as images, photographs, text documents, ...
The advantage of partitioning is the ability to delete a portion of the hard disk (usually the first partition where Windows is installed) without erasing the rest of the hard drive. So when Windows is set (either because of a virus, a blue screen or other equipment except the problem), it is possible to format the partition where Windows is installed and then reinstall without touching the rest of the data on the hard disk. Be careful though because the My Documents folder, office, ... are on the "c" partition that contains Windows.
To create these partitions, Click "Drive options (advanced)". If the partitions are already created, go down a little further down in this tutorial. Then click "New" and specify the size in MB of the partition to create then click "Apply" to create the partition.
For more information : 1 GB = 1000 MB. 40 GB is sufficient for Windows and small utilities.
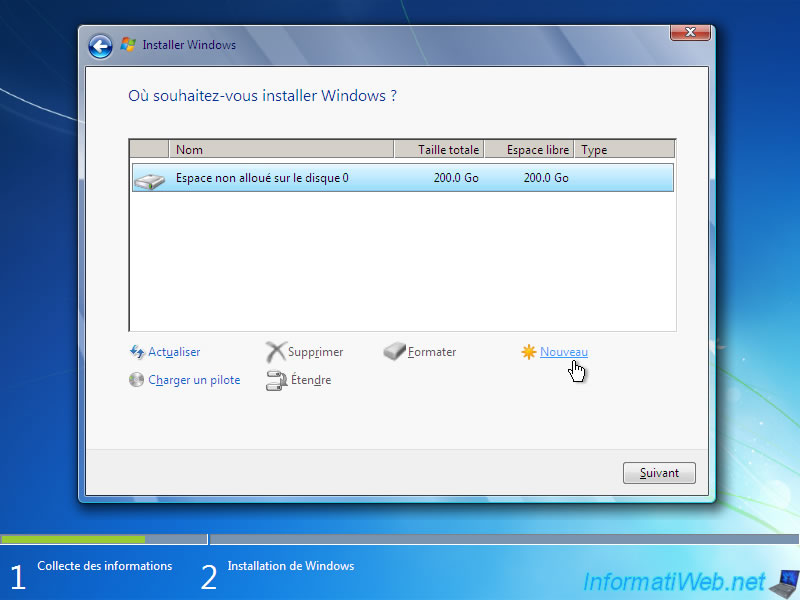
The installation wizard warns you that for the proper functioning of Windows, Windows might create additional partitions for system files. Click OK.
For the curious, there is the small partition "System Reserved" which contains the WinRE. WinRE recovery environment is mainly used to repair startup. The WinRE is also available on the installation DVD by clicking "Repair your computer".
Note : This additional system partition can cause problems when creating a multiboot. We must therefore create the partitions before installing Windows to avoid these problems. To create a Windows XP / 7 multiboot, read our tutorial "Tuto MultiBoot (XP / Seven with GAG) - On a single hard disk" or "Tuto MultiBoot (XP / Seven with GAG) - On 2 hard drives".
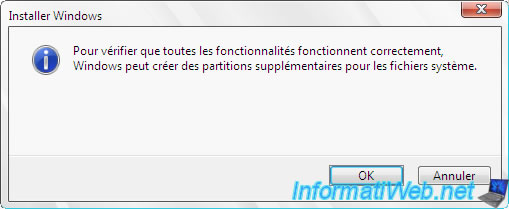
Select the remaining non-allocated space and again click on "New".
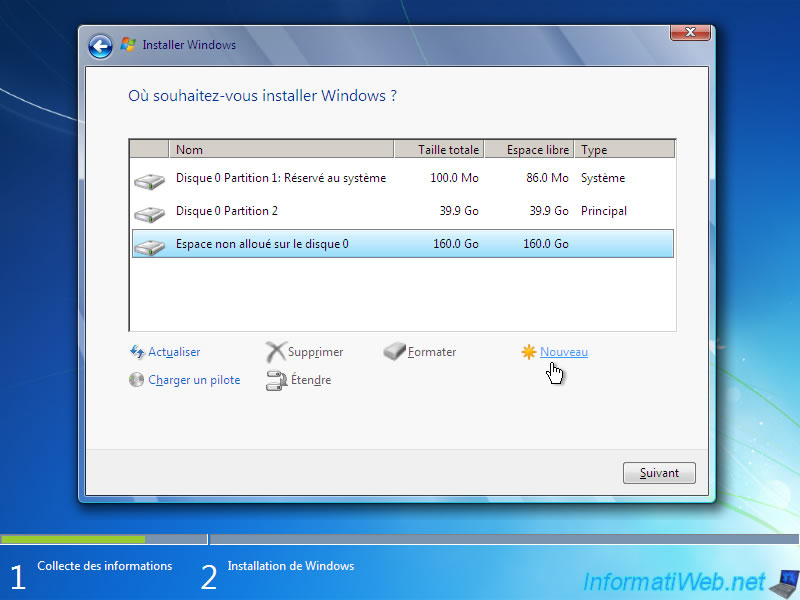
Leave the size indicated by default to create a partition throughout the remaining non-allocated space and click on "Apply".
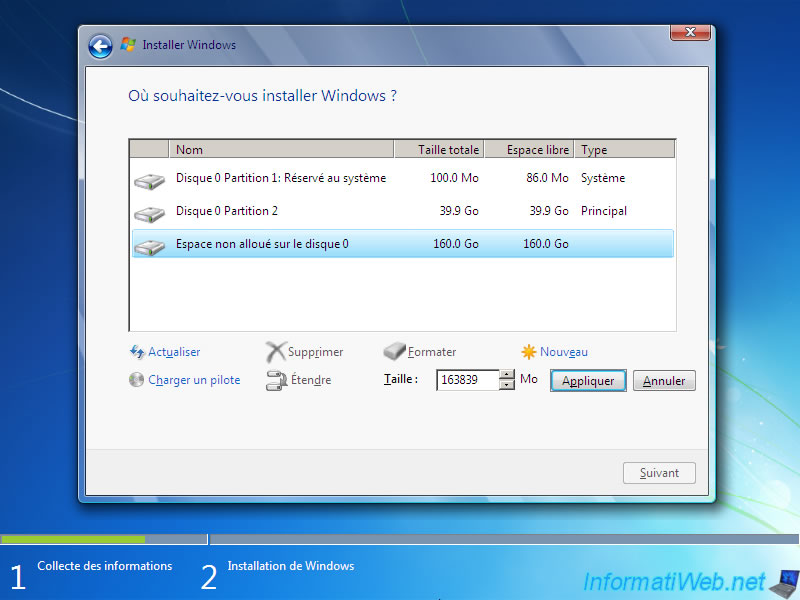
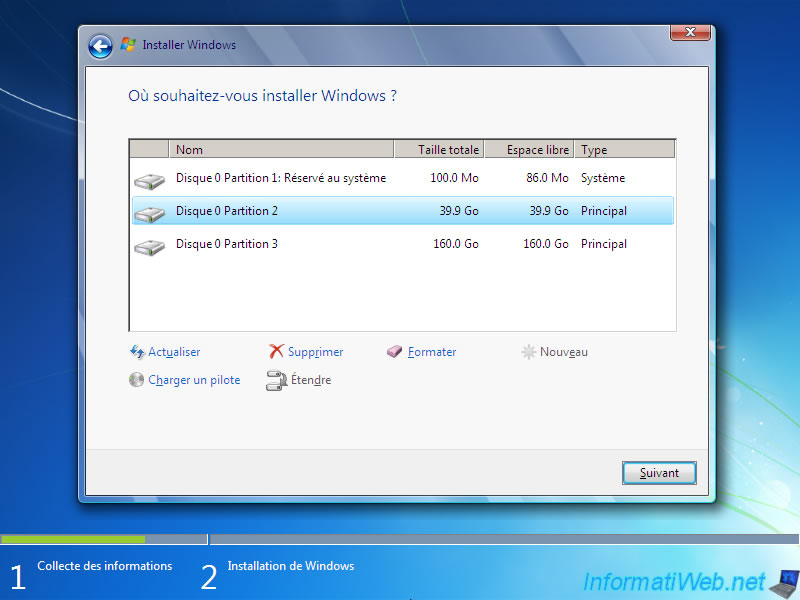
Once all the partitions created, click on the partition where you want to install Windows, and then click "Next." Unlike the installation of Windows XP, the wizard installs default next data found on the partition in question. If you want to erase the contents of the partition before reinstalling Windows on it, you must select the partition to delete and click on "Format" before clicking "Next."
Typically, you install Windows on the first partition because it automatically has the letter "c".
In the case of Windows Vista, 7 and 8 a system partition is created at the beginning of the hard drive. Nevertheless this sheet does not have letter as it is a hidden partition. The partition with the letter "c" will be the score 2 in this case below.
Unlike Windows XP, where it was mandatory to choose the first partition to avoid bugs (installation with a different letter "c") from the Windows Vista partition selected for installation pass "c" automatically.
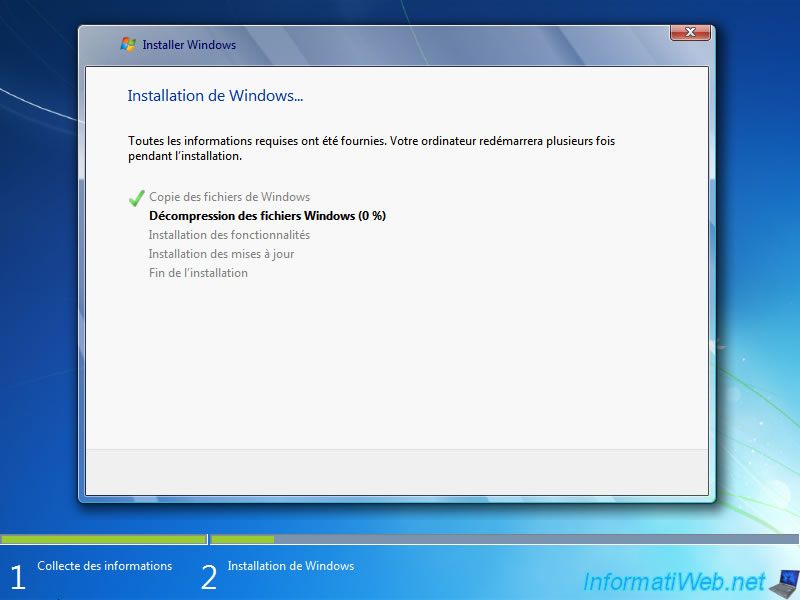
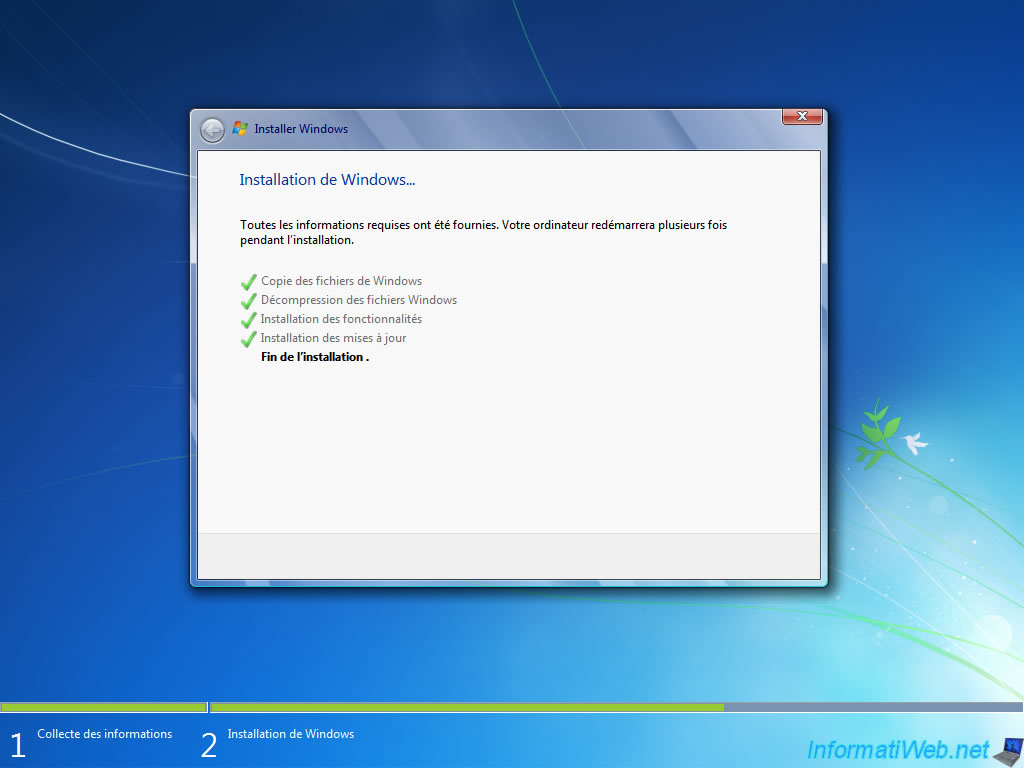
The installation wizard begins by first copying the install files on the hard drive and start the installation. Then, the computer will reboot to continue the installation.
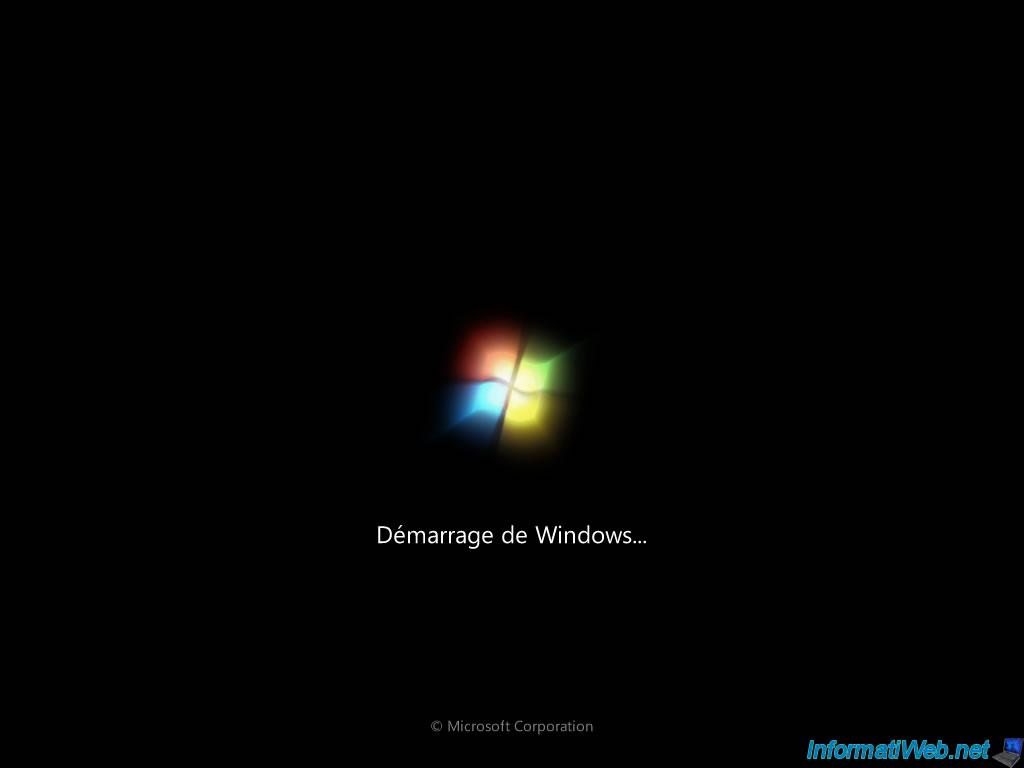
Upon restart, especially not press a key if prompted to do so, otherwise the installation will restart.
The message "Setup is updating registry settings ..." will show up and leave after the installation.
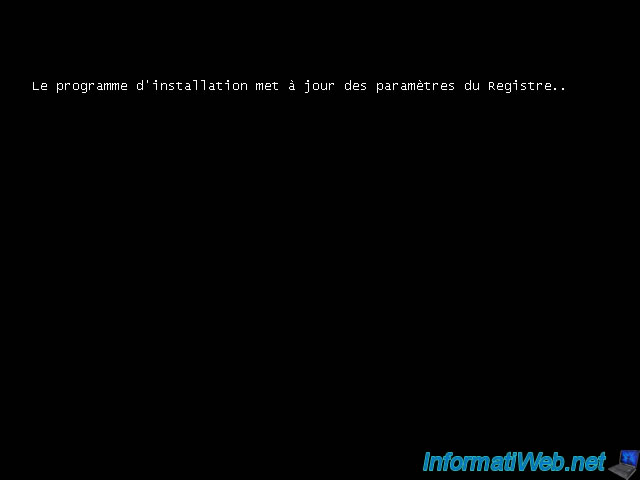
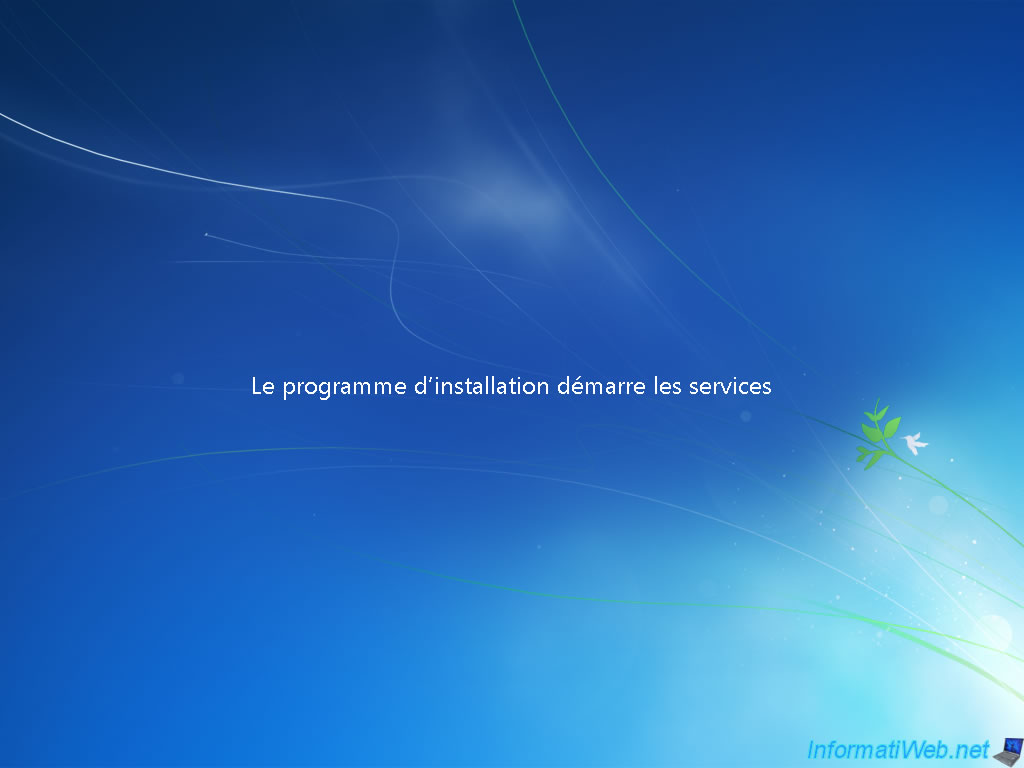
The installation wizard continues the installation before rebooting one last time to allow you to configure the last settings.
As indicated above, the installation program will continue after the last restart.
Windows first prepares the computer for the first time.
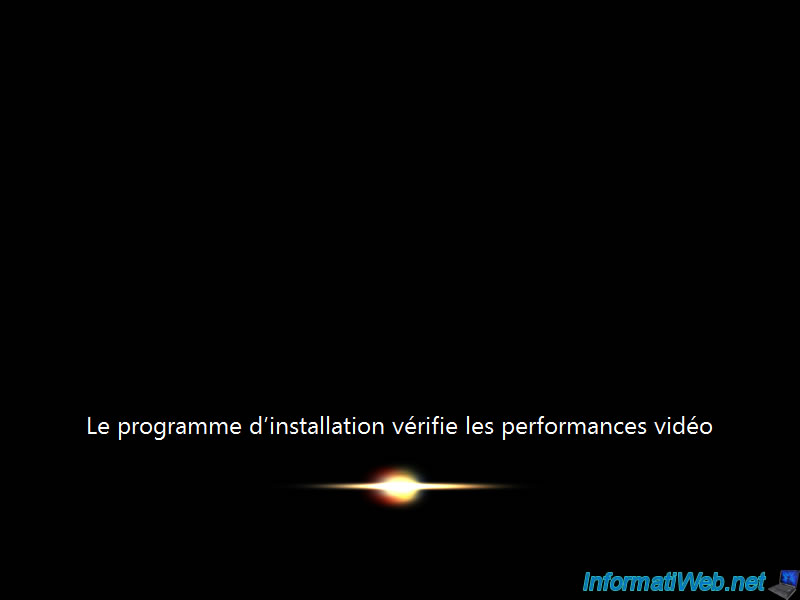
And then tested the video performance. Including aero interface (transparent windows).
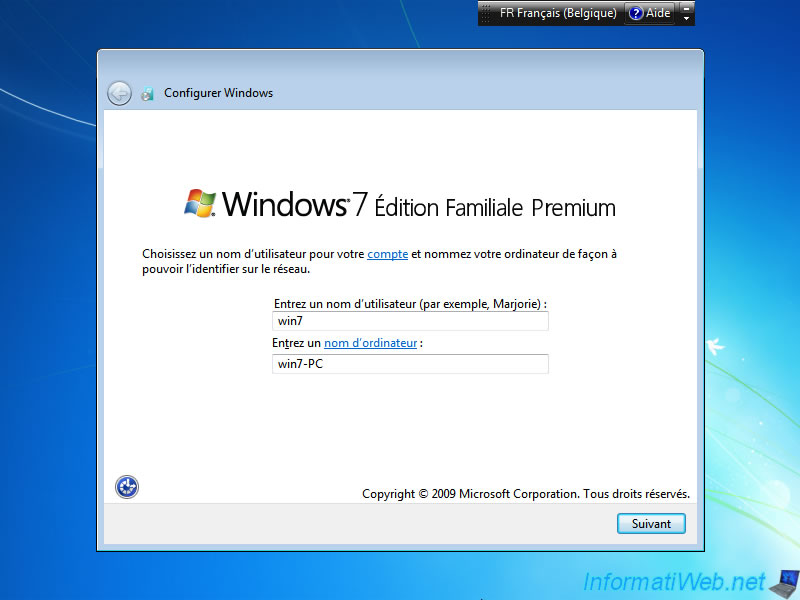
Enter the name of a user to create a computer name. By default, the computer name is based on the user name to create ([Username]-PC). Of course you can manually change it if you wish.
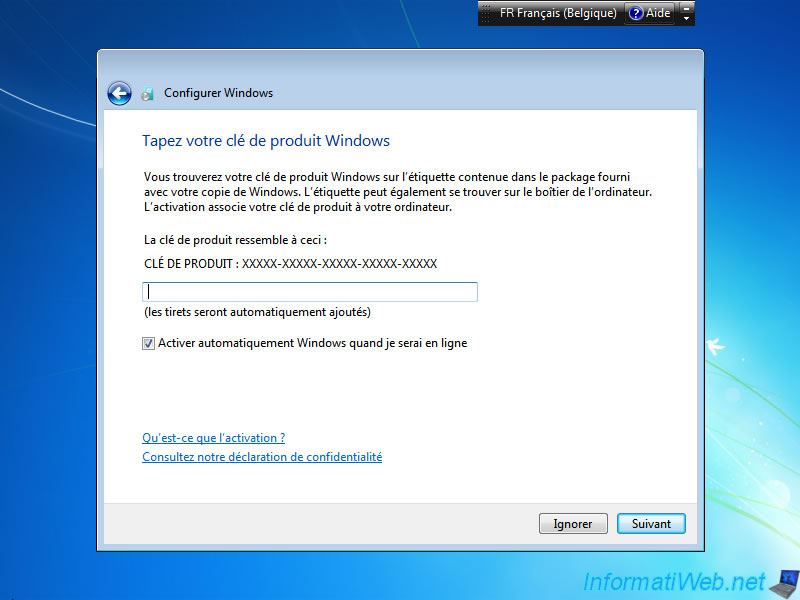
Type the serial number of Windows or skip this step to indicate later. If you do not enter your serial number, Windows will remain in trial version and prompt you to activate, once the deadline expired.
Note : If this is not the first time you activate your copy of Windows, it is possible that the Internet activation does not work. In this case, it is sufficient to activate by phone. Free number for activation works only from a landline phone. Otherwise you must use the pay phone number.
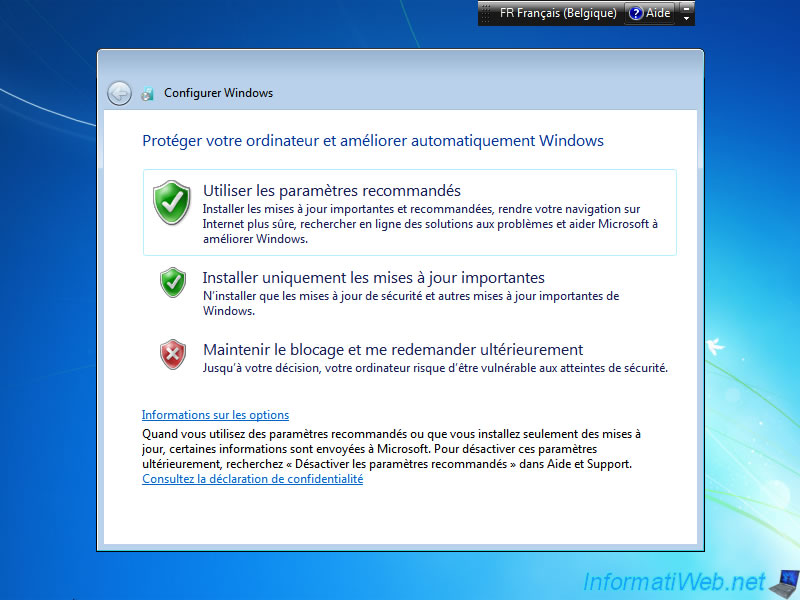
Click "Use recommended settings" to keep your computer up to date with automatic updates (Windows Update), and so protect yourself from hackers. This does not exempt you install an Anti-virus and Firewall.
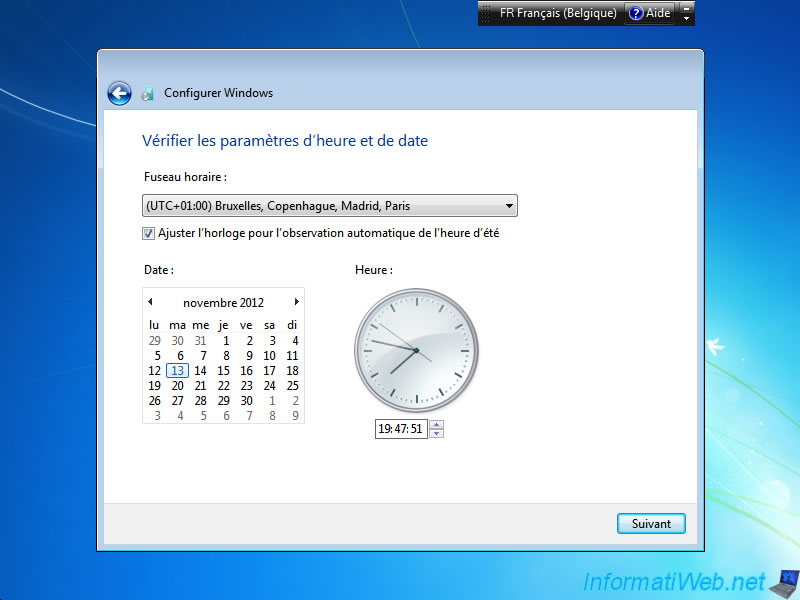
Set the date, time and time zone (if needed). These parameters are saved in the BIOS of the motherboard and are lost only when the battery "CR2032" 3V (on the motherboard) is discharged. However, this battery lasts for years before falling to 0V.
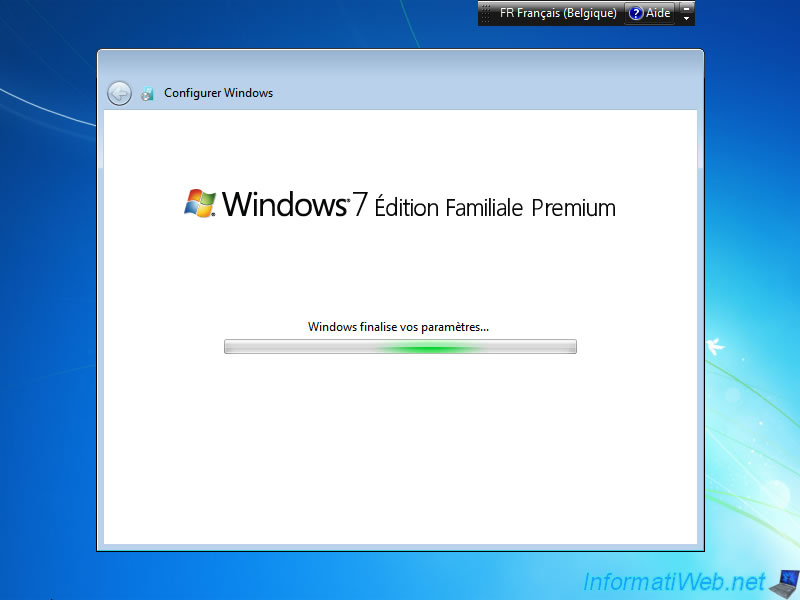
Windows finally completes the installation with the settings you just entered.
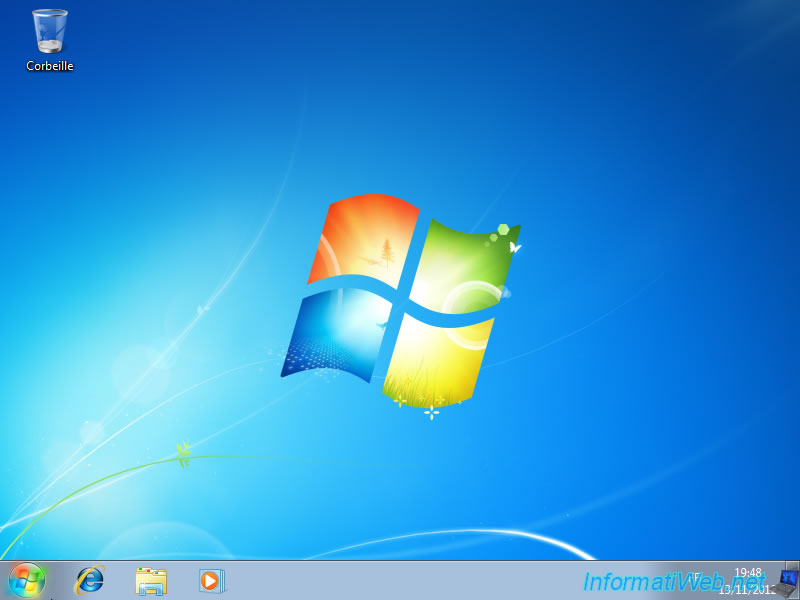
Once the installation is completed, you get on your desktop.
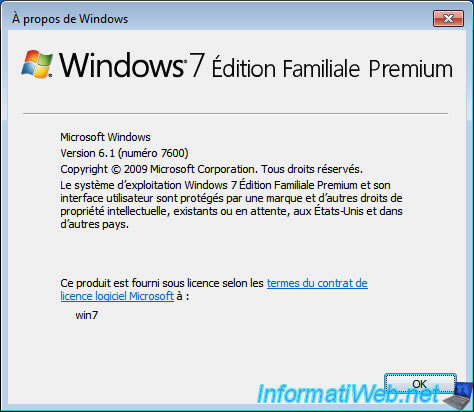
If we launch the "winver.exe" program, we can see that the installed edition (in our case) is "Home Premium".
2. Install the drivers of your computer
Now that Windows is installed, you need to install the drivers for your computer.
If necessary, follow our tutorial : Download and install your drivers
Share this tutorial
To see also
-
Windows 1/29/2021
Enable God mode on Windows
-

Windows 1/28/2017
Speed up your computer (ReadyBoost)
-
Windows 8/29/2022
Windows - Install the drivers from the manufacturer's site
-
Windows 12/19/2020
Windows 7 - Installation on an USB support
You must be logged in to post a comment