Manage the priority of use of network cards on Windows 7, 8, 8.1, 10 and 11
- Windows
- Windows 8 / 8.1, Windows 7, Windows 10, Windows 11
- 05 February 2021 at 15:55 UTC
-

- 2/2
2. Manage the priority of network cards on Windows 10 and 11
2.1. Change the order of network cards on Windows 10 (1st version)
On the first version only of Windows 10, the management of the priority of the network cards was always possible as you could do it in the previous versions of Windows.
On this version of Windows 10, right-click the network icon in the taskbar, then click : Open the Network and Sharing Center.

Click : Change adapter settings.
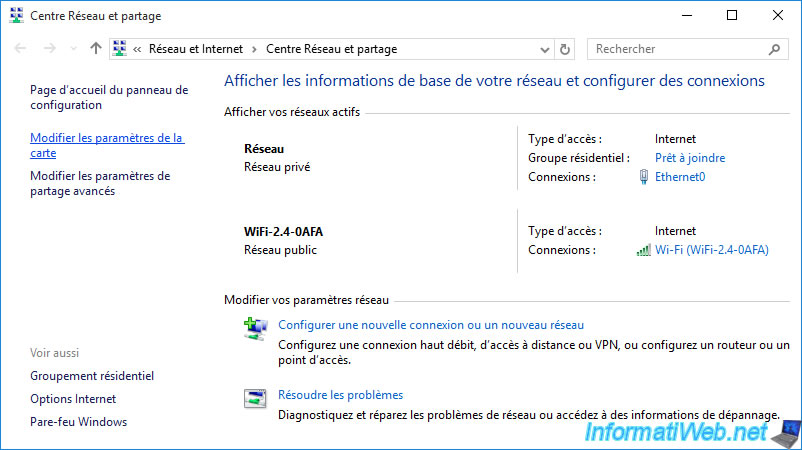
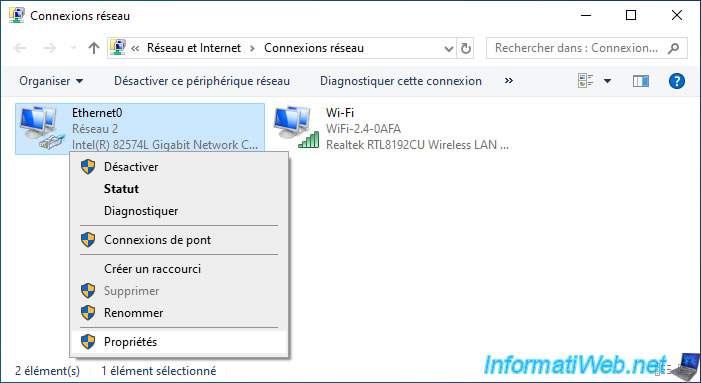
Your network cards are displayed.
In our case :
- a wired network card : Ethernet0
- a wireless network card : Wi-Fi

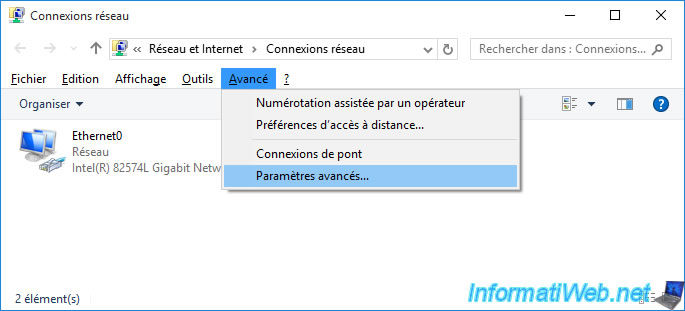
Press the ALT key on the keyboard and click on : Advanced -> Advanced settings.
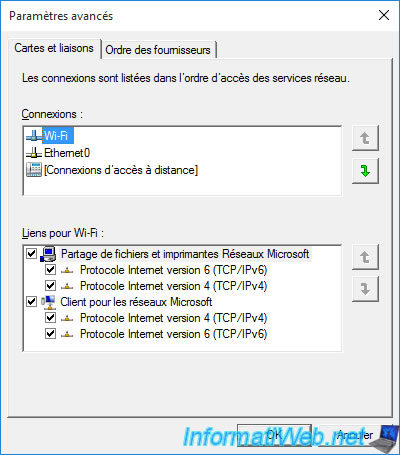
For the moment, Windows tells us that the Wi-Fi network card has priority over the Ethernet0 network card.
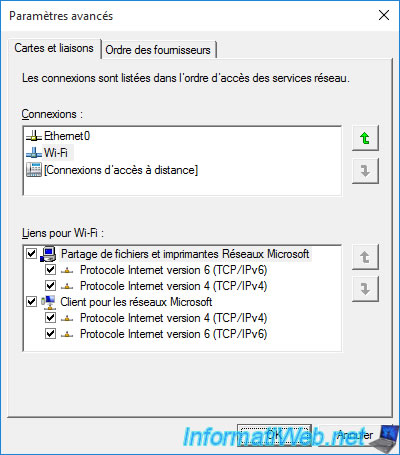
Change the order of the network cards using the arrows on the right, then confirm by clicking OK.
2.2. Use the metric to manage the priority of network adapters on Windows 10 and 11
As previously mentioned, the simple option explained above to manage the priority of network cards is no longer available since the anniversary version (1607) of Windows 10.
However, you can still manage the priority of your different network cards using the "Metric" setting of the TCP/IP protocol.
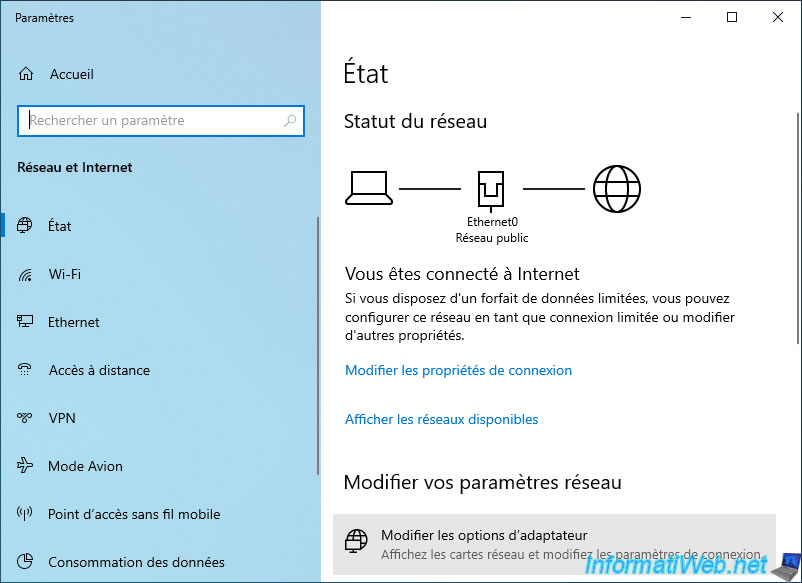
To do this, on Windows 10, right-click on the network icon next to the time and click on : Open Network & Internet settings.

Go down a bit and click on "Change adapter options".
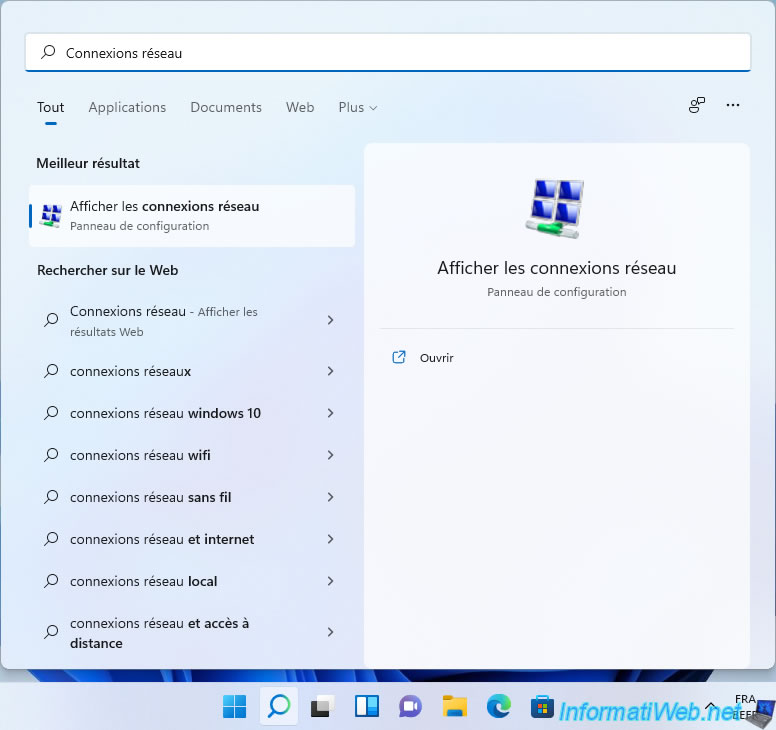
On Windows 11, open the start menu, find "Network connections" and click on the "View network connections" result.
Right-click "Properties" on the Ethernet network card.
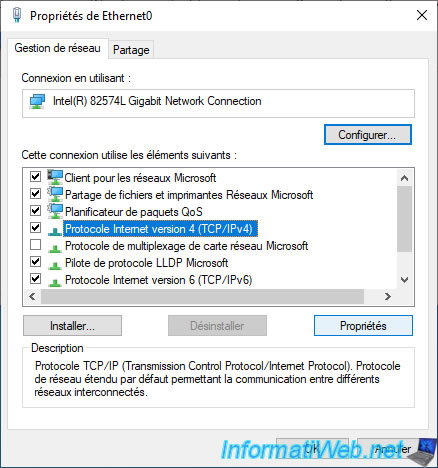
Select "Internet Protocol Version 4 (TCP/IPv4)" and click Properties.
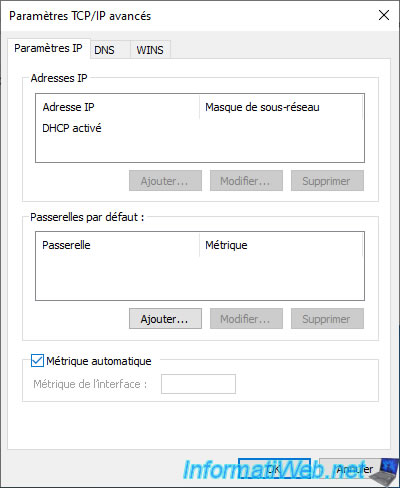
Click on : Advanced.
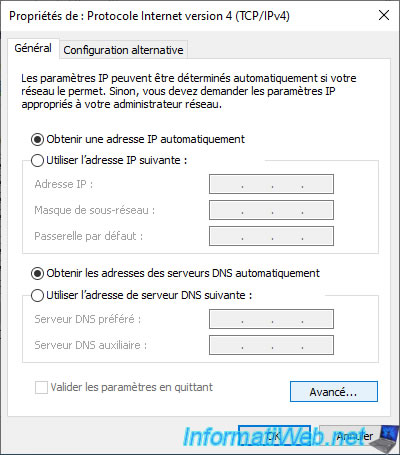
Uncheck the "Automatic metric" box.
Specify a weak metric for the network card to use in priority.
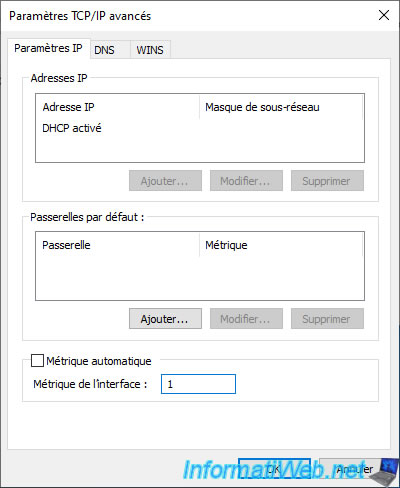
And a higher metric for those with lower priority.

Share this tutorial
To see also
-

Windows 1/8/2021
Upgrade from Windows 7 to Windows 10 (free)
-

MultiBoot 7/1/2024
VHD/VHDX multiboot with Windows 10 and Windows 11
-

Windows 4/23/2021
Windows 7 - Configure default programs
-

Windows 3/26/2021
Windows 7 - Create a bootable USB key of the system repair disc
No comment