Redirect ports (NAT) in a Bbox and open them at Proximus
- Windows
- 02 December 2024 at 16:04 UTC
-

- 2/3
4. Configure your domain name (at OVH)
Although you can access your web server by typing in your external IP (WAN) address, it is simpler to use a domain name.
To do this, at OVH, connect to your OVH account, then go to: Web Cloud -> Domains -> [your-domain-name] -> DNS zone.
Next, click the "..." button for the DNS type "A" record of the root domain (if you want to use the root domain) or use the "Actions" menu if you want to add a subdomain (option : Add an entry).
Choose to create a DNS type "A" record, provide a name for your subdomain, then provide the IPv4 address (ex: xx.xx.xx.xx) in the "Target" box.
The goal is that the root of your domain (eg: informatiweb-tuto.net) or a subdomain (eg: www.informatiweb-tuto.net) points to the external IP address (WAN) of your Box.
This is the IP address assigned by your ISP to your Box and it may change from one day to the next or from one week to the next.

5. Redirect ports in your Proximus bbox
To be able to access your web server from the Internet, it is necessary, in this case, to redirect port 80 TCP (which corresponds to the HTTP protocol).
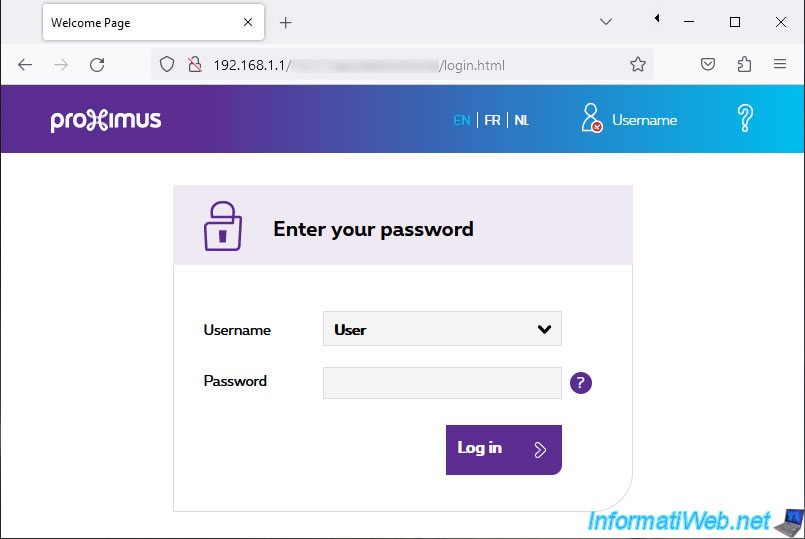
To do this, type the local IP address "http://192.168.1.1/" of your Proximus bbox.
You will be asked for a User password.
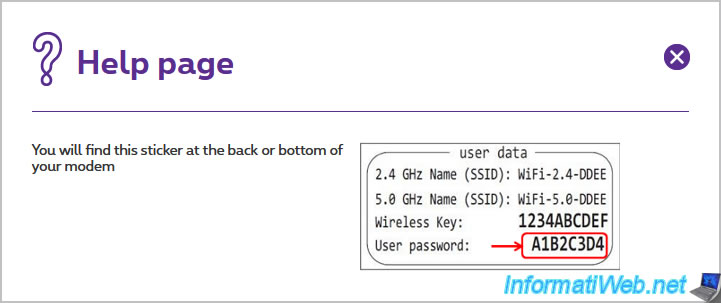
Click on the "?" icon located to the right of the "Password" box.
As Proximus tells you, this is written on the back of your Proximus bbox. Just below the default key for your bbox's Wifi network.
Type this password, then click "Log in".
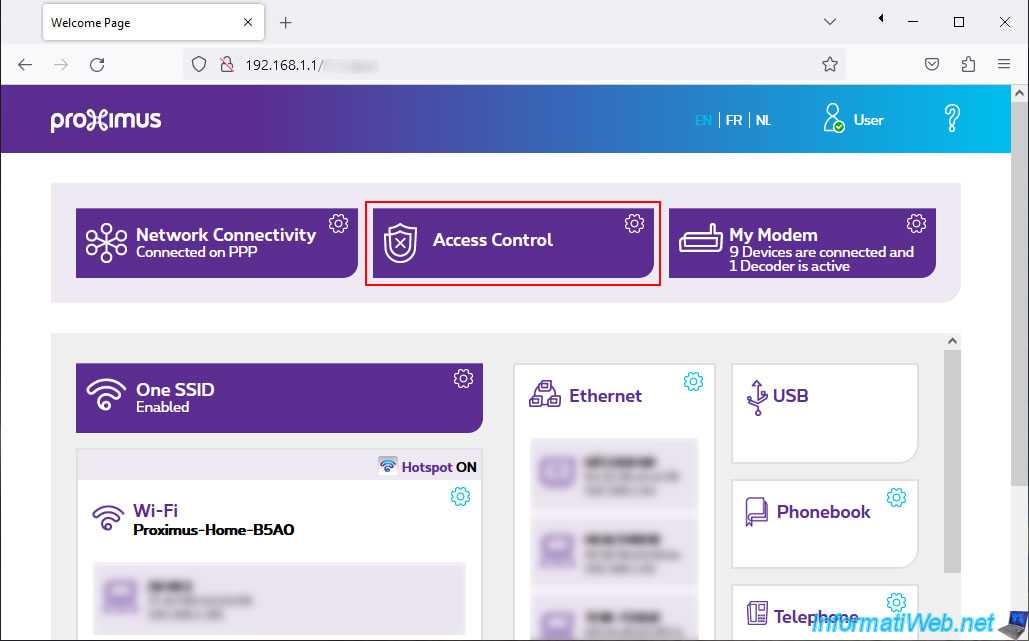
In the interface that appears, click on the big purple "Access Control" button.
Go to the "Port Mapping" tab (better known as "Port Forwarding").
Warning : wait 10 seconds after the page finishes loading for the list of already defined port forwardings (if any) to appear.
Indeed, the list does not appear instantly.
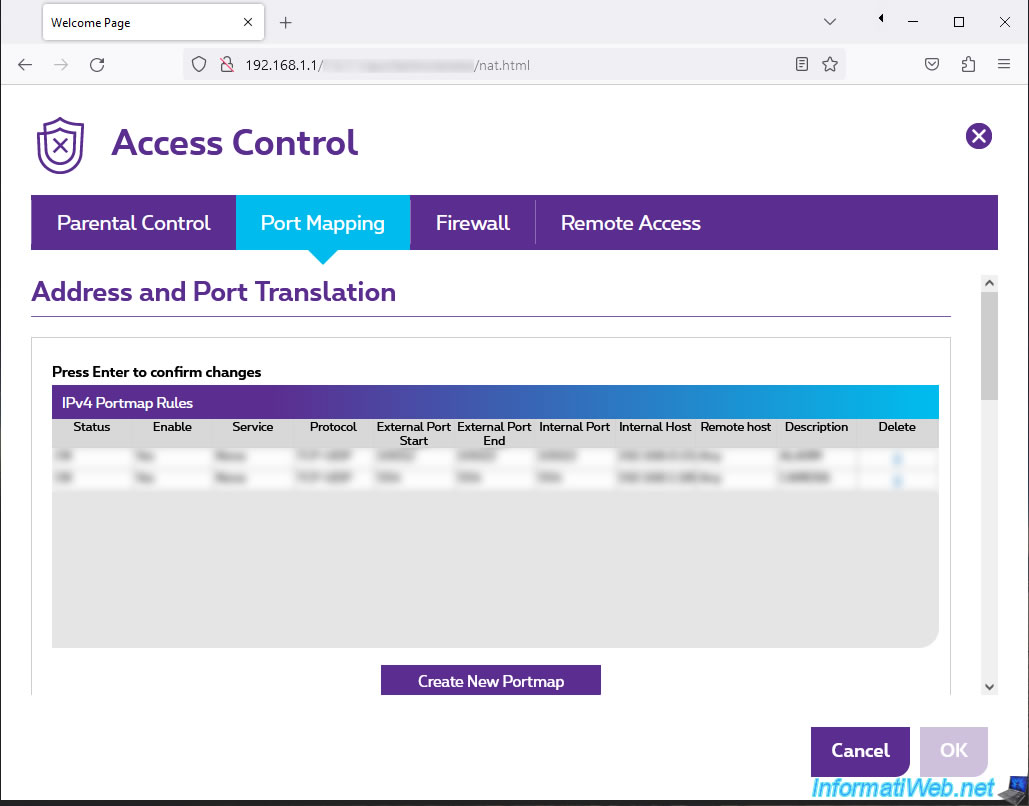
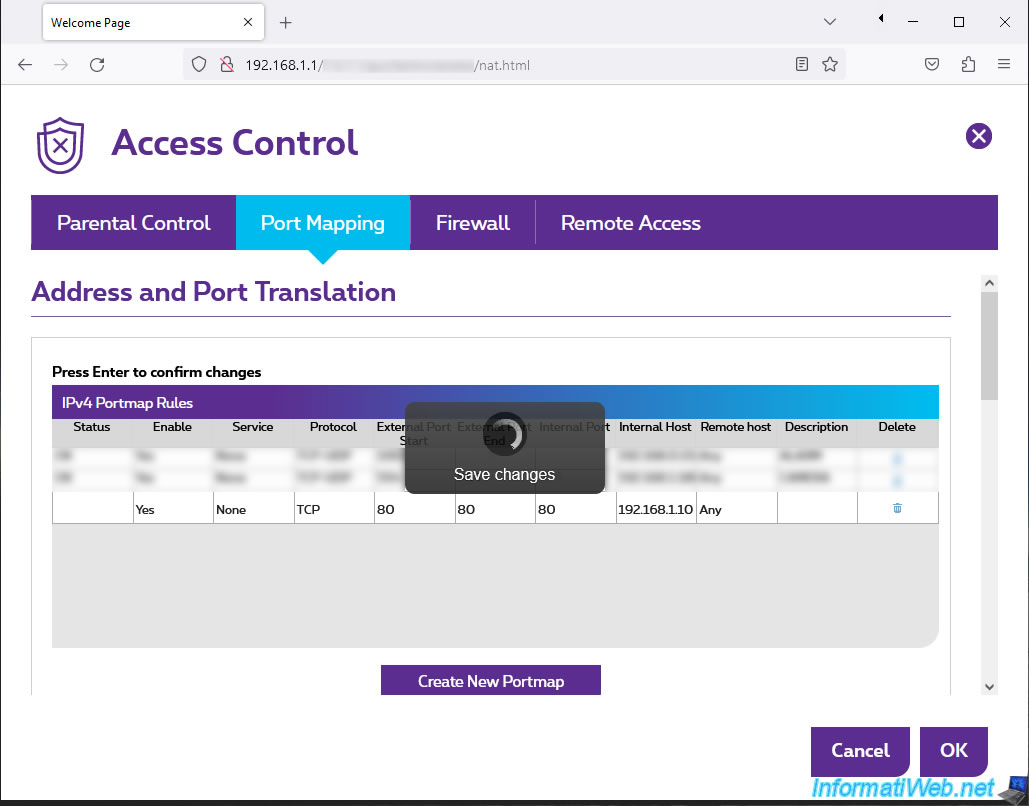
Click on the "Create New Portmap" button and fill in the fields like this:
- Enable: check the box to enable forwarding of the desired port.
- Service: select "None" to manually specify the port number in the following boxes, then specify 80 in all 3 boxes (as explained below).
Otherwise, select the desired service, in this case "HTTP" so that the port numbers are populated automatically.
In this case, the number "80" (which corresponds to the HTTP protocol). - Protocol: the protocol to use.
In the case of HTTP protocol, the type is "TCP". If necessary, do a Google or Wikipedia search for other protocols. - External Port Start: the port number that will be used for accessing the web server from the Internet.
By default, 80 for HTTP. Therefore, you will not have to indicate it in the address bar of the web browser when you try to access your website from a computer outside your home. - External Port End: same as the previous option. This allows redirecting a place of ports (on the Internet side) to a single port (on the local side).
But generally you will indicate the same thing in the "External Port Start" and "External Port End". - Internal Port: the port on which your web server listens.
In this case, port 80 (since it is the HTTP protocol). - Intenal Host: the local IP address of the computer where your web server is installed.
Please note: this IP address may change frequently on your local network. To avoid this problem, refer to our tutorial: Set a static LAN IP address to a computer on Windows. - Remote Host: allows you to filter connections based on the external IP address (WAN) of the person who will connect to your web server.
However, Internet users generally have an Internet subscription intended for private use. Which means that their external IP address (WAN) is dynamic and therefore changes from time to time.
Generally, you will therefore leave this box empty to allow everyone to access your web server from the Internet. - Description: allows you to indicate information that is purely indicative for you.
So you can leave blank.
Important : after filling in the boxes, don't forget to press the Enter key to validate this port forwarding.
Next, click OK (bottom right) to save this new port forwarding rule.

The "Save changes" message appears for a few seconds.
6. Test access to your website from outside (Internet)
To attempt to access your web server from outside, you must be outside of your local network.
Indeed, if you try to access the external IP address (WAN) of your bbox from your local network, the connection will be blocked by bbox (router), because loopback is blocked by default in routers.
To resolve this problem, you have 3 options:
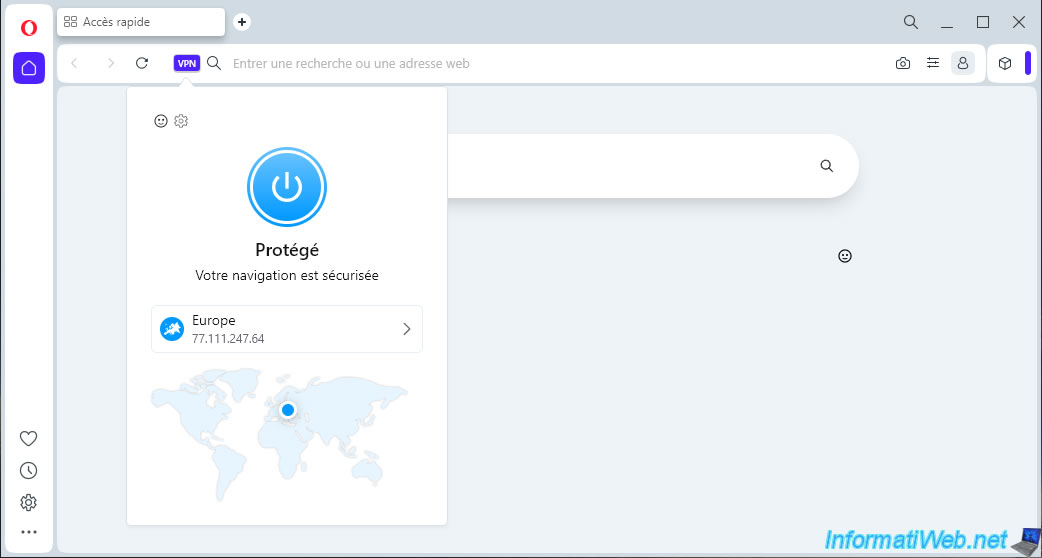
- install the Opera web browser (which is free) and enable its VPN.
So, you will be virtually outside your home. - install a VPN client to connect to a VPN server located somewhere on earth (outside your home).
Once again, you will find yourself virtually outside your home. - use your smartphone's 3G (mobile Internet) connection if you have a smartphone with mobile data.
Since the Internet connection is not the same, you will be outside of your local network.
In this tutorial, we used the Opera web browser and activated its VPN.
Thus, the connection will always go through the VPN server offered by Opera and we will therefore be able to easily and free access to our web server from outside (Internet).
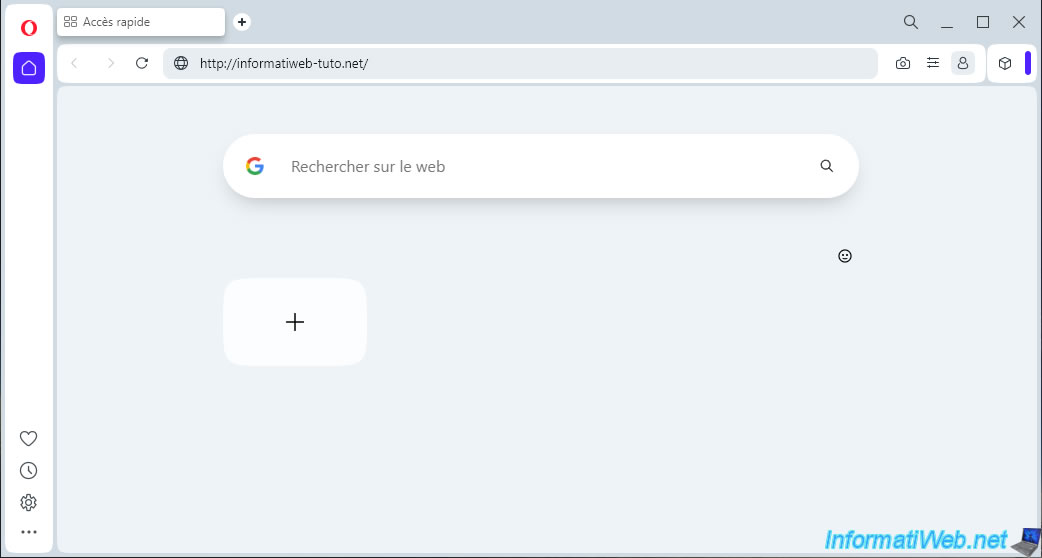
Type the external IP address of your bbox (router) or the domain name that you previously pointed to this IP address.
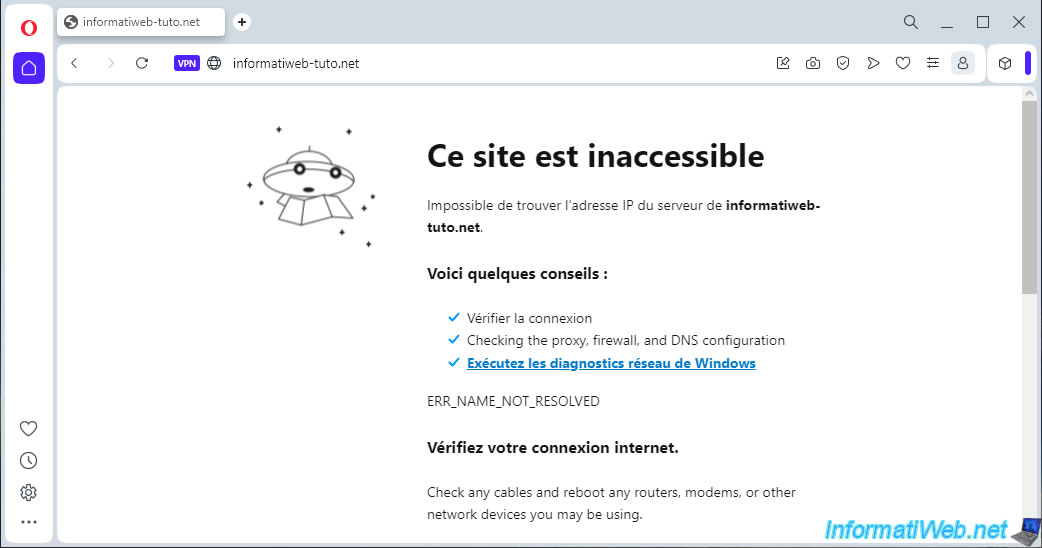
Oddly, although port 80 (HTTP) is open in the firewall of the computer where WAMP is installed and port 80 (HTTP) redirection is configured in your bbox, you notice that you do not have access to your web server.
Share this tutorial
To see also
-
Windows 8/26/2024
Reset an USB key with DiskPart
-
Windows 9/4/2023
Upgrade Windows 10 - Fix v20H1 / v20H2 to 21H1 issue
-
Windows 5/19/2025
Windows 11 / 10 / 8.1 / 8 / 7 - Create a software RAID with dynamic disks
-
Windows 7/20/2021
Windows 8 / 8.1 - Refresh your PC (reinstall Windows only)
No comment