Repair a three-way mirror storage space (software RAID 11) on Windows 8 to 11
- Windows
- Windows 8 / 8.1, Windows 10, Windows 11
- 31 March 2025 at 11:45 UTC
-

- 2/2
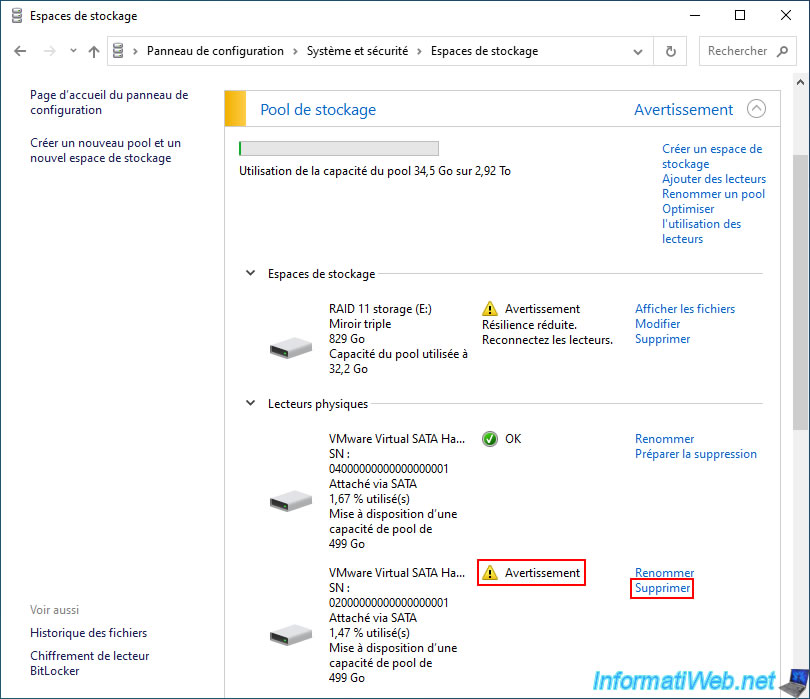
4. Rebuild missing disk of three-way mirror storage (software RAID 11)
To start rebuilding the failed physical disk (that you unplugged in the previous step of this tutorial), you must try to remove it from your storage pool.
To do this, to the right of this failed physical disk, click on the "Remove" link.
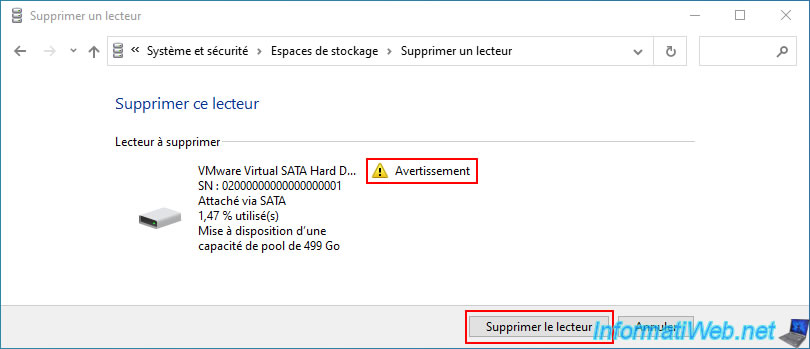
Then, click on the "Delete drive" button.
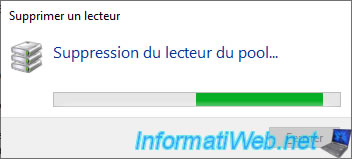
Wait a few seconds until the message "Removing drive from pool" appears on the screen.
This deletion will fail with the error message "Unable to remove drive from pool".
However, this deletion attempt will force Windows to rebuild the missing disk on the new physical disk you just added to this pool.
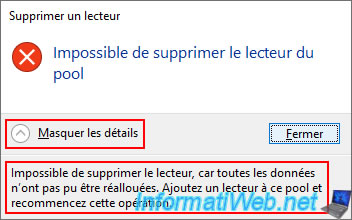
As you can see, since you tried to delete the failed physical disk, Windows has started repairing your "Three mirror" storage space.
In addition, you will notice that the "Preparing for deletion" message has automatically been added to the status of your failed physical disk.
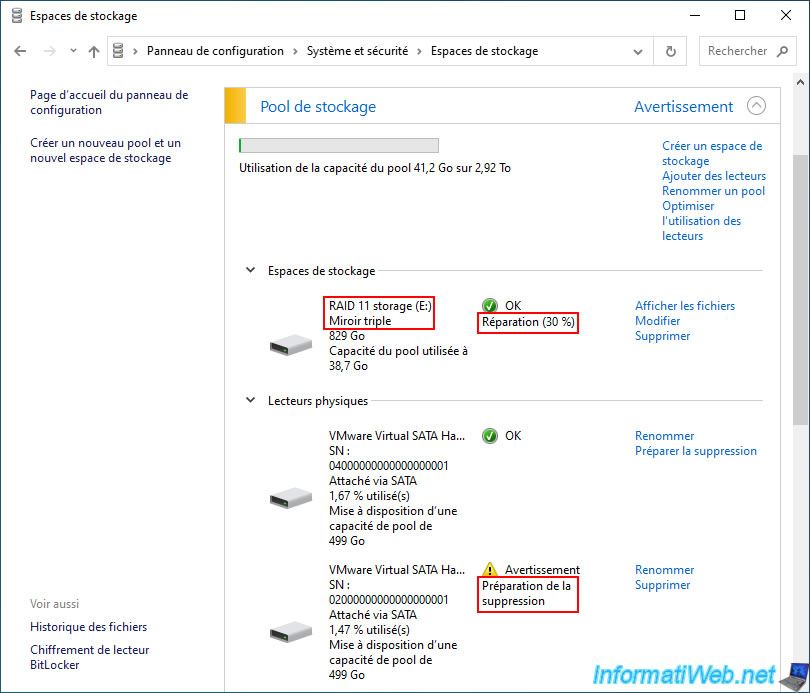
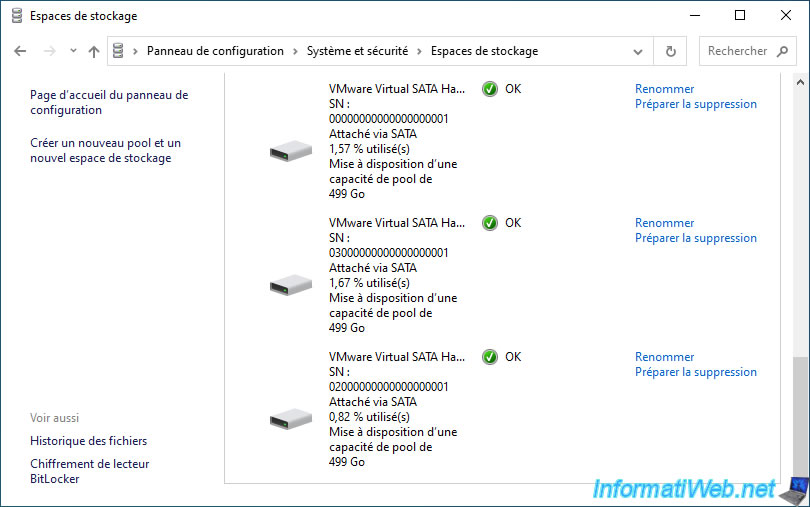
If you look at the end of the list of your physical disks, you will see that the used space on the last physical disk is increasing.
Windows is therefore recreating the data from the missing disk on this new disk that was empty until recently.
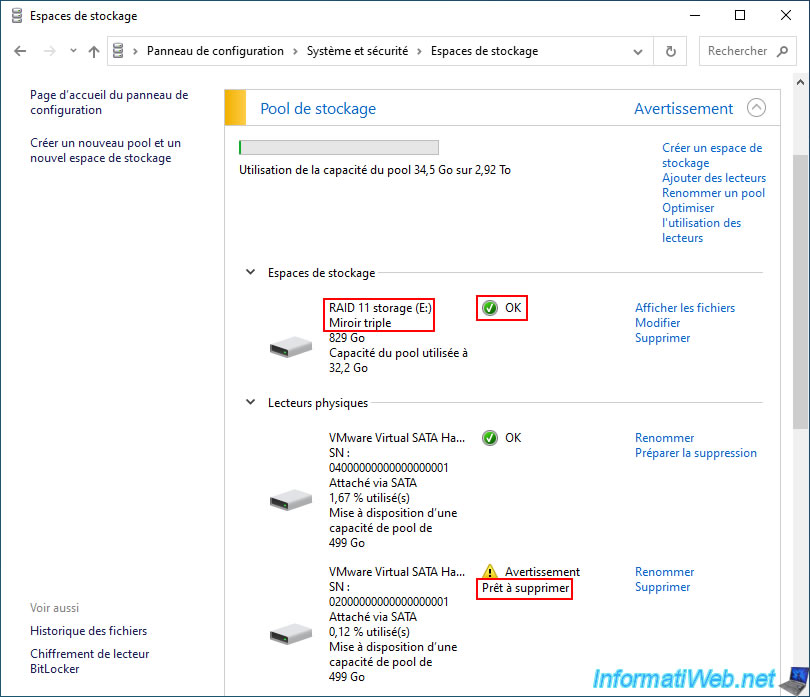
Once the repair is complete:
- the status of your "RAID 11 storage" will only be "OK".
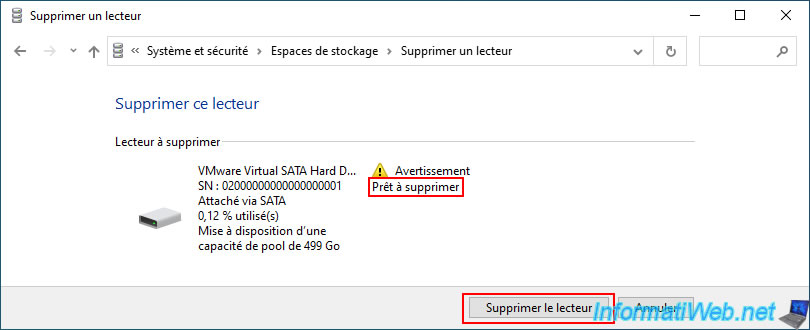
- the status of the faulty physical disk will be "Ready to delete".
5. Remove the faulty physical disk from a three-way mirror storage (software RAID 11)
Once the repair is complete, you will see that the failed physical disk is "Ready to remove".
So, you just need to click on the "Remove" link on its right to remove it.
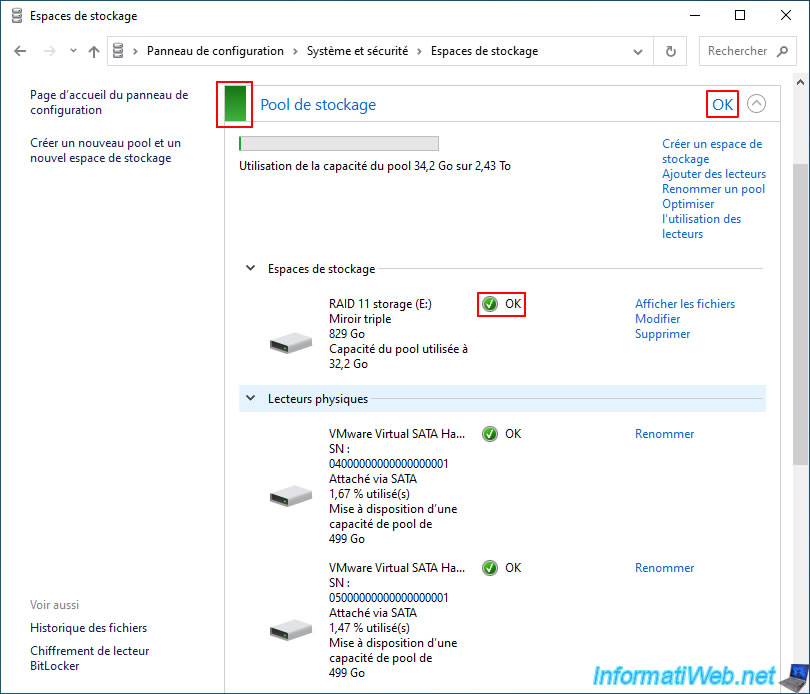
Which will then put the status "OK" back on your storage pool which is still in "Warning" status currently.
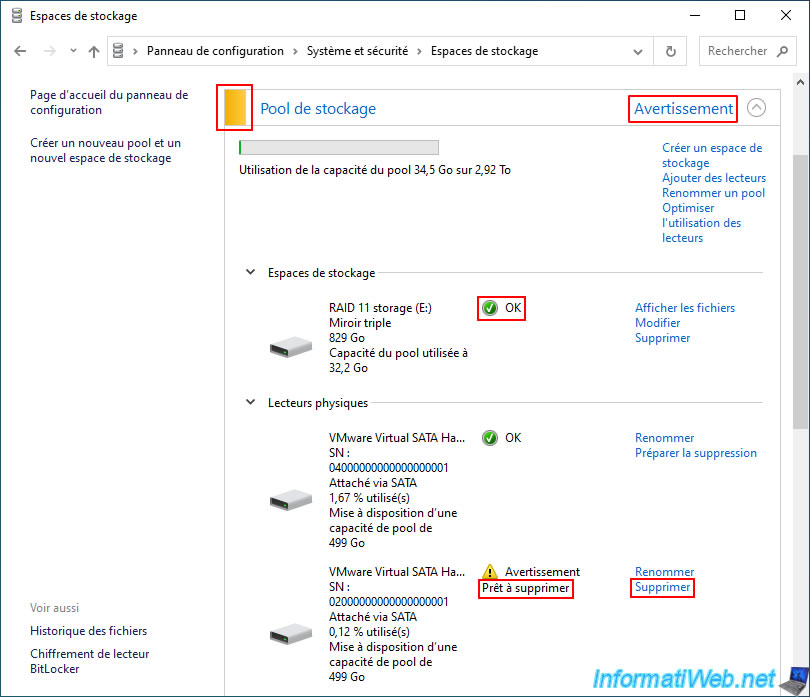
Confirm the deletion of this physical disk by clicking the "Delete drive" button.
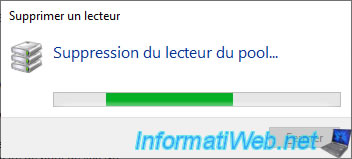
Please wait a few seconds while this physical disk is removed from your storage pool.
The physical disk you just deleted disappears from the list of physical drives in your storage pool and the status of your storage pool returns to "OK".
Share this tutorial
To see also
-
MultiBoot 8/12/2024
VHD/VHDX multiboot - Upgrade Windows 11 to newer version of Win 11
-
Windows 2/19/2021
Windows - Repair system files
-

Windows 10/21/2024
Windows 8 - Use a Bluetooth headset
-

Windows 12/29/2015
Windows 8 / 8.1 - Formatting and reinstalling
No comment