- Windows
- Windows 11, Rufus
- 02 February 2022 at 14:34 UTC
-

If you don't have a blank DVD on hand or want to create a bootable USB key to install Windows 11 on a computer faster, here are several utilities that will allow you to do that.
Important : for the new version (22H2) of Windows 11, refer to our new tutorial: Windows 11 - Create a bootable USB key to install Windows 11 v22H2.
- Create a bootable Windows 11 USB key with the Media Creation Tool
- Create a bootable Windows 11 USB key with Rufus
- Install Windows 11 from your bootable USB key
1. Create a bootable Windows 11 USB key with the Media Creation Tool
The 1st possibility is to download the Media Creation Tool for Windows 11 available on the Microsoft site.
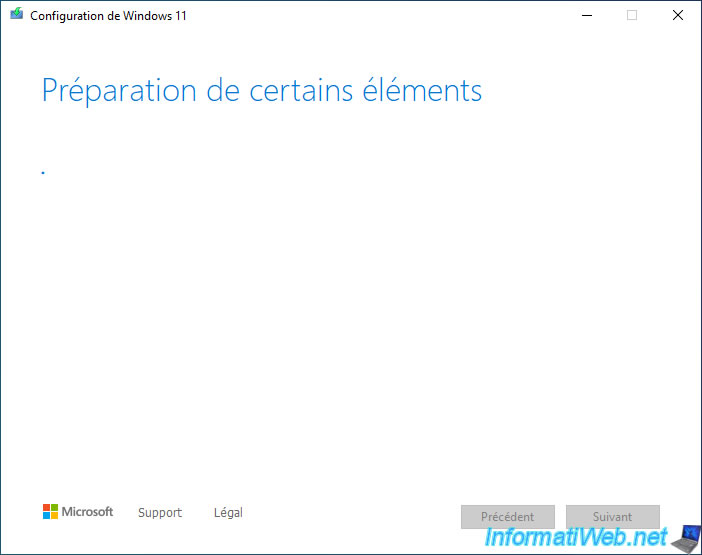
Once this tool is downloaded, launch it and the message "Getting a few things ready" will appear for a few seconds.
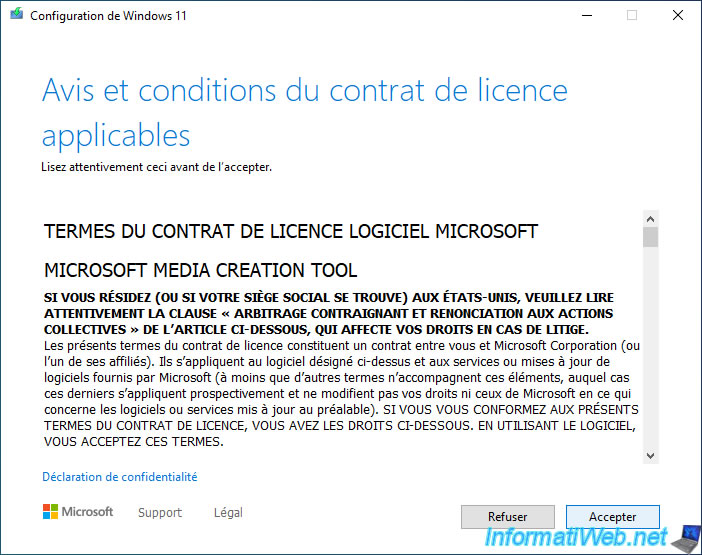
Click on "Accept".
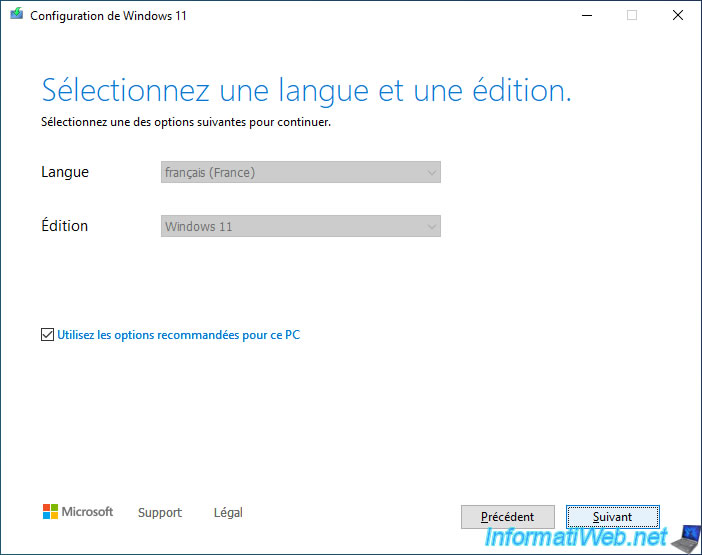
By default, the language and edition of Windows 11 will be selected from your current Windows installation.
If you want to change these settings, first uncheck the "Use the recommended options for this PC" box.
Important : Windows 11 is only available in 64-bit (x64).
If you still have a computer with a 32-bit (x86) processor, you will not be able to install Windows 11.
The latest version of Windows supporting this 32-bit (x86) architecture is Windows 10.
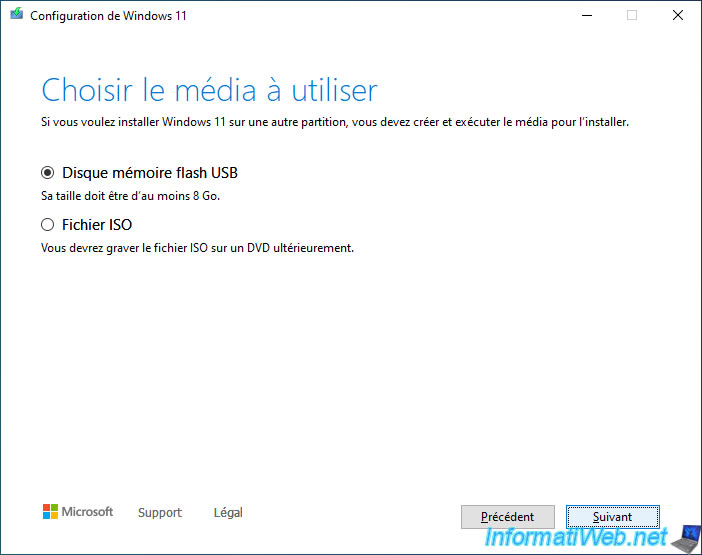
Select "USB flash drive", then click Next.
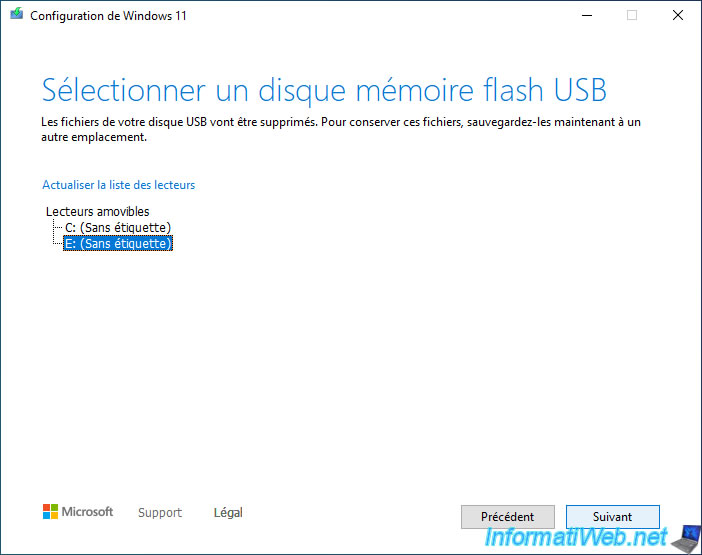
Select the USB flash drive (removable drive) that you want to turn into a bootable USB key to install Windows 11.
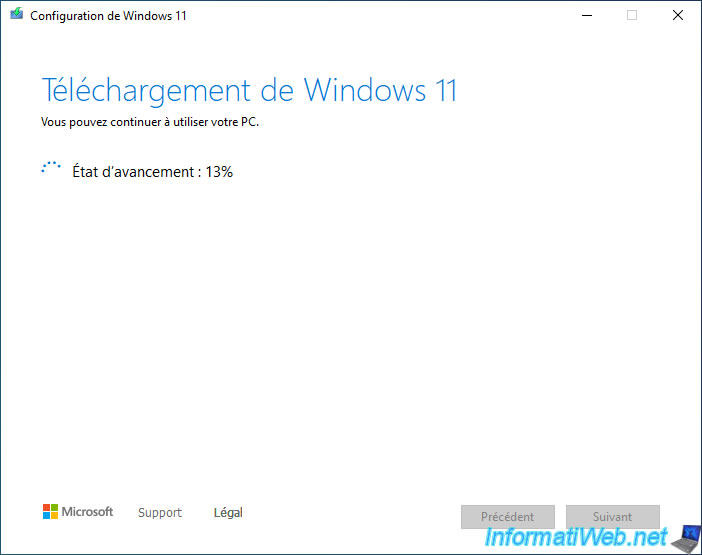
Wait while Windows 11 downloads.
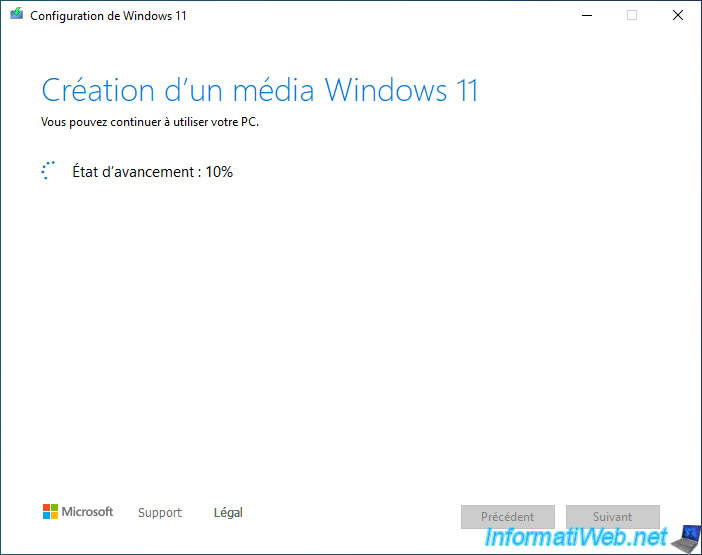
Then, while creating a Windows 11 media.
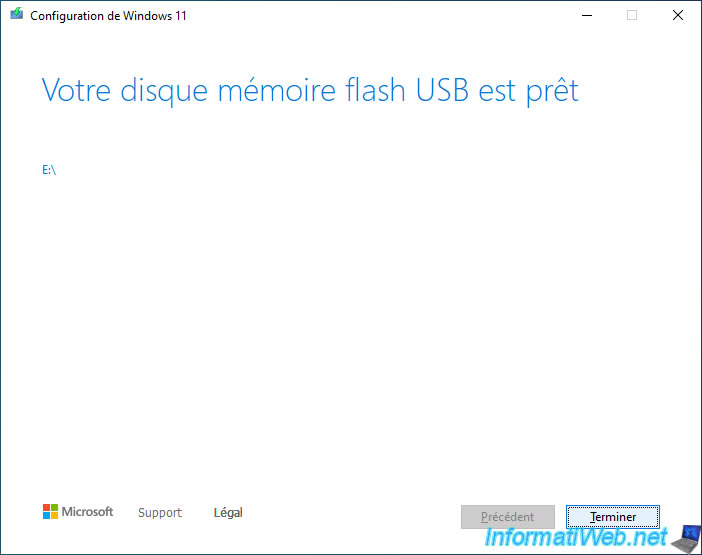
Once the bootable USB key to install Windows 11 has been created, the "Your USB flash drive is ready" message will appear.
If you open Windows file explorer, you will see that your USB key has changed its name.
Hence the "ESD-USB" name shown below.
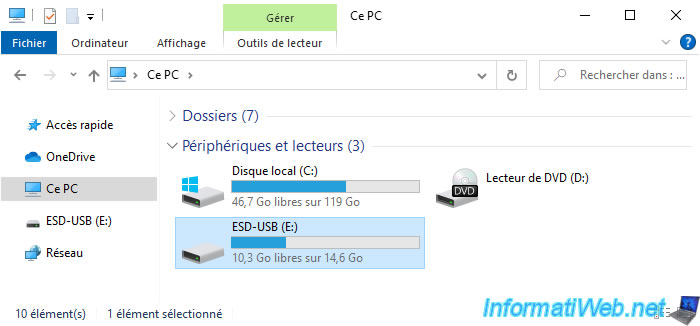
This is what the contents of your USB key will look like.
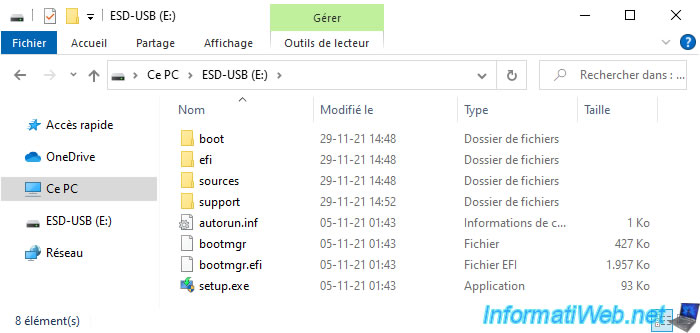
2. Create a bootable Windows 11 USB key with Rufus
To create a bootable USB key to install Windows 11, you can also use the very light tool : Rufus.
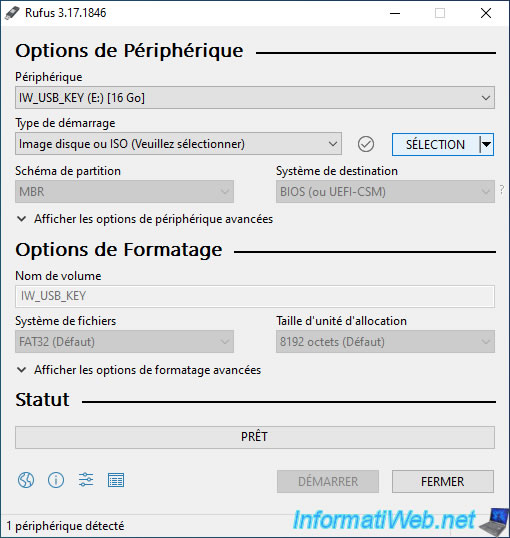
Once this tool is downloaded, launch it and select your USB key in the "Device" list located at the top of the program.
Then, click on the "Selection" button.
Select the Windows 11 ISO previously downloaded from the Microsoft site (preferred).
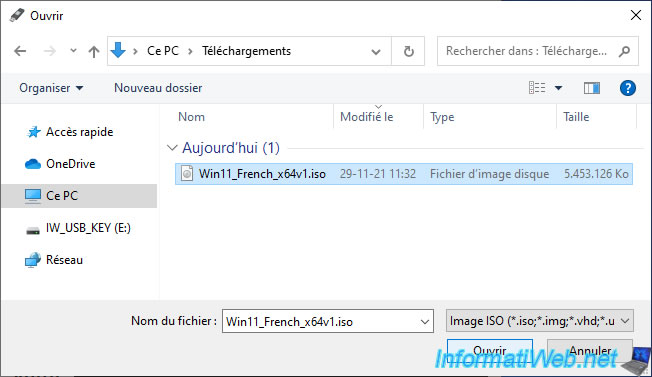
Rufus will automatically detect that it's the ISO of Windows 11 and will automatically adapt all the available settings.
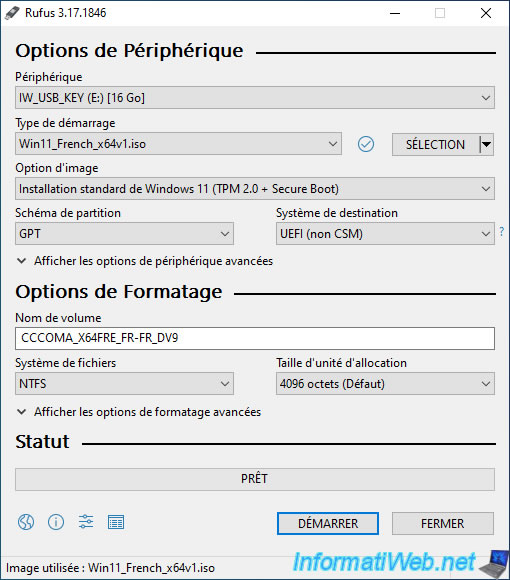
Small peculiarity for Windows 11, it's possible to choose between :
- Standard Windows 11 Installation (TPM 2.0 + Secure Boot) : create a bootable USB key to install Windows 11 on compatible hardware only (therefore with TPM and secure boot support).
- Extended Windows 11 Installation (no TPM / no Secure Boot) : create a bootable USB key to install Windows 11 on compatible or NOT compatible hardware by removing the restrictions concerning the presence of the TPM and secure boot.
The 1st option is more secure, but requires that the TPM is present on your motherboard and that its use is activated in the BIOS of this one.
Additionally, your motherboard's EFI (formerly known as BIOS) firmware is configured so that your computer boots in UEFI mode and Secure Boot is enabled.
To do this, refer to our tutorial : Configure your computer's BIOS to boot in UEFI mode (firmware).
The 2nd option allows you to install Windows 11 on any computer.
However, installing Windows 11 on NON-compatible hardware is not officially supported and may also prevent you from accessing free updates for Windows 11, as well as some features.
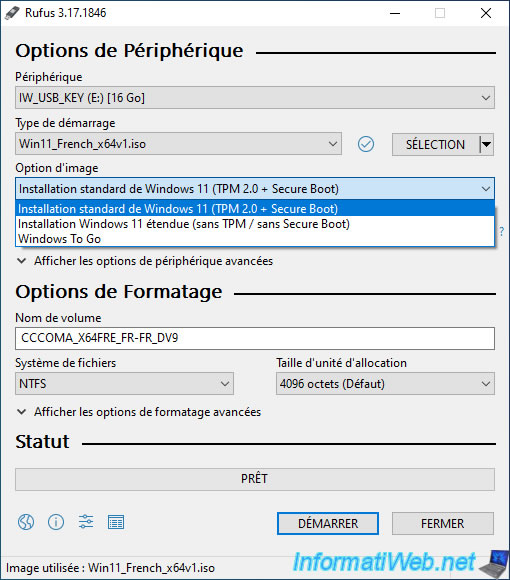
Change the volume name to specify another name for your bootable USB key if you want.
By default, the name used is the one defined in the selected ISO file.
Then, click on : Start.
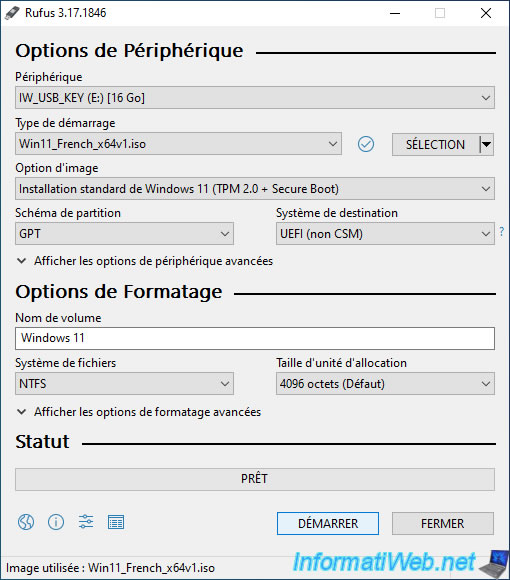
Confirm the deletion of the data on your USB key by clicking on OK.
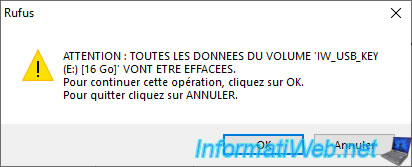
Rufus will perform various actions, then copy the files present in the ISO file to your USB key.
In particular, it will copy the "boot.wim" and "install.wim" files present in it.
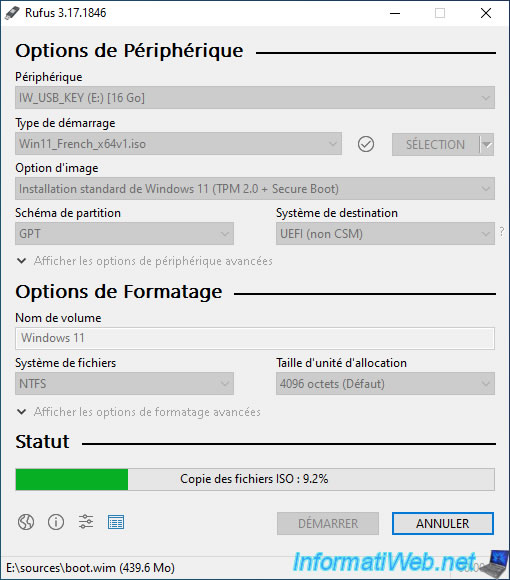
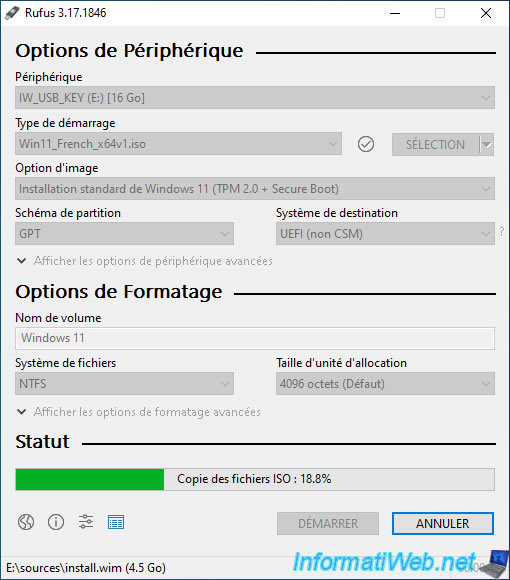
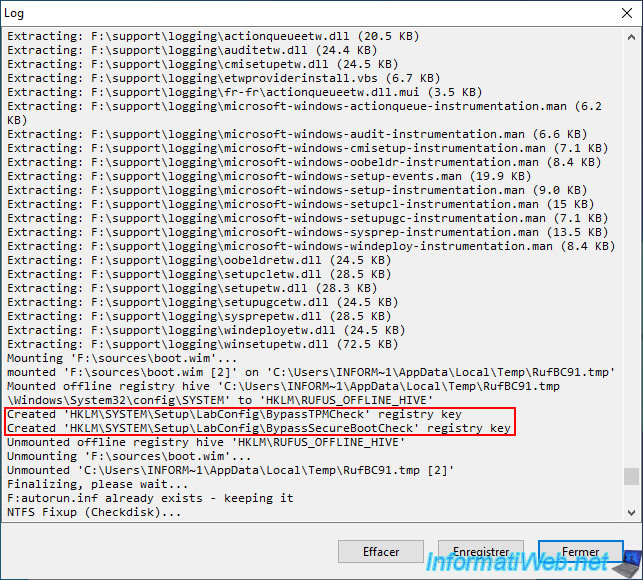
If you have selected the "Extended Windows 11 Installation (no TPM / no Secure Boot)" option, you will be able to see this appear in the history of Rufus (accessible via the 4th icon located at the bottom of the program) :
Plain Text
Created 'HKLM\SYSTEM\Setup\LabConfig\BypassTPMCheck' registry key
Created 'HKLM\SYSTEM\Setup\LabConfig\BypassSecureBootCheck' registry key
Once the bootable USB key has been created, click Close.
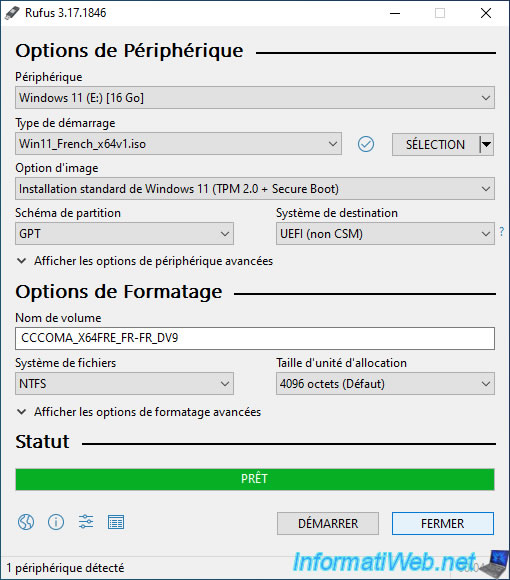
In the file explorer, you will be able to see your bootable USB key appear under the desired name.
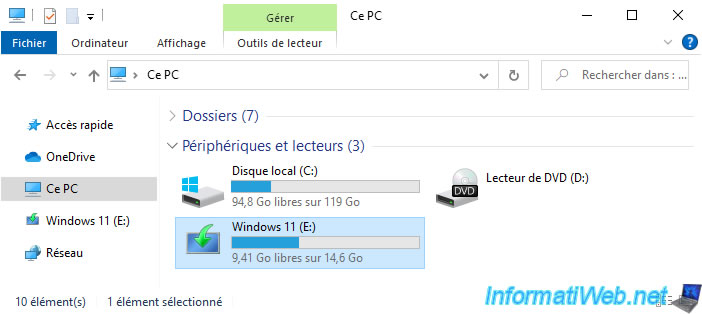
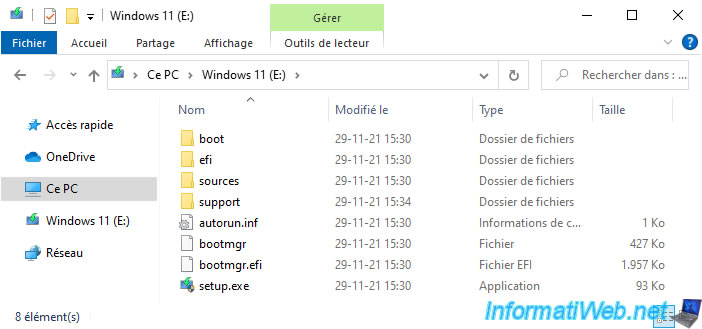
This is what the contents of your bootable Windows 11 USB key with Rufus will look like.
3. Install Windows 11 from your bootable USB key
To install Windows 11 from your new bootable USB key, configure your computer's BIOS to boot to your bootable USB key, then restart your computer.
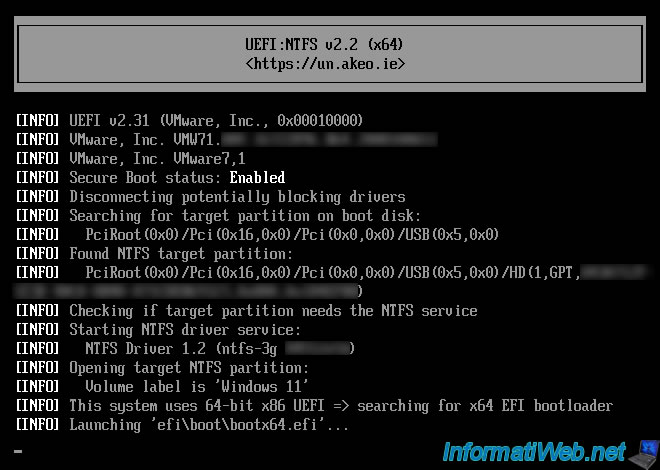
If you created your bootable Windows 11 USB key using Rufus, this may be displayed.
If so, just wait a few seconds.
Then, the Windows 11 logo will appear.

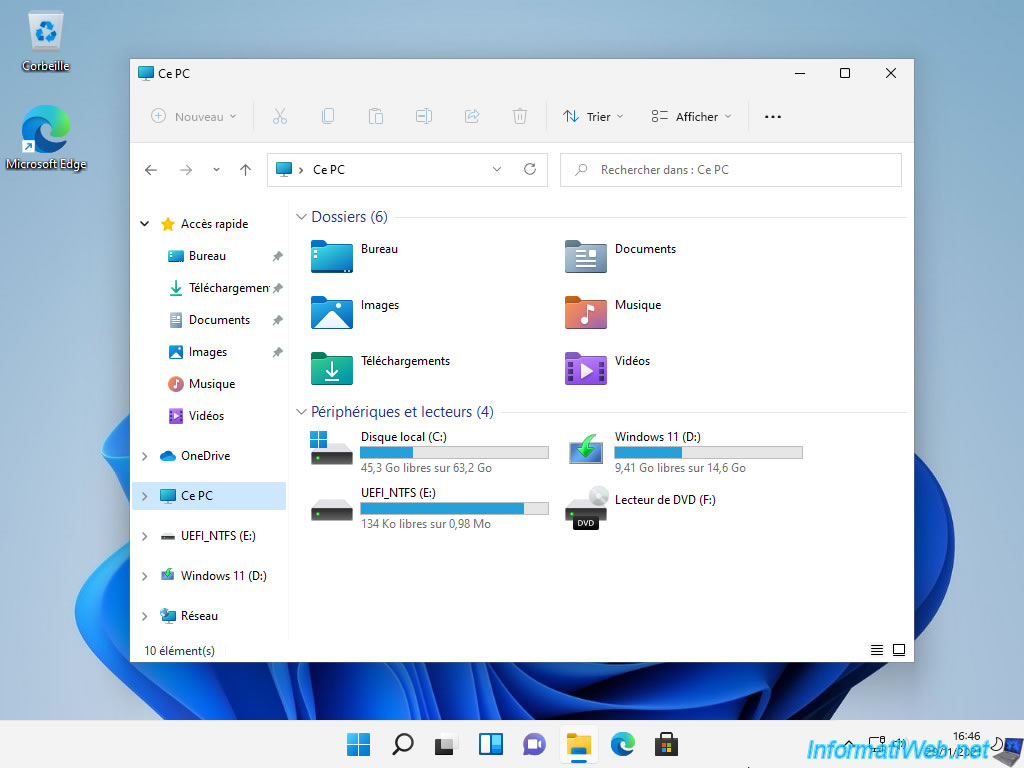
Install Windows 11 normally and this is what you will see in file explorer once installed.
Note that the "Windows 11" partition corresponds to our bootable USB key to install Windows 11 and the "UEFI_NTFS" partition corresponds to the 2nd partition (of 1MB) created by Rufus at the end of our bootable USB key for compatibility reasons between NTFS and UEFI.
Share this tutorial
To see also
-
Windows 4/4/2023
Windows 10 / 11 - Add GPO editor (gpedit.msc) on Windows Home
-
Windows 5/29/2023
Windows 11 - Recover the start menu
-

Windows 11/4/2024
Windows 11 - Use a Bluetooth headset
-
Windows 3/24/2025
Windows 11 / 10 / 8.1 / 8 - Repair a two-way mirror storage space (software RAID 1)
You must be logged in to post a comment