- Windows
- Windows 11
- 15 February 2022 at 14:08 UTC
-

- 1/2
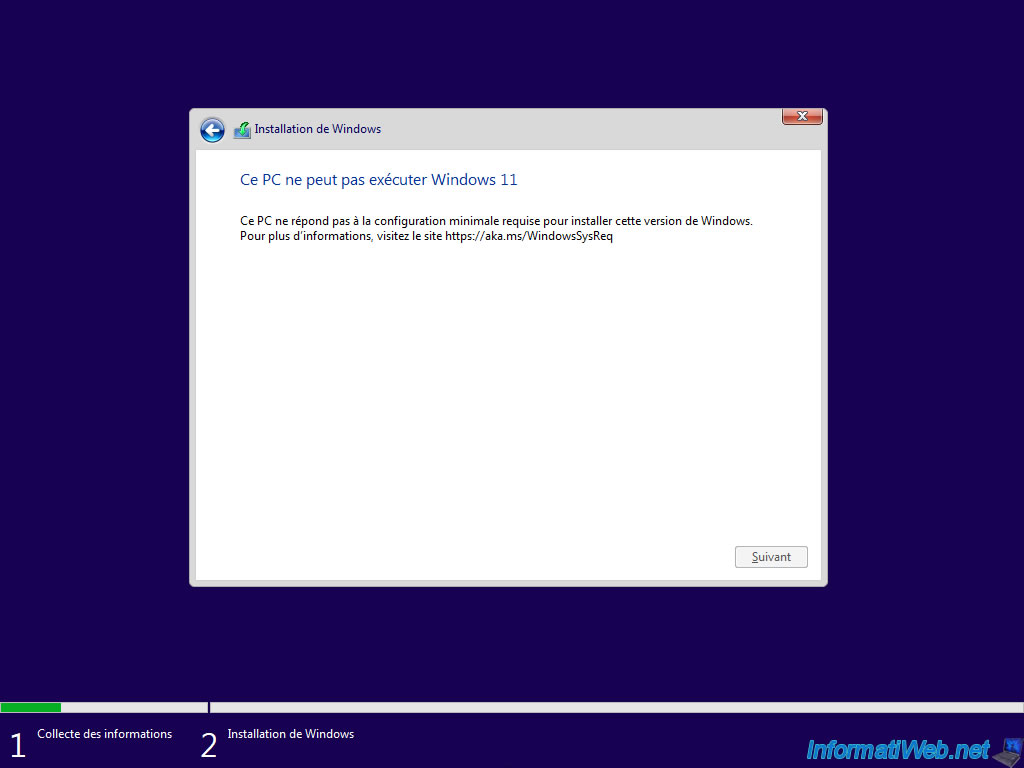
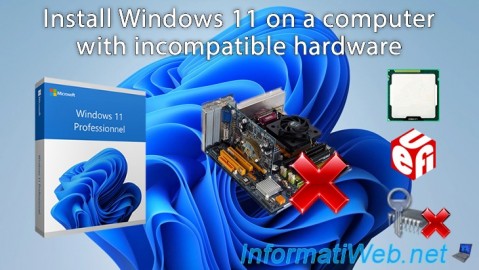
By default, Windows 11 requires specific hardware and configuration to be installed.
Otherwise, the installer will show you an error message and you will not be able to install it on your computer.
However, there are different techniques to remove these restrictions.
Warning : installing Windows 11 on hardware not supported by Microsoft will have several consequences.
First of all, you will not have access to some features. Then, you might not have access to free updates for Windows 11 either.
- Edit the registry of the Windows 11 installation DVD
- Create a Windows 11 ISO without restrictions using MediaCreationTool.bat
- Create a bootable USB key to install Windows 11 by removing restrictions (TPM, ...) thanks to Rufus
- Install Windows 11
1. Edit the registry of the Windows 11 installation DVD
To get started, boot from the Windows 11 installation DVD and select your country and language.
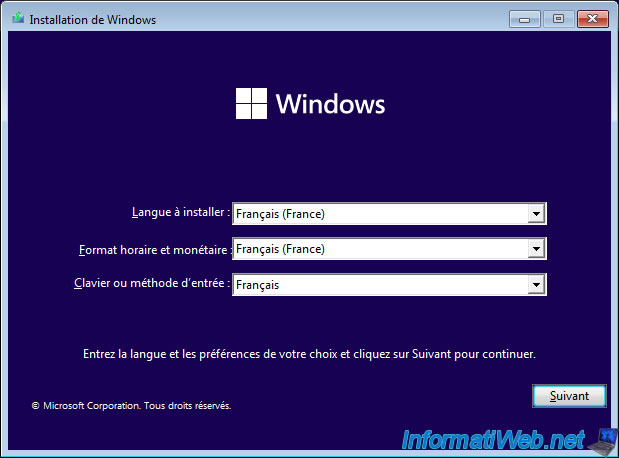
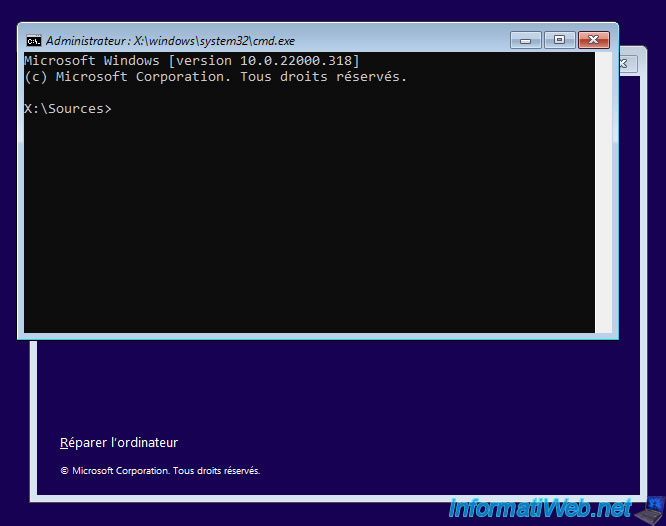
Then, leave this "Windows Setup" window open and press "SHIFT + F10" to open a command prompt (cmd.exe).
In the command prompt that appears, type "regedit" and press Enter.
Batch
regedit
The registry editor appears.
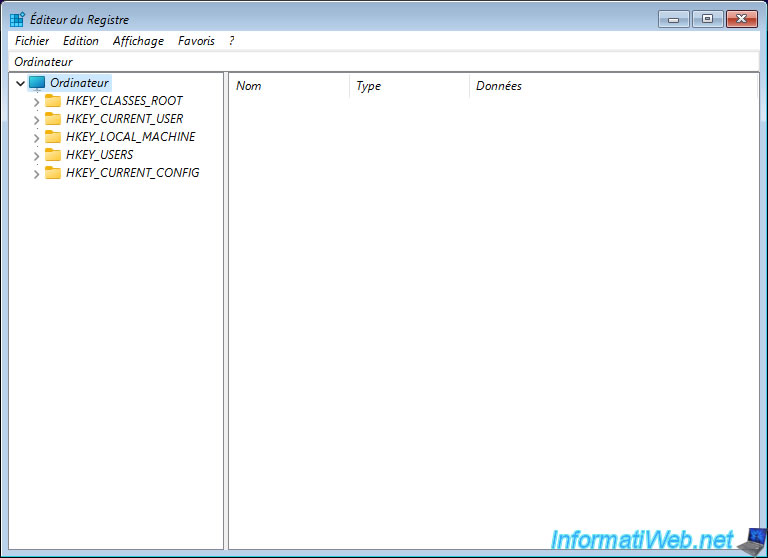
In this registry editor, go to the "HKEY_LOCAL_MACHINE\SYSTEM\Setup" registry key and create a new key in it.
Note : as you can see, the installation DVDs for recent versions of Windows (including Windows 11) are based on a Windows PE environment (hence the "winpeshl.exe" file referenced in this registry key).
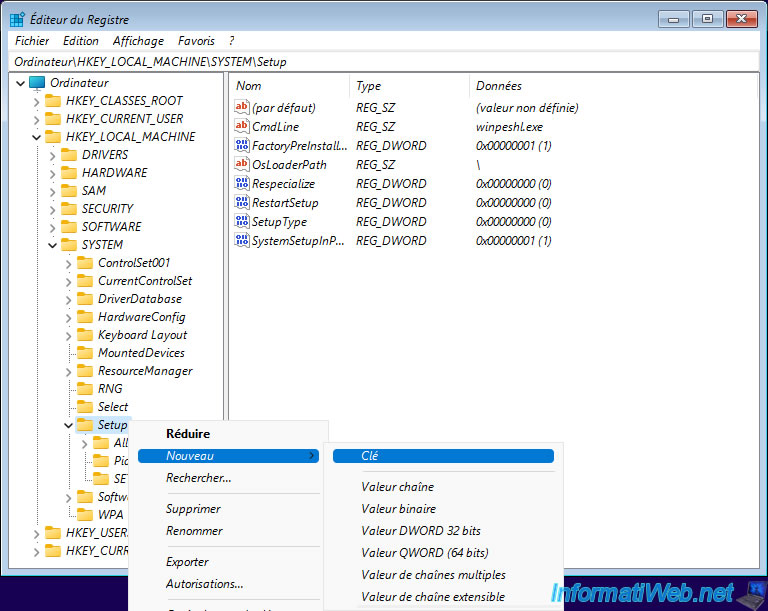
Name this new key : LabConfig.
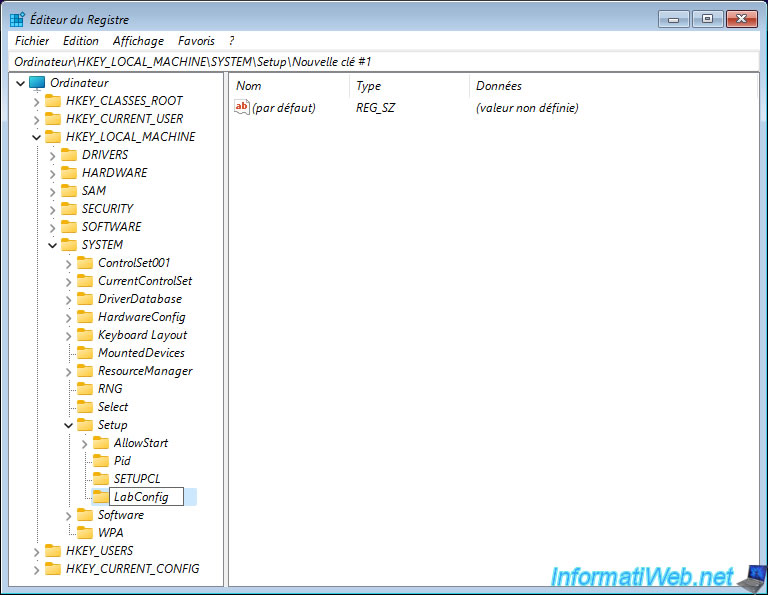
In this new "LabConfig" registry key, create a new 32-bit DWORD value.
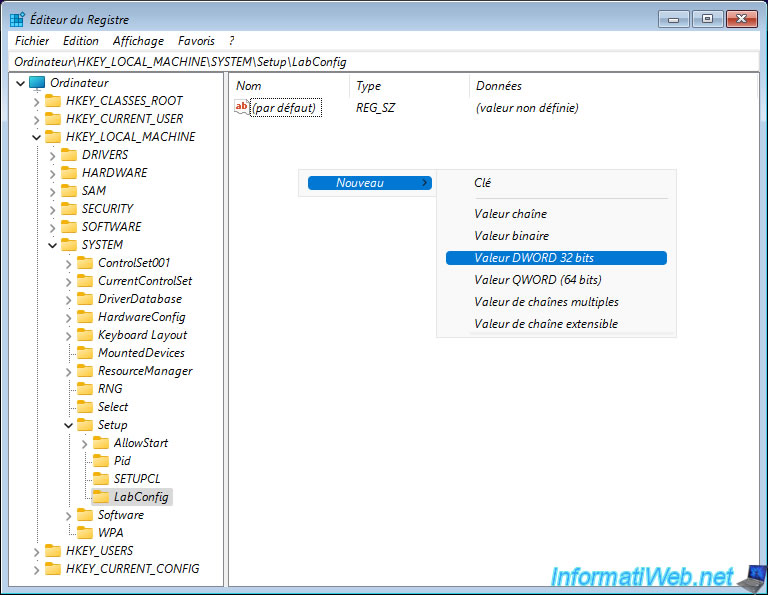
Name this DWORD value : BypassTPMCheck.
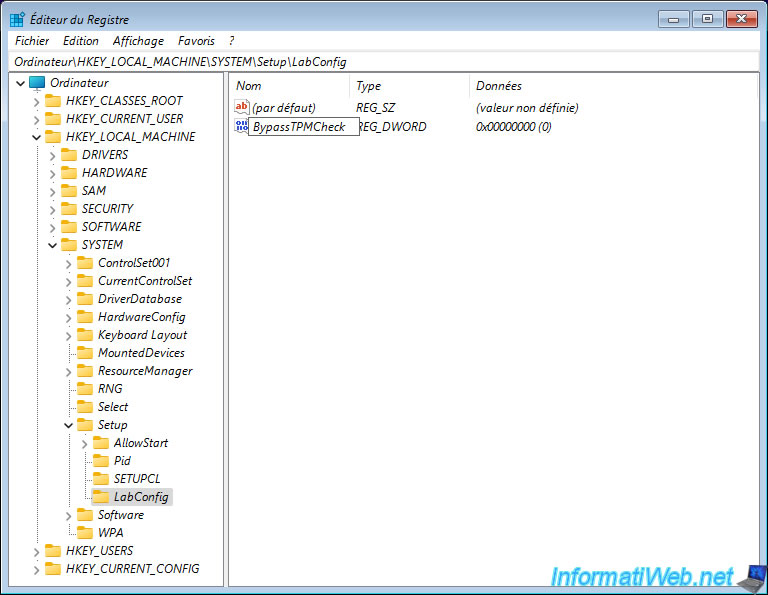
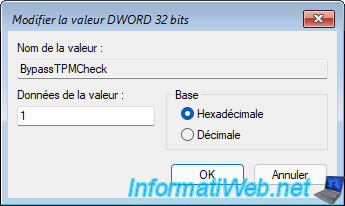
Double click on the created DWORD value and specify 1 as the value.
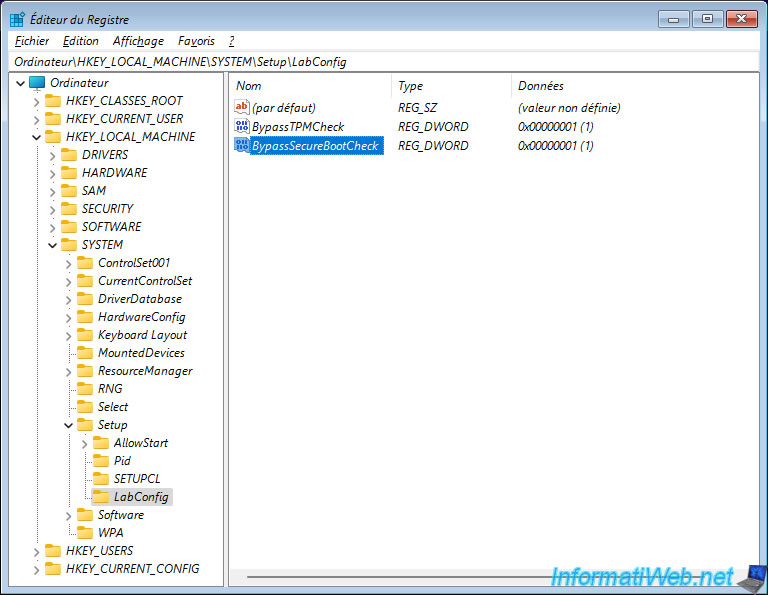
Add a second DWORD 32 value and name it : BypassSecureBootCheck.
Again, specify a value of 1 for this DWORD value.
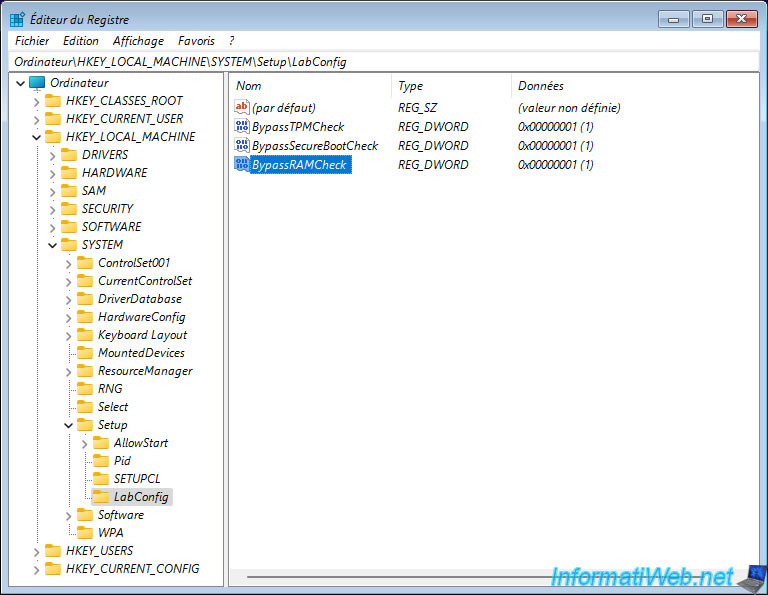
Then, create a 3rd 32-bit DWORD value that you will name : BypassRAMCheck.
Again, specify 1 as the value for this as well.
You can close this registry editor.
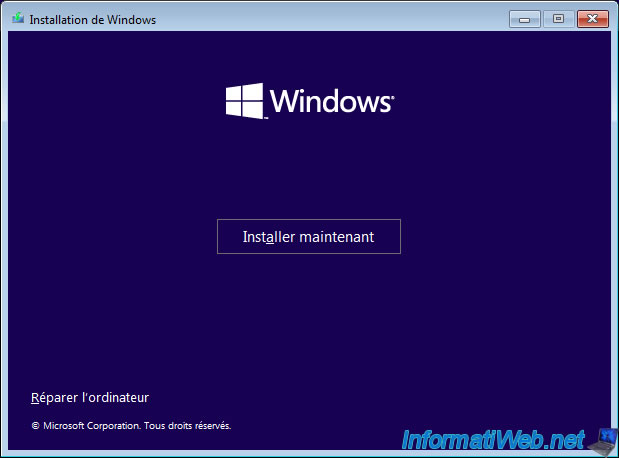
Now, click on : Install now.
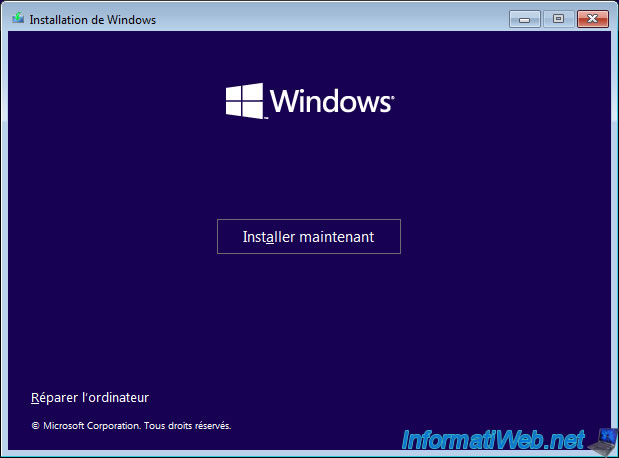
And as you can see, you will be able to install Windows 11 without any problem (even if the hardware of your computer or virtual machine is not officially supported by Microsoft).
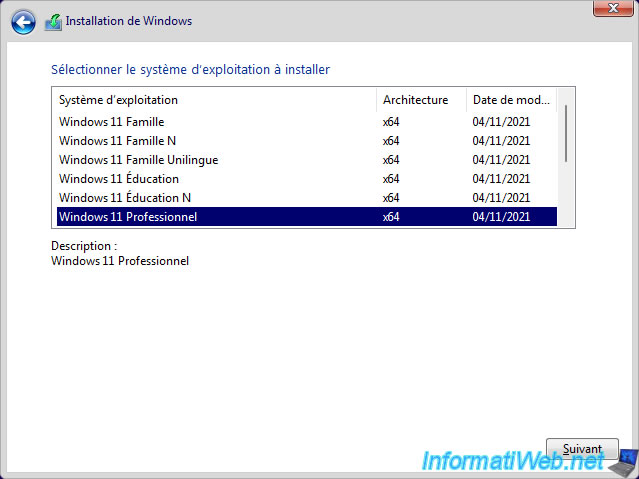
Select the edition of Windows 11 that you want to install.
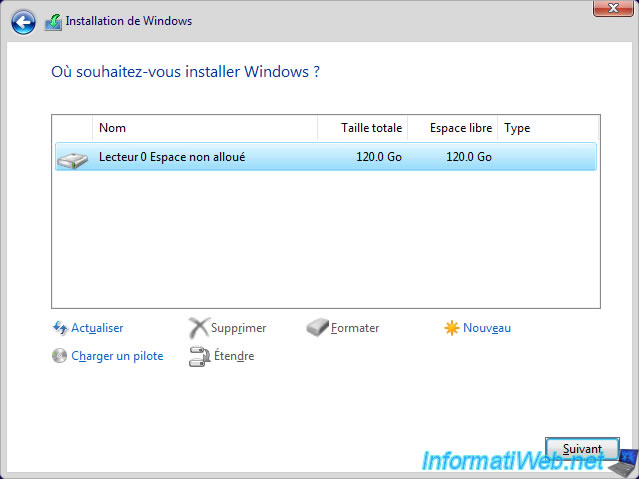
Partition your hard drive if you want, then select the partition where you want to install Windows 11 and click Next.
Otherwise, click directly on Next.
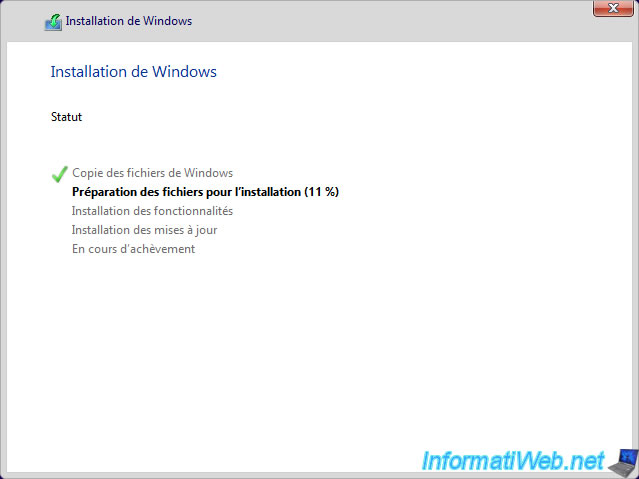
Wait while Windows 11 installs.
Once Windows 11 is installed and configured, you will see that Windows 11 works without problem.
Note : if necessary, refer to our tutorial : Windows 11 - Formatting and reinstalling.
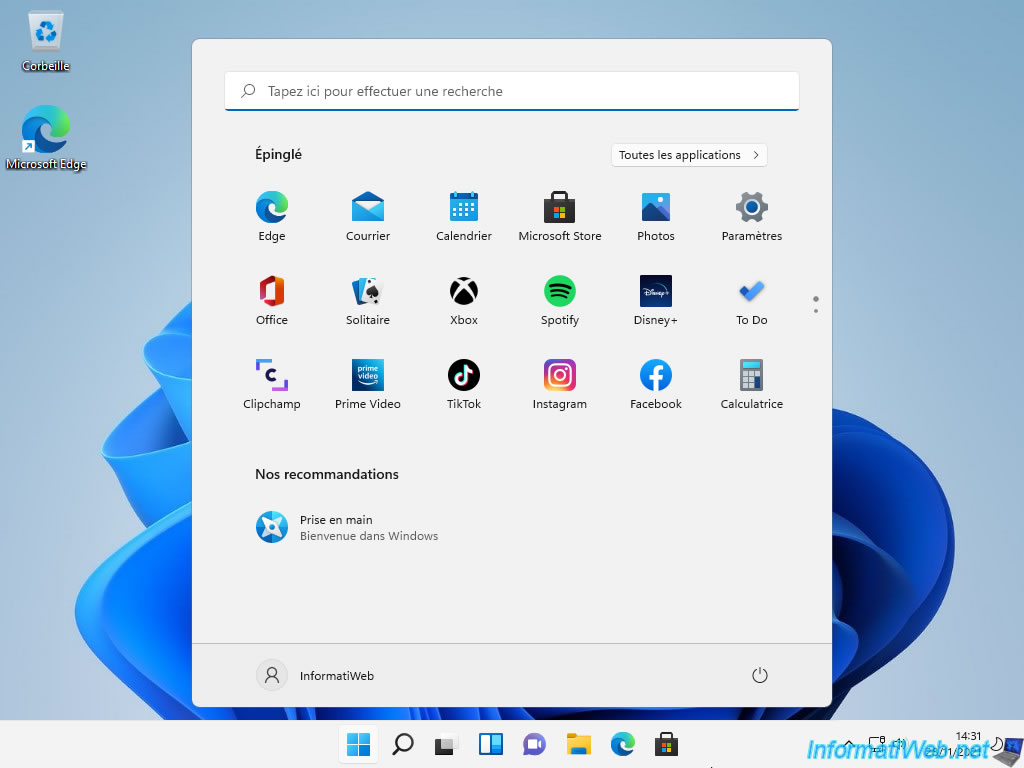
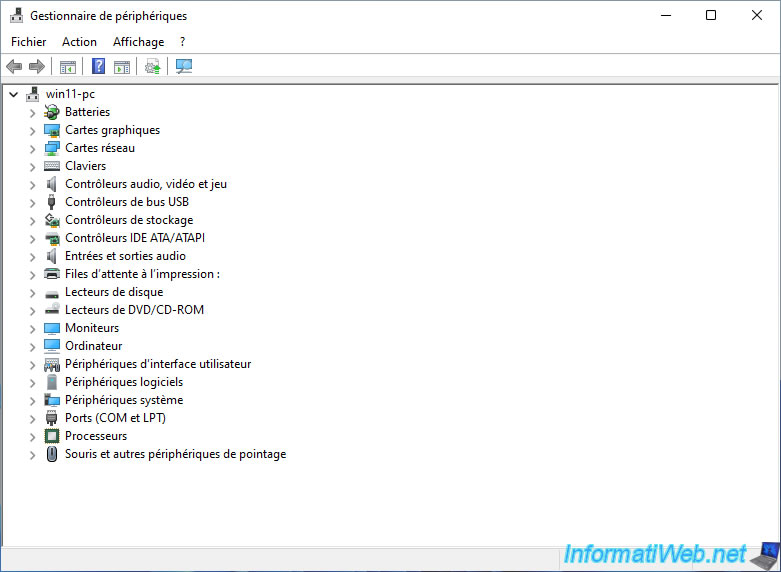
If you look for the device manager from the new Windows 11 start menu, you will see that the "Security devices" section where the Trusted Platform Module 2.0 (TPM 2.0) should have been is not present.
It's therefore effectively possible to install Windows 11 without this TPM module, although this is not officially supported by Microsoft.
2. Create a Windows 11 ISO without restrictions using MediaCreationTool.bat
To avoid having to do the above-explained manipulation each time you want to install Windows 11 on a computer with incompatible hardware, you can use a script based on Microsoft's media creation tool.
This is also useful to be able to easily virtualize Windows 11 when your virtualization solution doesn't offer the addition of a virtual TPM module (for example).
To get started, download the "MediaCreationTool.bat" tool from GitHub.
To do this, on the page that will appear, click on the green "Code" button (located at the top of the page), then on : Download ZIP.
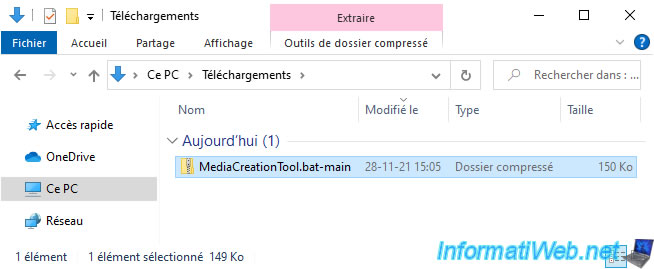
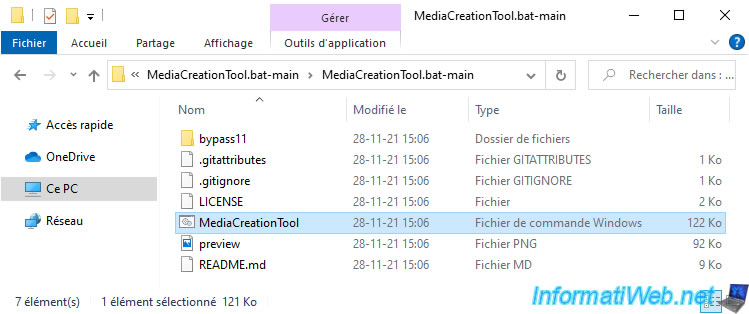
Then, unzip the downloaded zip file and run the "MediaCreationTool.bat" program.
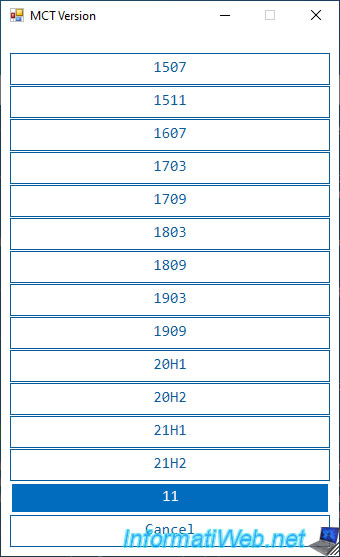
Click the "11" button (= Windows 11).
The other buttons are for different versions of Windows 10.
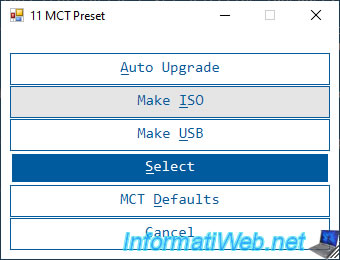
Click on Make ISO to automatically create a Windows 10 ISO file in which the various restrictions (TPM, UEFI secure boot, ...) will be removed.
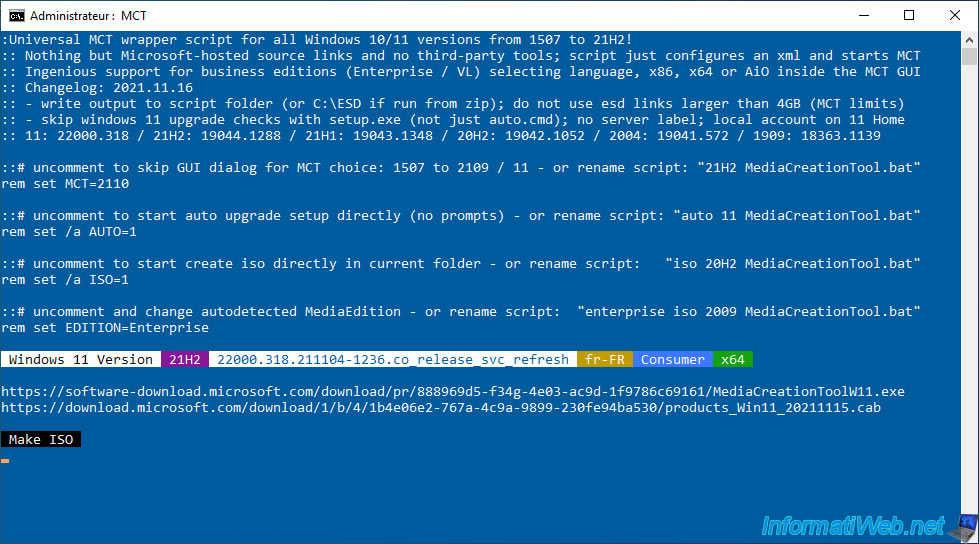
As you can see, this script is based on official Microsoft resources.
Microsoft's official media creation tool will open and the Windows 11 download will start automatically.
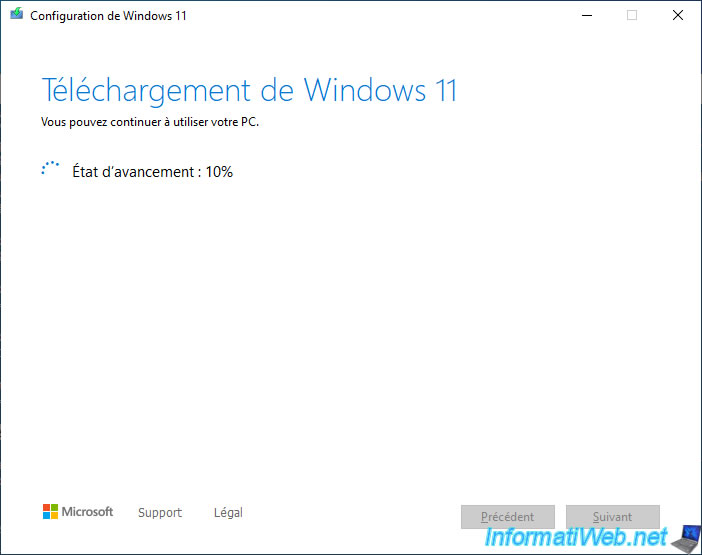
Then, a check will be performed to make sure that the downloaded data is not corrupted.
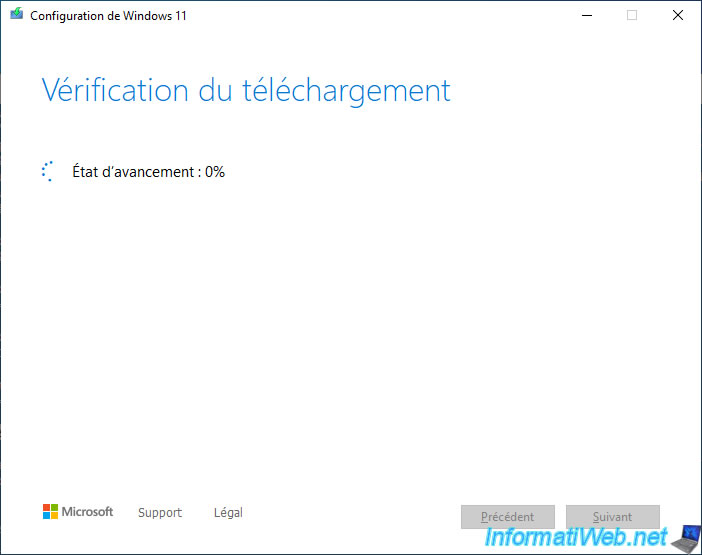
Then, the Windows 11 media will be created.
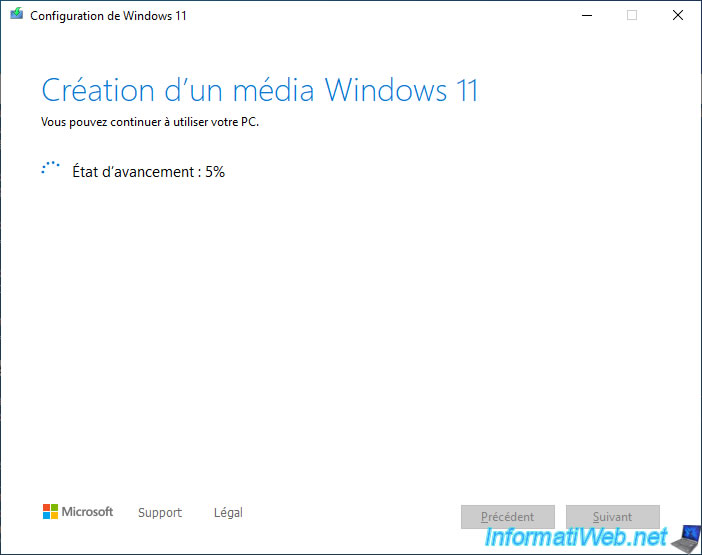
Once the ISO file is created, the message "Burn the ISO file to a DVD" will be displayed.
Click on Finish.
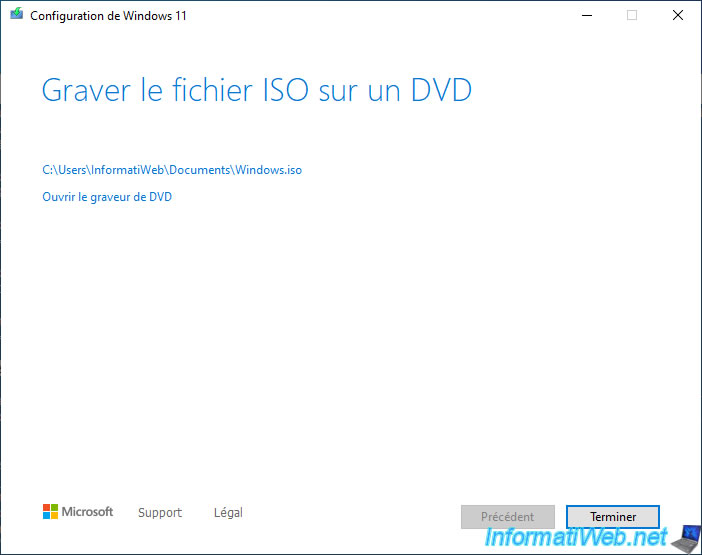
In the background, you will be able to see that the script has taken various actions, some of which include removing the restrictions imposed by default by Windows 11 when installing or upgrading to it.
Plain Text
AddFile Windows 11 Upgrade Pass
...
Disable boot.wim 11 setup checks
...
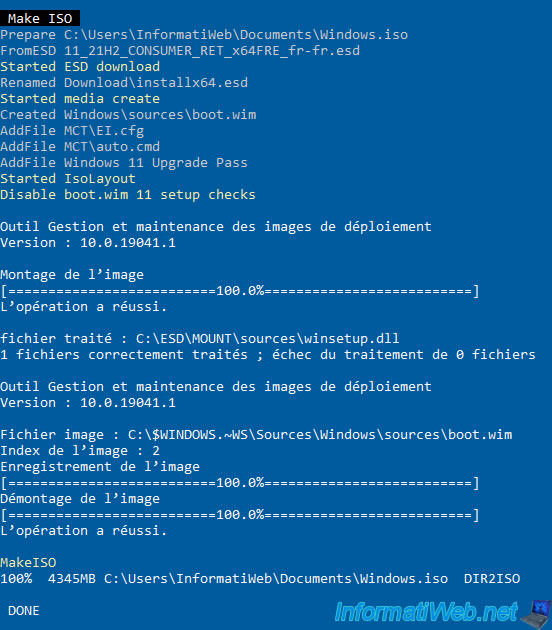
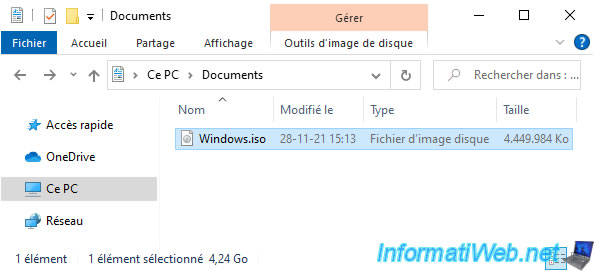
When the script is complete, you will see that your ISO file for Windows 11 has been created in the location indicated at the end of the script.
Share this tutorial
To see also
-
Windows 3/20/2023
Windows 10 / 11 - Enable ransomware protection
-
Windows 2/2/2022
Windows 11 - Create a bootable USB key to install Windows 11
-
Windows 1/25/2022
Windows 11 - Download the official iso from Microsoft's server
-

Windows 11/4/2024
Windows 11 - Use a Bluetooth headset
You must be logged in to post a comment