- Windows
- Windows 8 / 8.1, Windows 7, Windows 10, Windows 11
- 19 February 2021 at 18:58 UTC
-

If Windows is not working properly or you are receiving a system file error, here is how to fix Windows system files on Windows 7, 8, 8.1, 10 and 11.
- Repair the file system of the partition where Windows is installed
- Repair system files with SFC command
- Repair system files with DISM (on Win 8, 8.1, 10 and 11)
- System Update Readiness Tool (on Win 7)
- Restore or reinstall Windows
1. Repair the file system of the partition where Windows is installed
To begin, we recommend that you repair the file system of the partition where Windows is installed. By default, this partition has the "C" letter.
To do this, refer to our tutorial : Check and repair the file system.
2. Repair system files with SFC command
To repair Windows system files, you need to open a command prompt (cmd.exe) as administrator and use the SFC command like this :
Batch
sfc /scannow
Warning : if you don't launch the command prompt as administrator, this error will be displayed :
Plain Text
You must be an administrator running a console session in order to use the sfc utility.
Wait while the Windows system files check :
Plain Text
Beginning system scan. This process will take some time.

Beginning verification phase of system scan.
Verification 10% complete.
Once the verification is complete, if all is well, this message will appear :
Plain Text
Windows Resource Protection did not find any integrity violations.
Otherwise, Windows will show you this message :
Plain Text
Windows Resource Protection found corrupt files and successfully repaired them. Details are included in the CBS.Log windir\Logs\CBS\CBS.log. For example C:\Windows\Logs\CBS\CBS.log. Note that logging is currently supported in offline servicing scenarios.
3. Repair system files with DISM (on Win 8, 8.1, 10 and 11)
If the SFC command doesn't work in your case, you can use the following DISM command on Windows 8, 8.1, 10 and 11.
Note that by default, this command will use Windows Update as the default source to repair your system files.
Batch
DISM /Online /Cleanup-image /Restorehealth
However, if Windows Update no longer works in your case, you will need to specify a different source.
For example : the installation DVD for your version of Windows.
In our case, our DVD drive has the letter "D".
Batch
DISM /Online /Cleanup-Image /RestoreHealth /Source:D:\ /LimitAccess
Wait during the process.
PS : the version displayed corresponds to the internal version of Windows (6.2 = Win 8, 6.3 = Win 8.1 and 10.0 = Win 10 or 11).
Plain Text
Deployment Image Servicing and Management tool
Version : 6.2.9200.16384

Image Version : 6.2.9200.16384

[===========                20.0%                          ]
WARNING : as indicated previously, this command doesn't work on Windows 7.
If you attempt to use it, you will receive this error :
Plain Text
Error : 87

The restorehealth option is not recognized in this context.
For more information, refer to the help.

The DISM log file can be found at C:\Windows\Logs\DISM\dism.log
Once the repair is complete, you will see this message on Windows 8 and 8.1 :
Plain Text
[==========================100.0%==========================]
The restore operation completed successfully. The component store corruption was repaired.
The operation completed successfully.
Or this on Windows 10 and Windows 11 :
Plain Text
[==========================100.0%==========================] The restore operation completed successfully.
The operation completed successfully.
Finally, reissue this command :
Batch
sfc /scannow
Source : Fix Windows Update errors ...
4. System Update Readiness Tool (on Win 7)
Etant donné que la commande DISM citée précédemment ne fonctionne pas sous Windows 7, Microsoft a prévu une alternative qui consiste à installer "l'outil d'analyse de l'installation conforme des mises à jour du système" sous forme de mise à jour Windows (KB947821).
La mise à jour s'installe très facilement en quelques clics, mais elle pèse tout de même 228 Mo pour la version 32 bits (x86) et 539 Mo pour la version 64 bits (x64).
Since the previously mentioned DISM command doesn't work on Windows 7, Microsoft has provided an alternative which is to install the "System Update Readiness Tool" as a Windows update (KB947821).
The update is very easy to install with just a few clicks, but it weighs 228MB for the 32-bit (x86) version and 539MB for the 64-bit (x64) version.
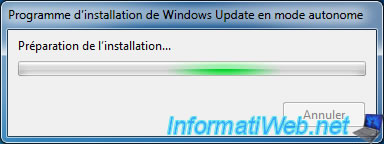
Once the file in ".msu" format has been downloaded, launch it.
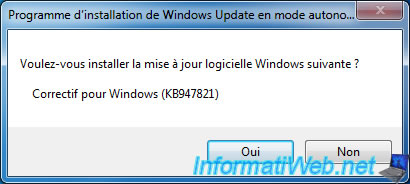
A "Do you want to install the following Windows software update? Hotfix for Windows (KB947821)" message appears.
Click Yes.
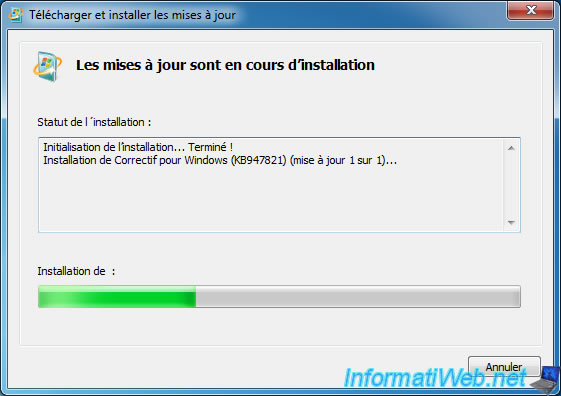
Wait while the Windows update is installed.
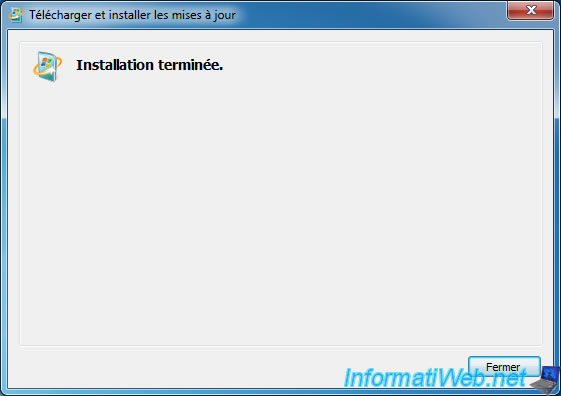
Once the installation is complete, the tool will automatically launch in the background.
Click on Close.
Now, reissue the command :
Batch
sfc /scannow
5. Restore or reinstall Windows
If none of the above techniques repaired your Windows installation, all that's left is to perform a system restore, restore the Windows installation or completely reinstall it if necessary.
To do this, for Windows 7, follow one of these tutorials :
For Windows 8 and 8.1, follow one of these :
For Windows 10, follow one of these :
Share this tutorial
To see also
-

Windows 9/30/2024
Windows 10 - Disable history in quick access
-

Windows 5/16/2025
Windows 11 / 10 - Enable Windows Photo Viewer
-
Windows 3/24/2025
Windows 11 / 10 / 8.1 / 8 - Repair a two-way mirror storage space (software RAID 1)
-

Windows 2/6/2023
Windows 11 / 10 / 8.1 / 8 / 7 - Disable User Account Control (UAC)
You must be logged in to post a comment