- Articles
- Intel NUC
- 27 March 2017 at 12:09 UTC
-

- 1/4
Although the Intel NUC Skull Canyon (NUC6i7KYK) is officially compatible with Windows 7 (64-bit), you will soon realize that its installation will not be so simple.
Indeed, the Intel NUC Skull Canyon has only USB 3.0 ports and since Windows 7 does not natively support USB 3.0, installation will be impossible from the original DVD of Windows 7.
Then, you should also know that the Intel NUC Skull Canyon supports SSD in M.2 format, but also NVMe SSDs.
If you are using a M.2 SSD, it will be recognized by the Windows 7 installation wizard. But if you choose an NVMe SSD, the Windows 7 installation wizard will not detect it.
You will not be able to install Windows 7 without the following solution.
To resolve these two issues, you will need to add Intel's USB 3.0 drivers and NVMe support to the Windows 7 (64-bit) DVD.
IMPORTANT : on the Intel website, this mini PC is officially compatible with the 64-bit version of Windows 7, 8.1, 10 and Server 2012.
But after trying to install the Windows 7 x64 drivers of this mini-PC, the Bluetooth driver provided by Intel asked us to first install the SP1 of Windows 7.
Info : Intel is providing a "Windows 7 USB 3.0 Creator Utility" program that is supposed to solve the problem of USB 3.0 drivers for installing Windows 7 on this mini-PC, but when the Windows installation wizard will ask you for a name for your PC (ie after the 1st restart of the mini-PC), the keyboard will no longer be recognized. So, you must follow our tutorial to be able to install completely Windows 7 x64 on this mini PC.
- Required files
- Preparing files
- Add support for USB 3.0 and NVMe in Windows 7 x64 iso
- Create the new iso file
- Create a bootable USB key of Windows 7
- Configure the BIOS
- Install Windows 7 on your Intel NUC canyon
- Install Windows 7 x64 drivers of your Intel NUC canyon
1. Required files
To use this solution, you will need :
- the Windows 7 x64 installation DVD (with or without SP1)
- the SP1 of Windows 7 x64 (Because by following our tutorial, the SP1 of Windows 7 will not be automatically installed, even if it was integrated in the original DVD)
- the iso of Windows 8.1 x64 (can be downloaded for free from the Microsoft server)
- the Windows 7 USB 3.0 Creator Utility program from Intel (because it contains the USB 3.0 drivers that we need). You must download the Windows 7-USB3.0-Creator-V3-Win7Admin.zip file from Intel.
- theNVMe Support Hotfix and NVMe Bugfix to support NVMe SSDs
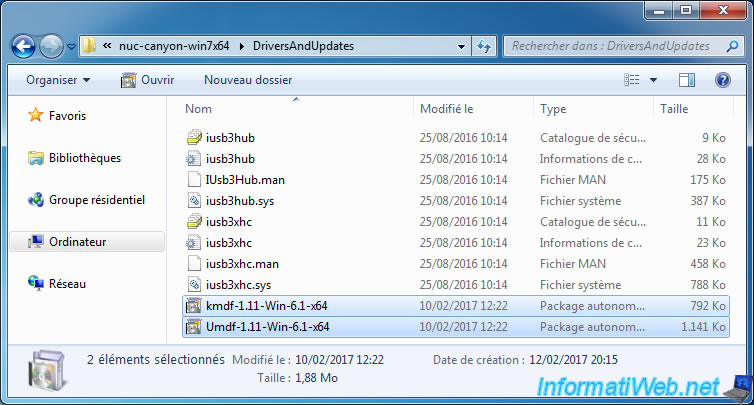
- the Kernel-Mode Driver Framework version 1.11 update for Windows 7 (only the x64 version : kmdf-1.11-Win-6.1-x64.msu)
- the User-Mode Driver Framework version 1.11 update for Windows 7 (only the x64 version : Umdf-1.11-Win-6.1-x64.msu)
- the DISM GUI program (allowing you to add drivers and updates in the Windows 7 iso). Click here for the direct download link.
- the Microsoft .NET Framework 4 to be able to run DISM GUI.
- the UltraISO program (paid software) to edit the original iso file or ImgBurn (free) to create the new bootable iso file from Windows 7
- the Windows USB/DVD Download Tool program (to create a bootable USB key to install Windows 7)
- the 7-zip program (or a similar software such as : WinRAR, Winzip, ...) to extract the contents of the Windows 7 iso file
- Drivers of the Intel NUC Skull Canyon (NUC6i7KYK) for Windows 7 x64. (Select "Windows 7, 64-bit*" from the "Any operating system" list to see the list of available drivers for this OS.)
2. Preparing files
To follow this tutorial, first create a folder at the root of the C partition of your computer and create these folders :
- ISO
- install_mount
- DriversAndUpdates
- TEMP
For this tutorial, we will create these folders in a folder "nuc-canyon-win7x64".
2.1. Drivers
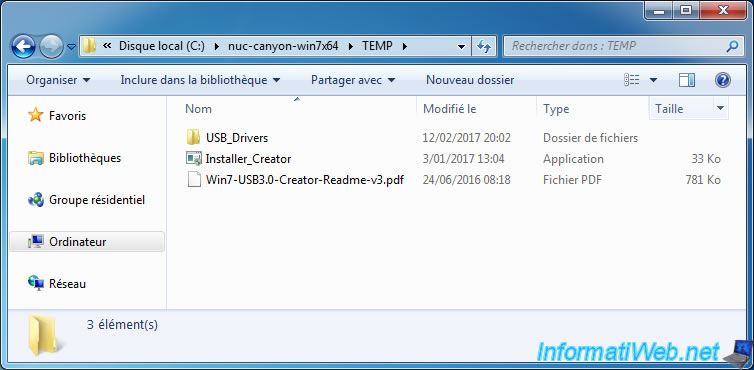
First, extract the contents of the Windows 7-USB3.0-Creator-V3-Win7Admin.zip file in the "Temp" folder.
In this folder, you will find an "USB_Drivers" subfolder.
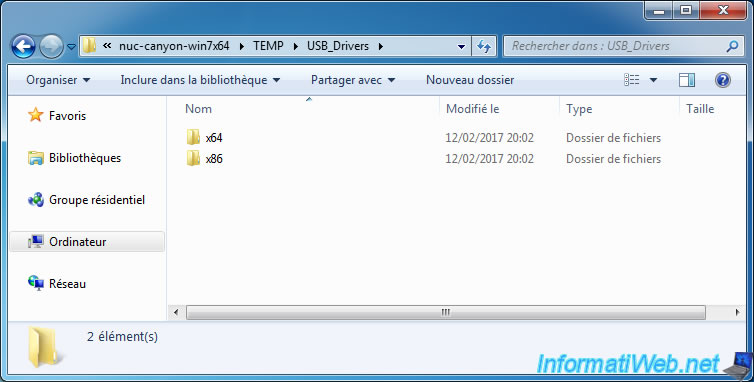
In this folder you will find 2 subfolders :
- x86 : USB 3.0 drivers for Windows 32-bit architecture
- x64 : USB 3.0 drivers for Windows 64-bit architecture
Since this mini PC is only compatible with the 64-bit version of Windows 7, we will use only the x64 version of these USB 3.0 drivers.
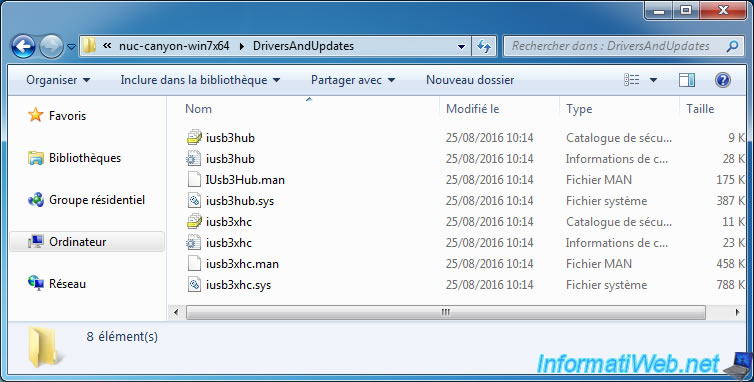
In the x64 subfolder, you will find 8 files, including .sys files (drivers) and .inf files (configuration files for installing these drivers).
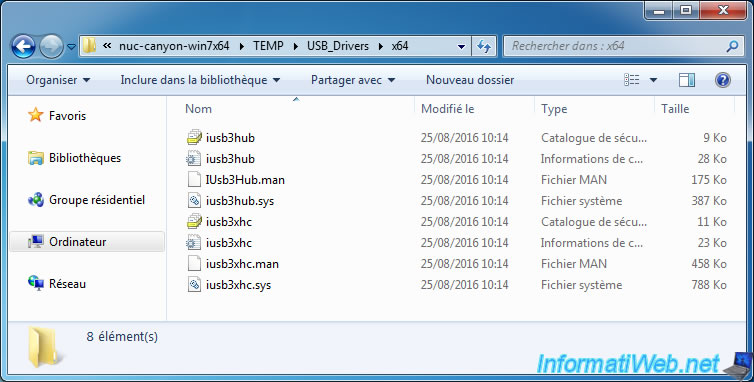
Copy these 8 files to your "DriversAndUpdates" folder.
2.2. Windows updates
You have 2 types of updates :
- the .msu update files that are already in the correct format
- and hotfix files in .exe (which you received via email following your request on the Microsoft site) that are compressed files
For .msu files, there is nothing to do. Simply copy the 2 files to the "DriversAndUpdates" folder.
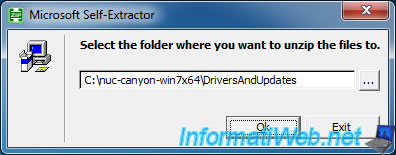
For .exe files, simply :
- run each exe file
- click on the "Continue" button
- click the "..." button to select your "DriversAndUpdates" folder.
- click OK twice


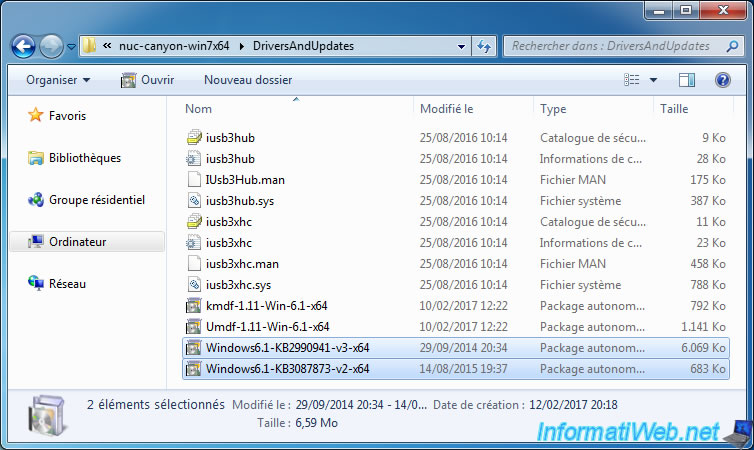
Finally, you should have 2 additional .msu files.
2.3. Windows 7 x64 installation files
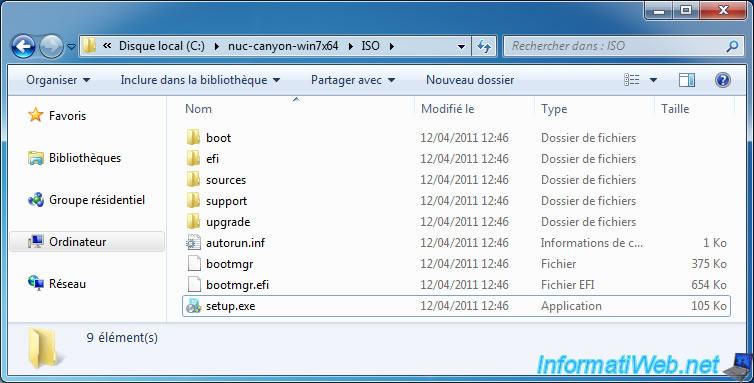
If you have a Windows 7 x64 physical DVD, then copy its contents to your "ISO" folder.
If you have an iso file of Windows 7 x64 :
- install 7-Zip
- right-click "7-Zip -> Extract files" on this iso file
- click the "..." button to select the path of your "ISO" folder
- click OK.
Finally, you will get this.
Share this tutorial
To see also
-

Articles 9/16/2024
Intel NUC Skull Canyon - Install Windows 10
-
Articles 9/23/2024
Intel NUC Skull Canyon - Install Windows 11
-
Articles 3/14/2017
Intel NUC Skull Canyon - Mounting
-
Articles 3/7/2017
Intel NUC Skull Canyon - Unboxing
Thank you very much. Without this tutorial I'd be forced to install Windows 10 which I want to avoid for as long as possible.
And I get an error in DISM GUI :
Searching for driver packages to install...
Found 2 driver package(s) to install.
Installing 1 of 2 - C:\nuc-canyon-win7x64\DriversAndUpdates\iusb3hub.inf: Error - An error occurred. The driver package could not be installed.
For more information, check for log files in the <windir>\inf folder of the target image.
Installing 2 of 2 - C:\nuc-canyon-win7x64\DriversAndUpdates\iusb3xhc.inf: Error - An error occurred. The driver package could not be installed.
For more information, check for log files in the <windir>\inf folder of the target image.
Error: 5
I tried the following without success :
- 2 different versions of windows 7 install (that are perfectly fine)
- Re-download the drivers and everything and starting over again
I end up getting the same exact error each time, so i'm stuck ...
If you can help me out it's cool.
Thanks
You must be logged in to post a comment