Virtualize a physical PC to VMware ESXi (P2V) using Acronis True Image (Cyber Protect Home Office) and Acronis Universal Restore
- Backup
- Acronis True Image, Acronis Universal Restore
- 21 September 2026 at 13:05 UTC
-

- 2/8
4. Restore physical PC disk to your VM on VMware ESXi via Acronis Cyber Protect Home Office (True Image)
4.1. Initialize your VM's virtual hard disk before restoring via Acronis
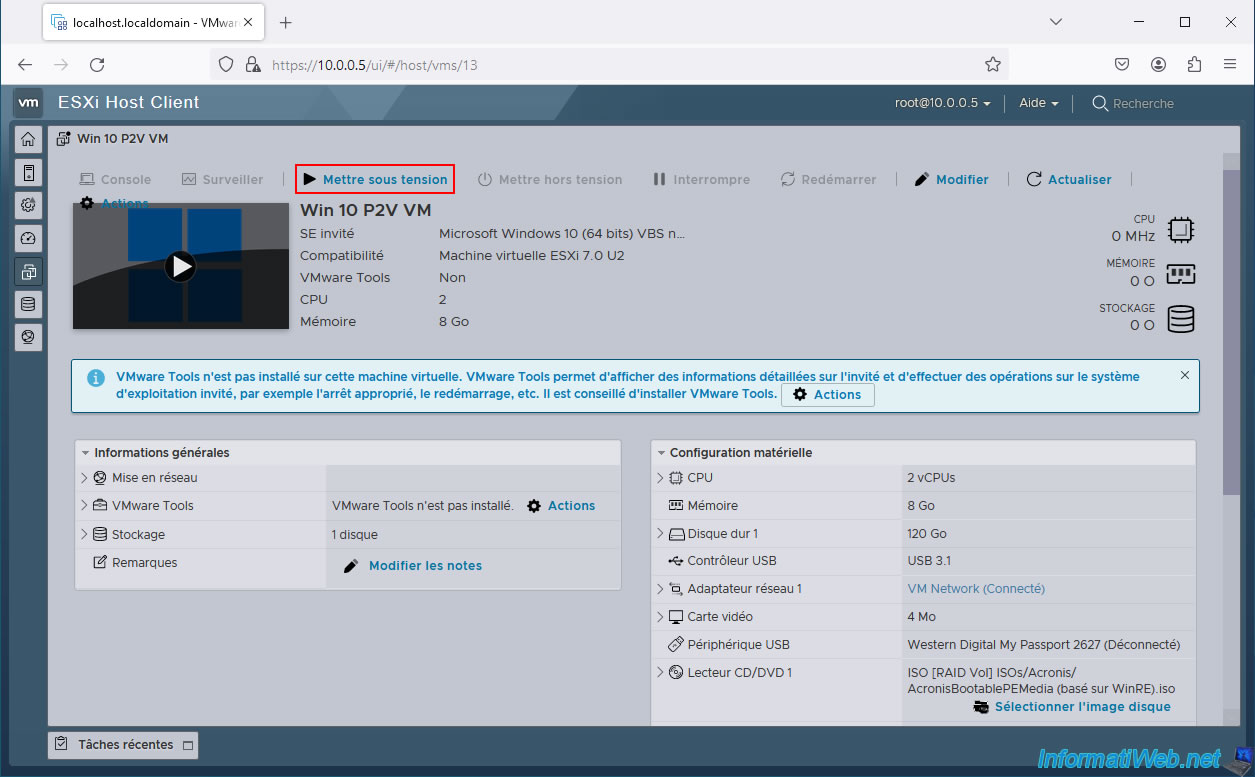
Start your virtual machine by clicking on "Power on".
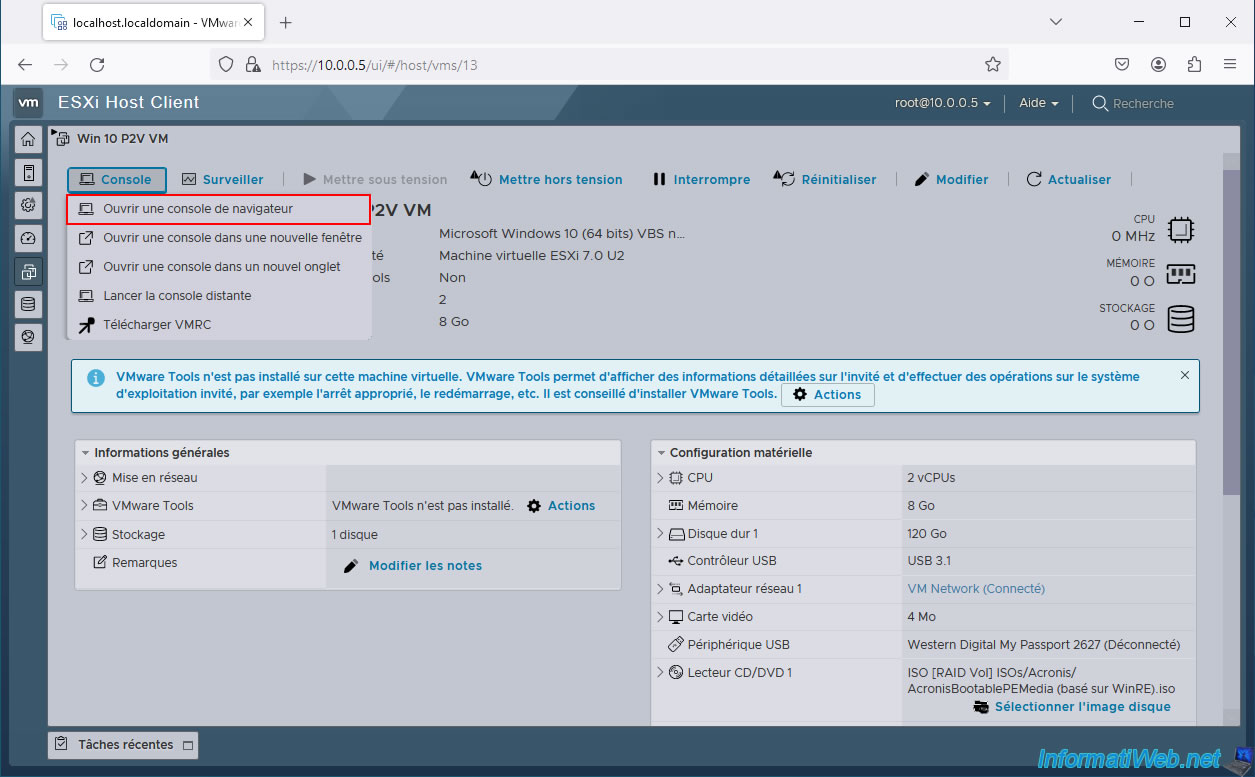
Then, click on: Console -> Open browser console.
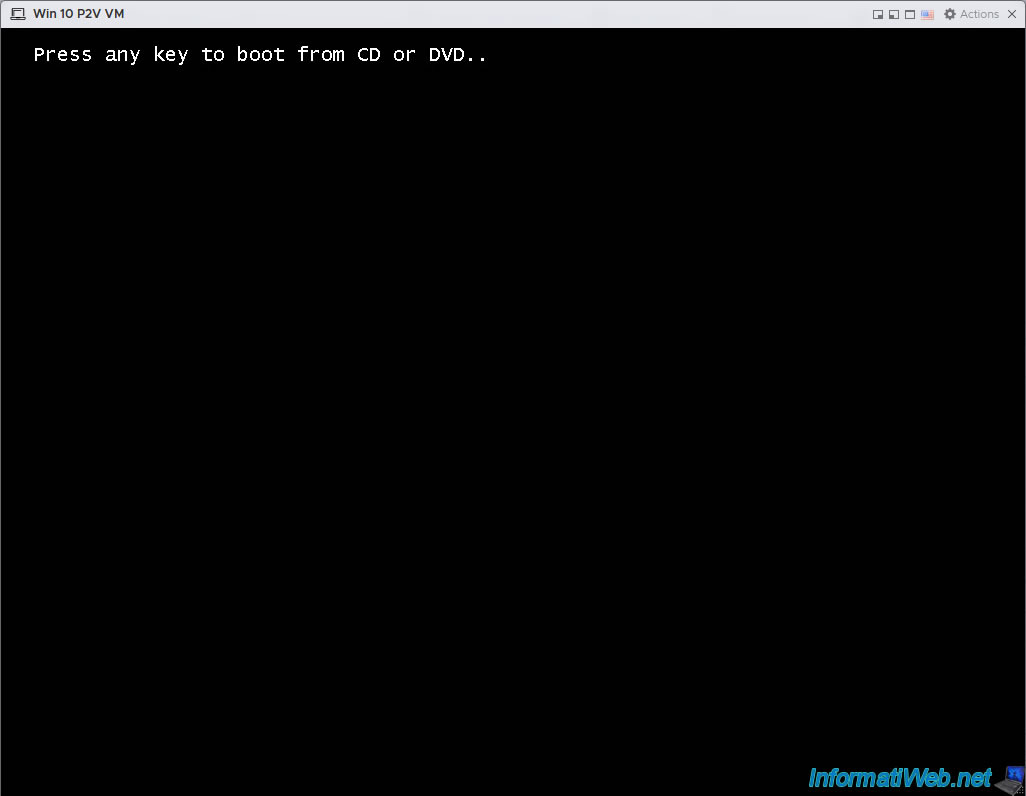
Press the "Enter" key when the message "Press any key to boot from CD or DVD" appears.
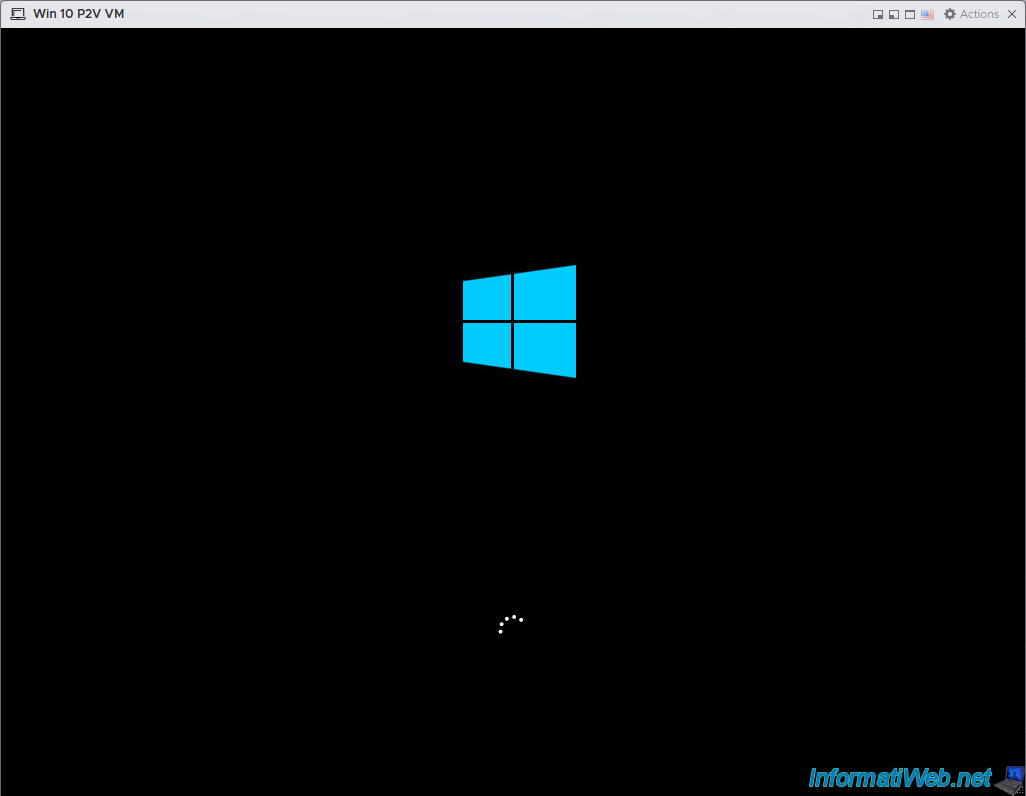
The Windows logo appears.
A command prompt will appear, then the program "Acronis Cyber Protect Home Office (True Image)" will appear.
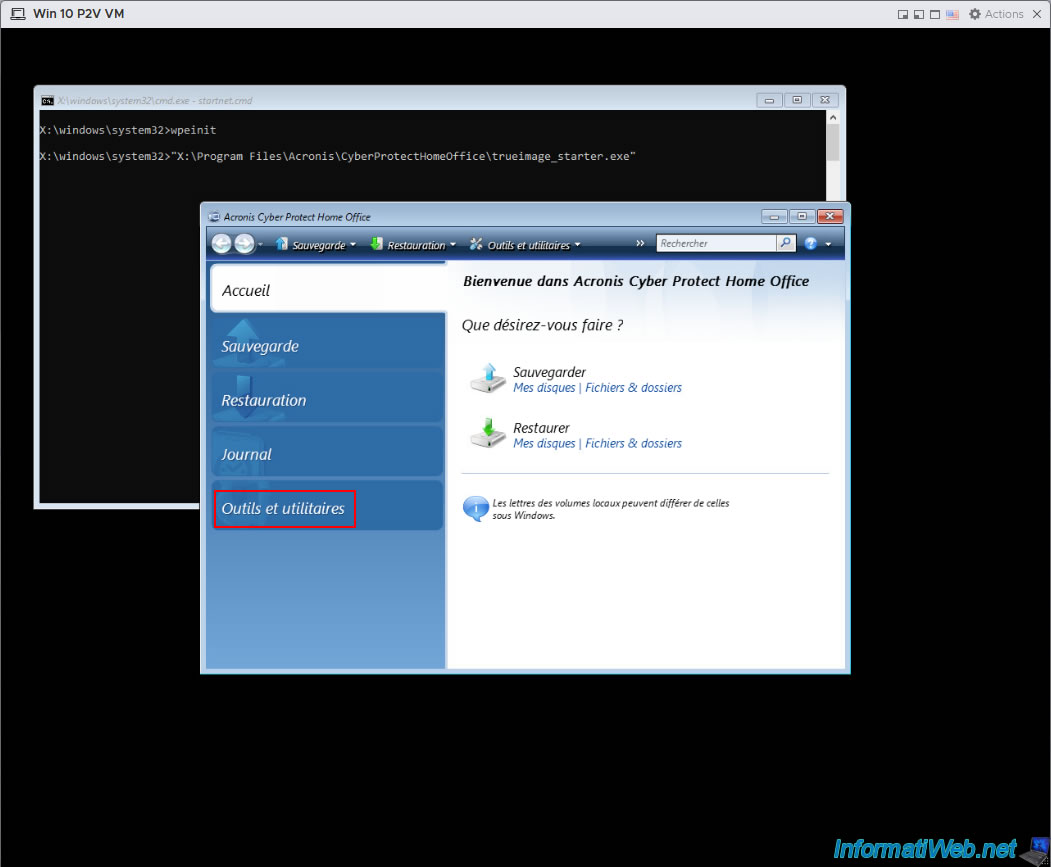
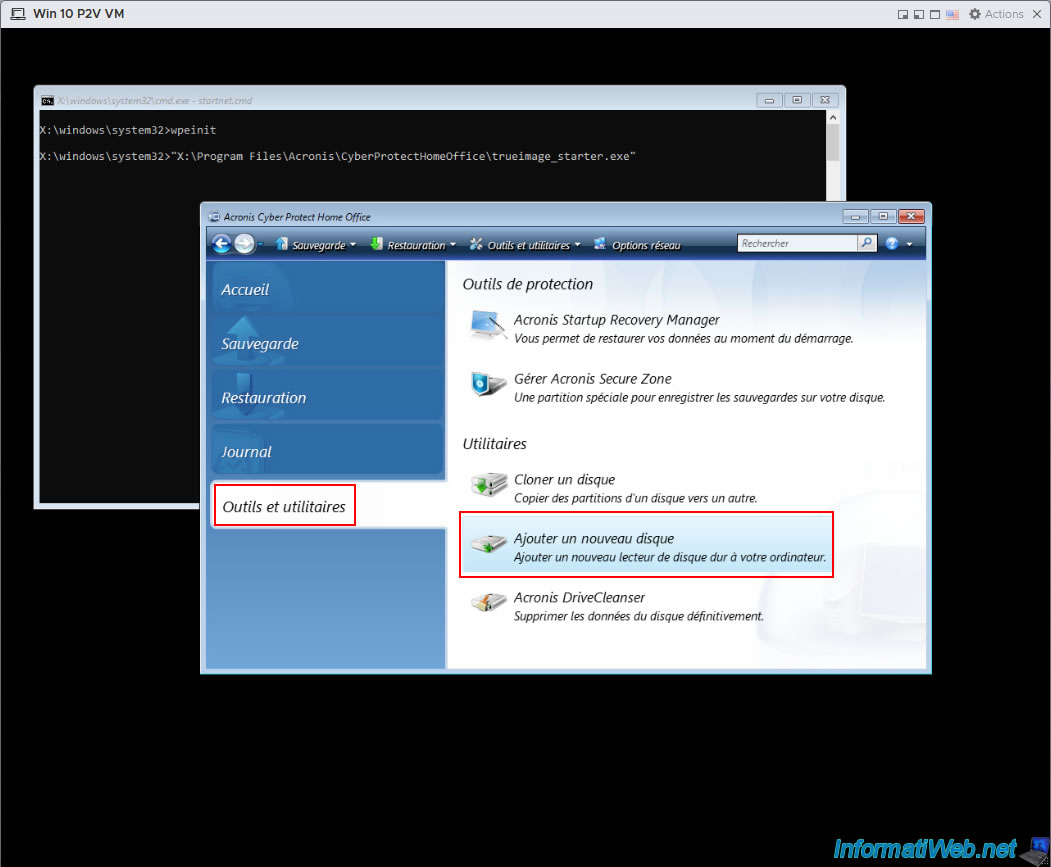
Go to the "Tools and Utilities" section and click "Add New Disk".
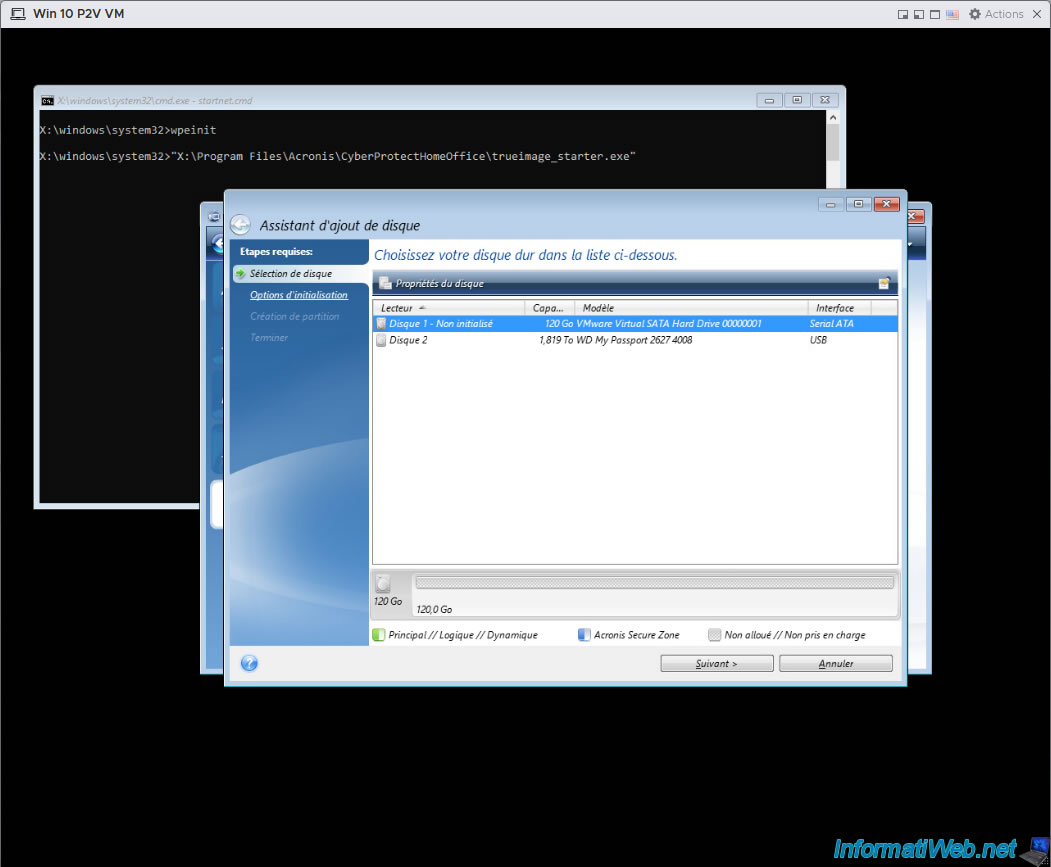
In the Add Disk Wizard that appears, select the VMware virtual hard disk that is "Not initialized" and is probably also disk 1.
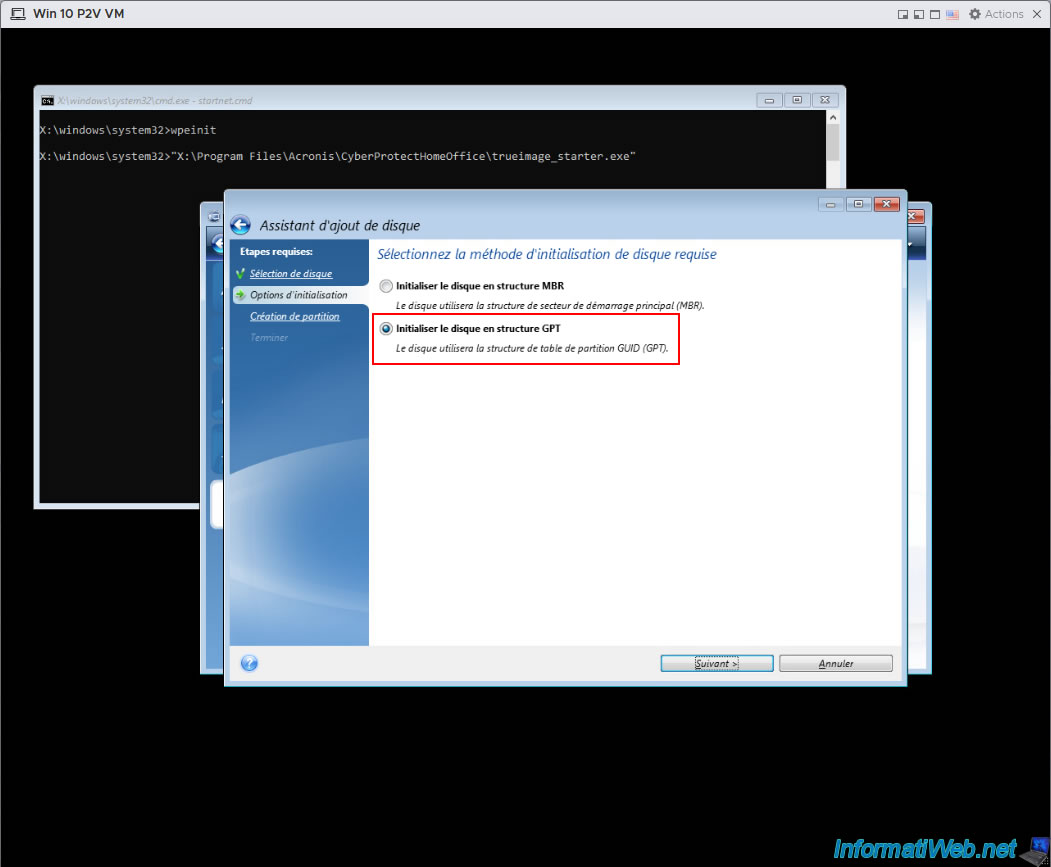
Select the initialization method that is appropriate for your case:
- Initialize the disk in MBR structure: if Windows had been installed in Legacy BIOS mode on the physical PC backed up and the disk where Windows is installed therefore uses an "MBR" partition table (Master Boot Record).
- Initialize the disk in GPT structure: if Windows had been installed in UEFI mode and the partition table used was therefore "GPT" (GUID Partition Table).
For partitions, skip this step by clicking "Next".
Note: when restoring your backup to your VM, you will be able to select this unallocated space as a destination each time.
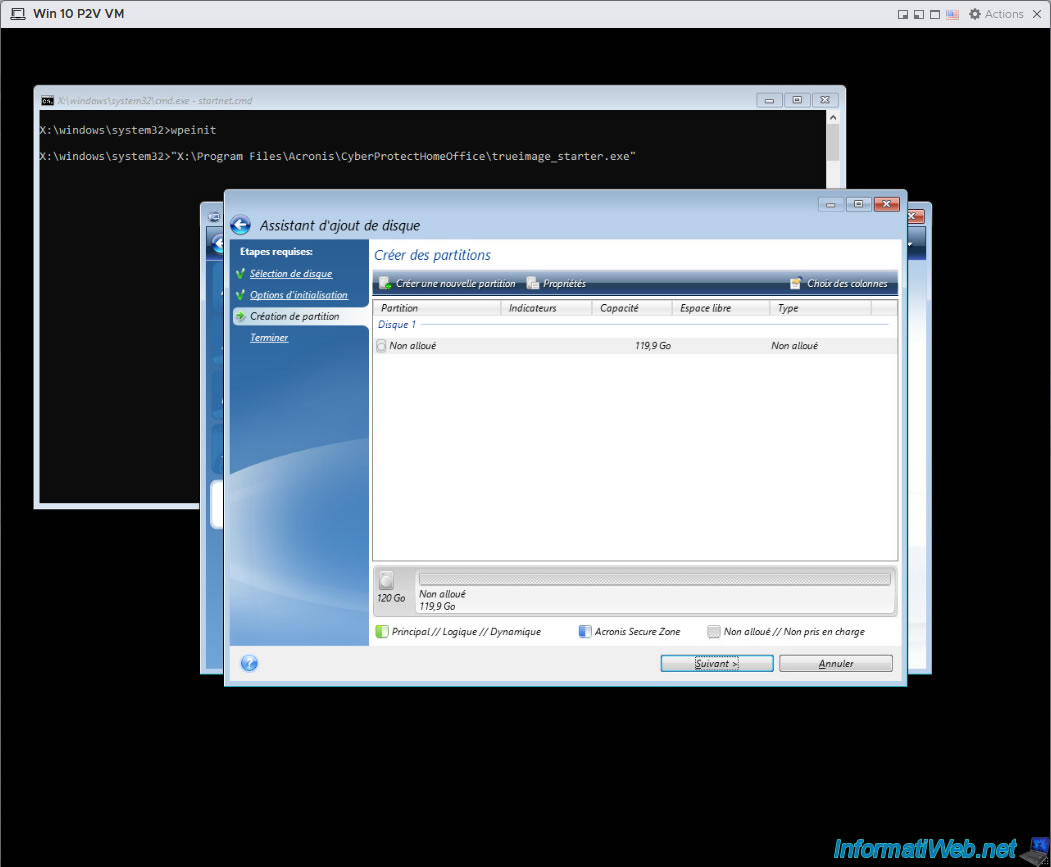
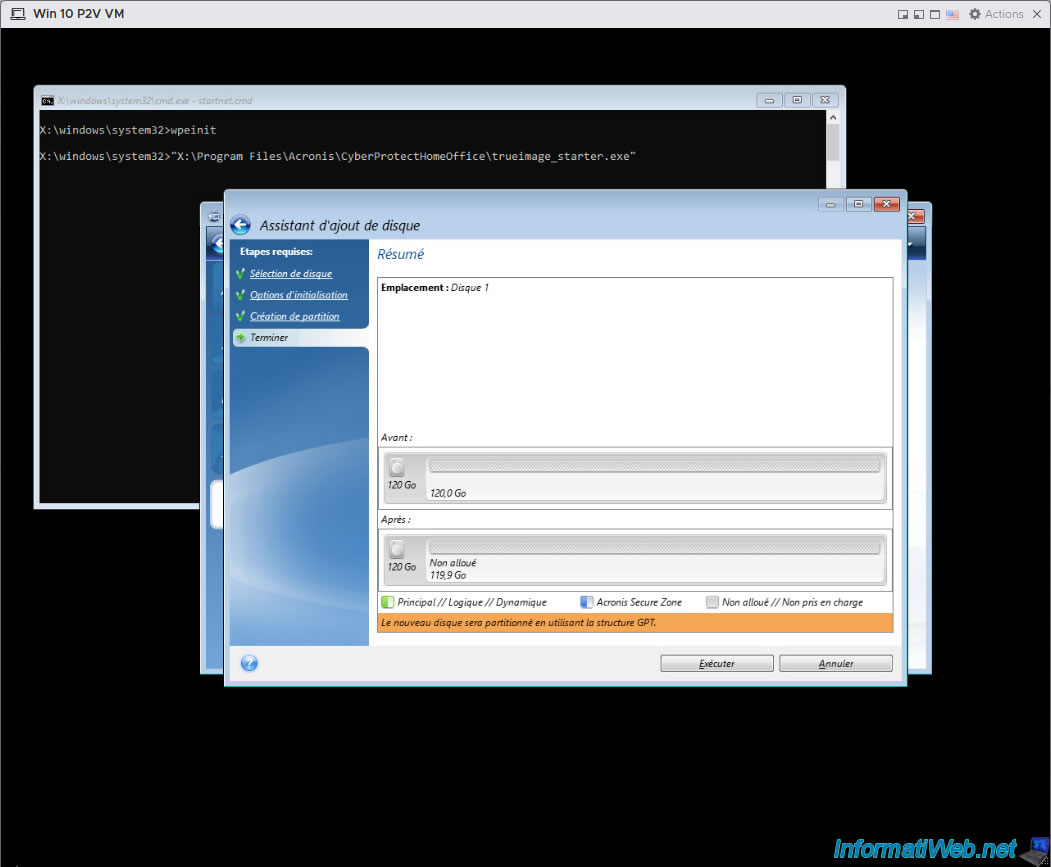
At the bottom of the Add Disk Wizard, you can see that the new disk will be partitioned using the GPT structure (or MBR, if you chose that initialization method at the beginning of this wizard).
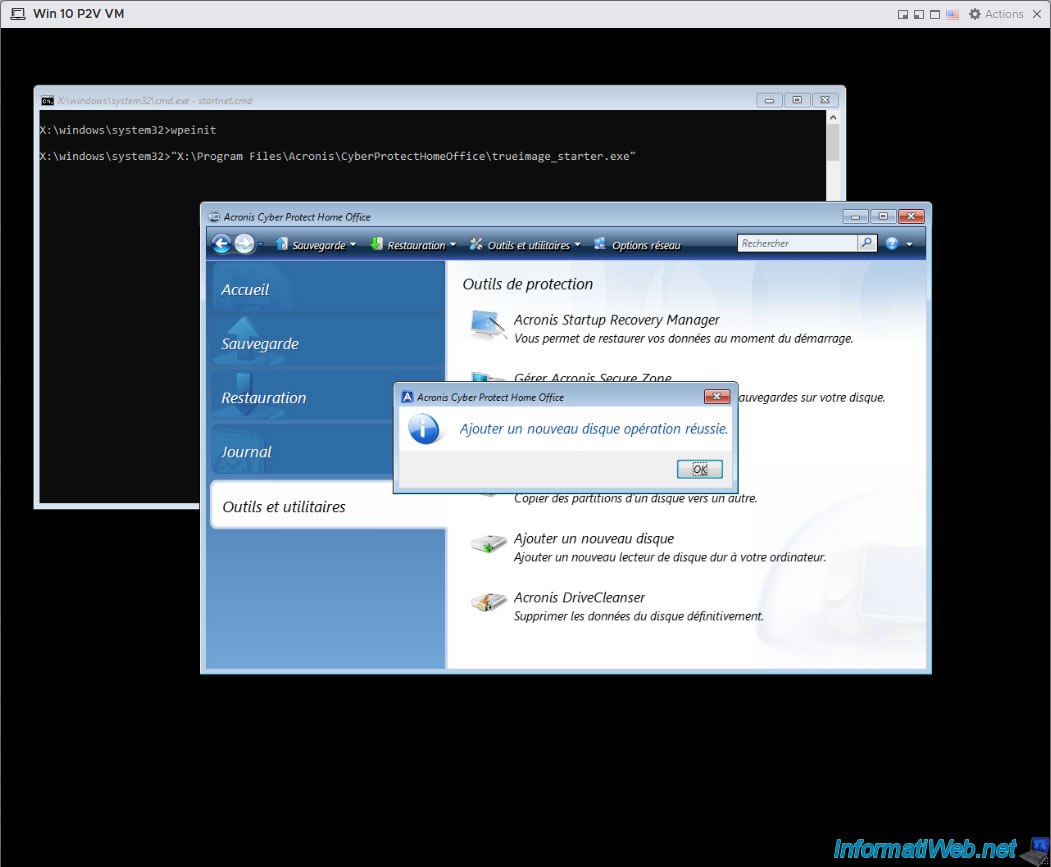
Once the disk initialization is complete, the message "Add new disk operation successful" will appear.
4.2. Restore physical PC partitions from your Acronis backup
Now that your virtual hard disk is initialized, you can restore your backup to it.
To do this, go back to the "Home" section of Acronis Cyber Protect Home Office (True Image) and click the "My Disks" link under the "Restore" option.
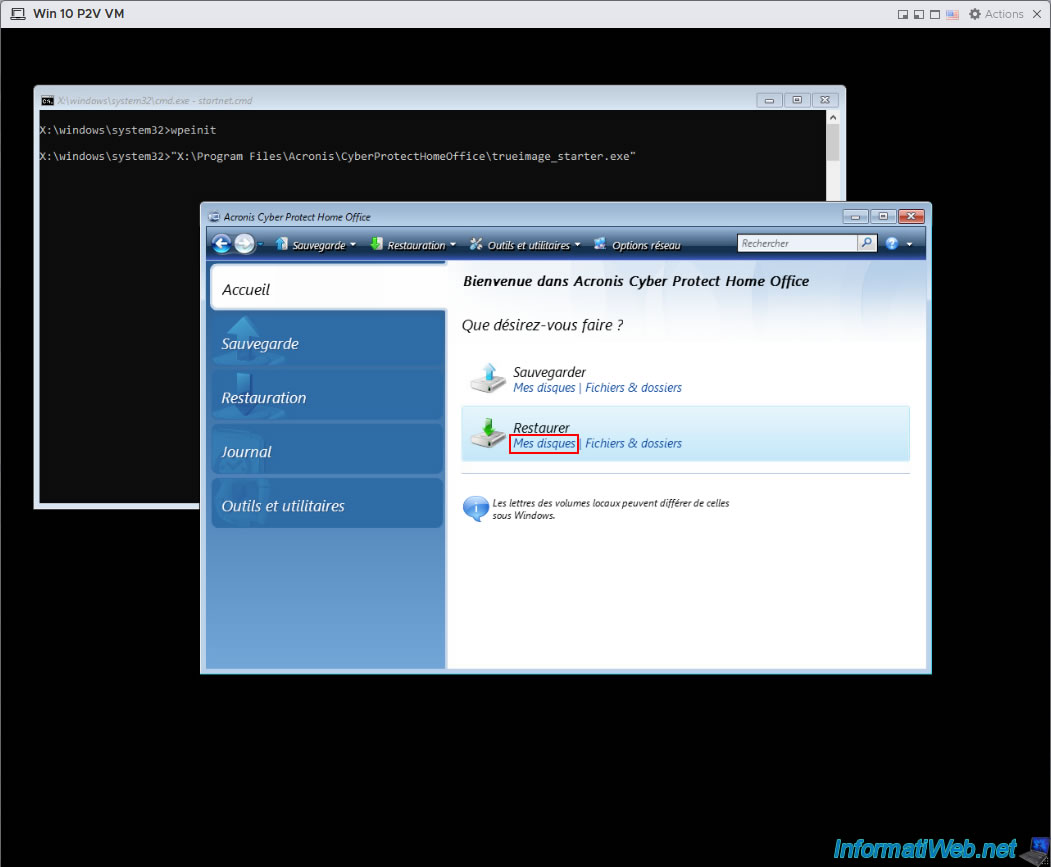
If your backup is automatically detected, select it and click "Next".
Otherwise, click the "Browse" button.
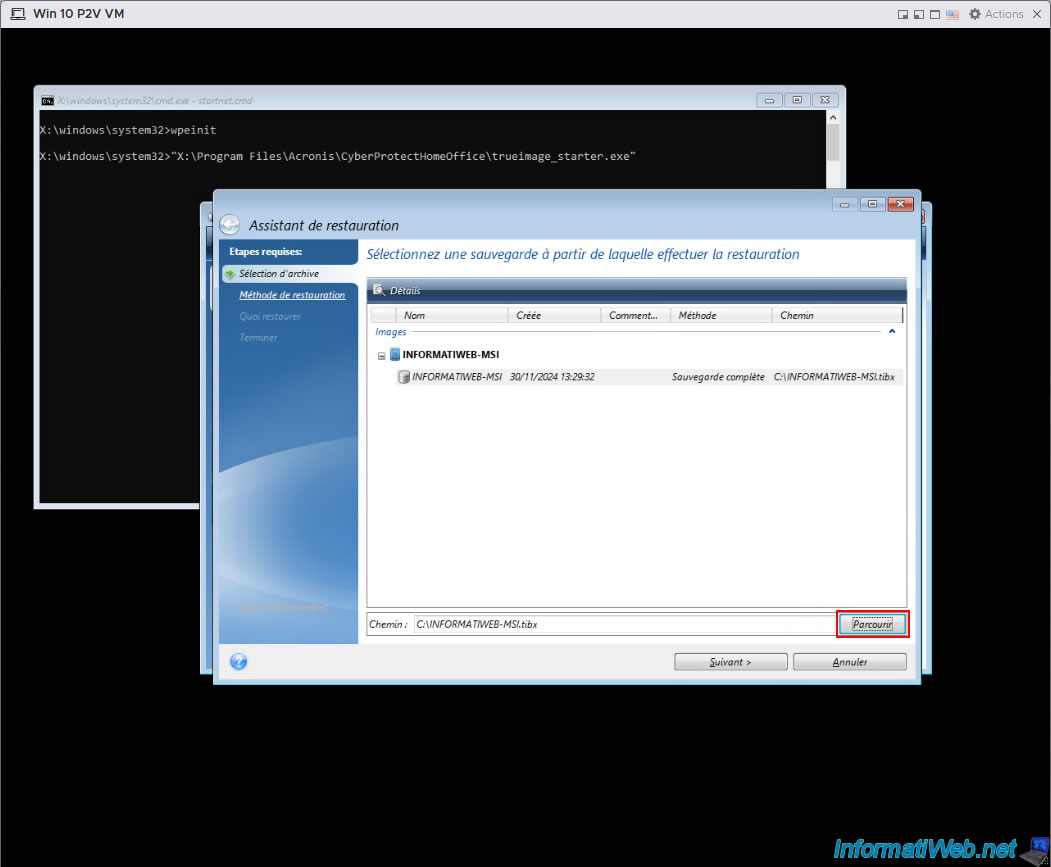
Select your USB external hard drive (left), then select your backup file (.tibx) and click OK.
In our case, we selected our USB external hard drive "My Passport" (left), then our backup file "INFORMATIWEB-MSI.tibx".
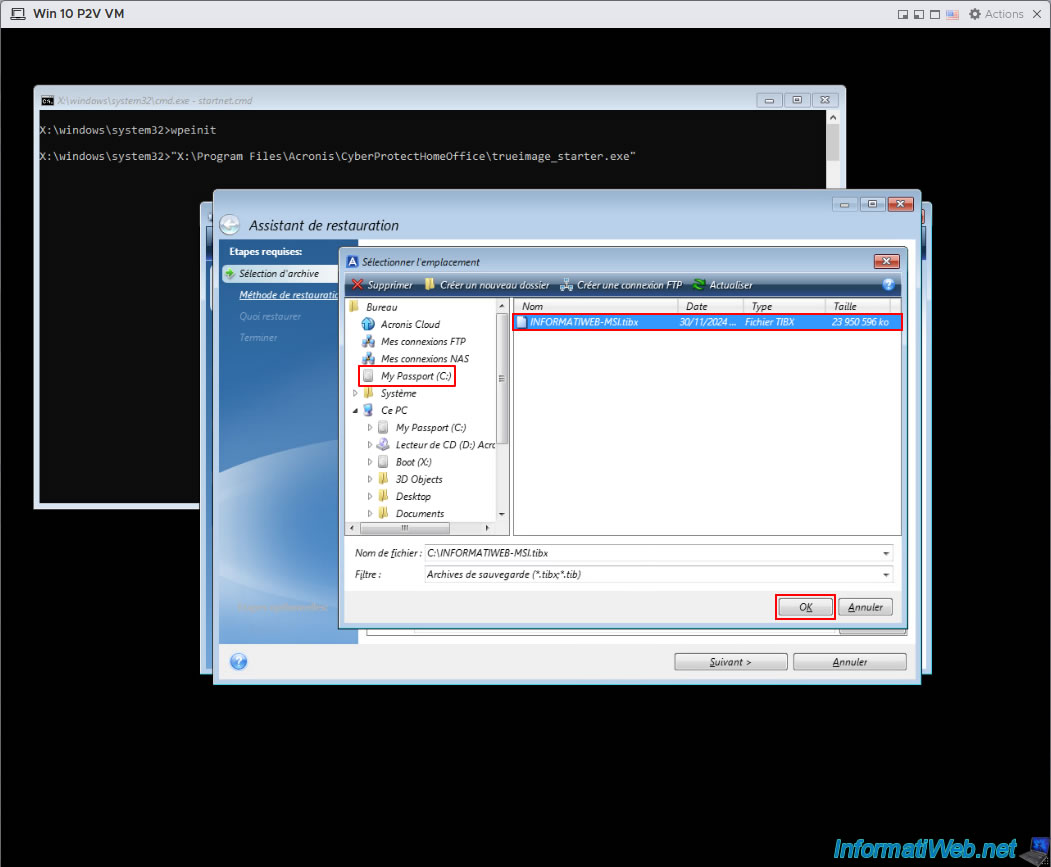
Select your backup from the list and click "Next".
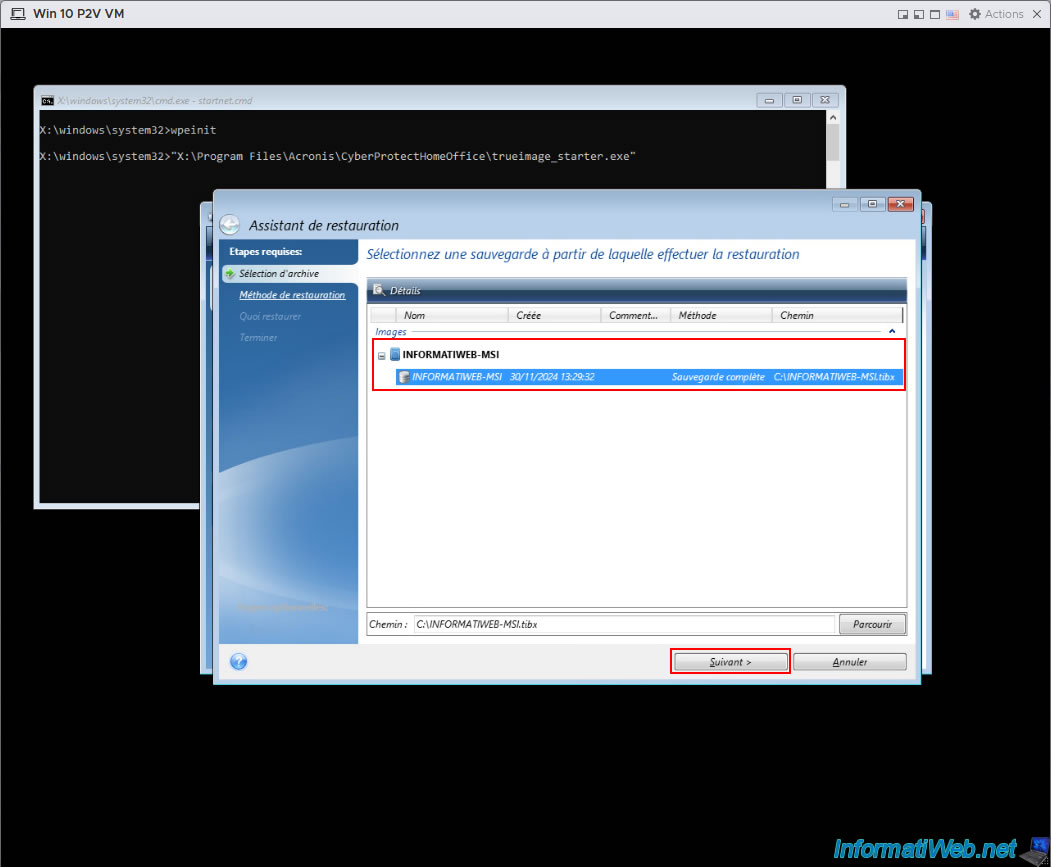
Select "Restore entire disks and partitions".
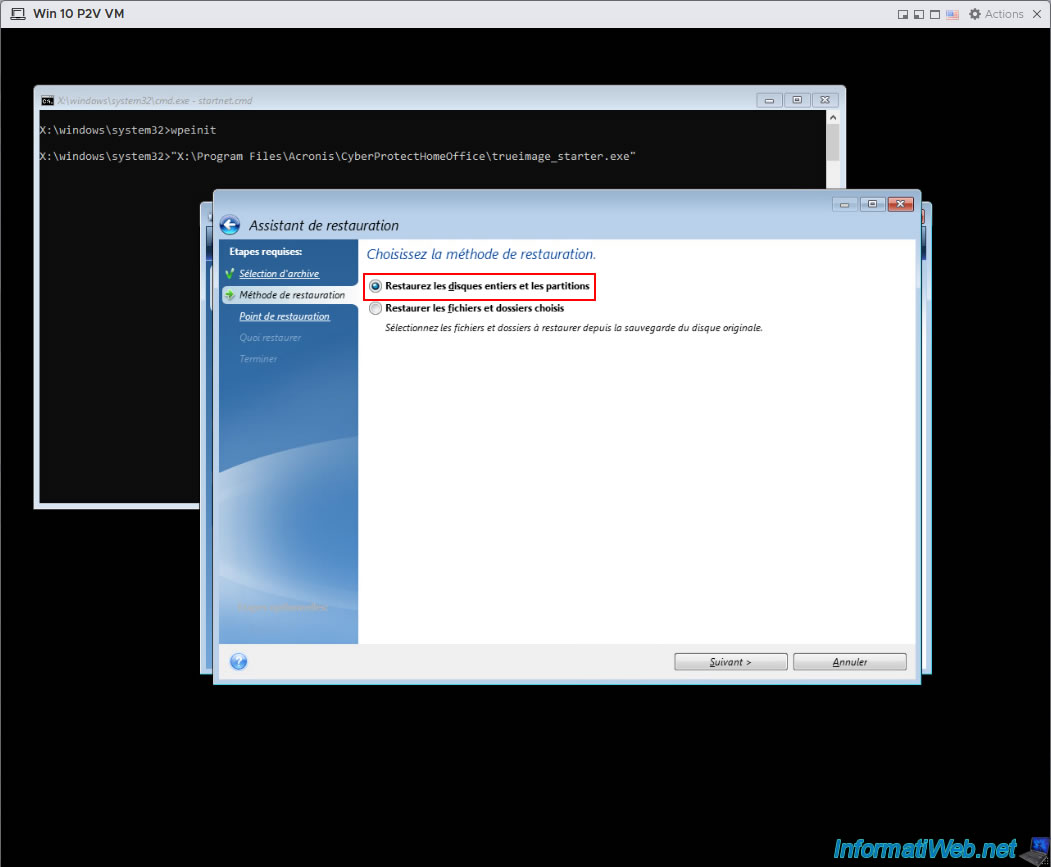
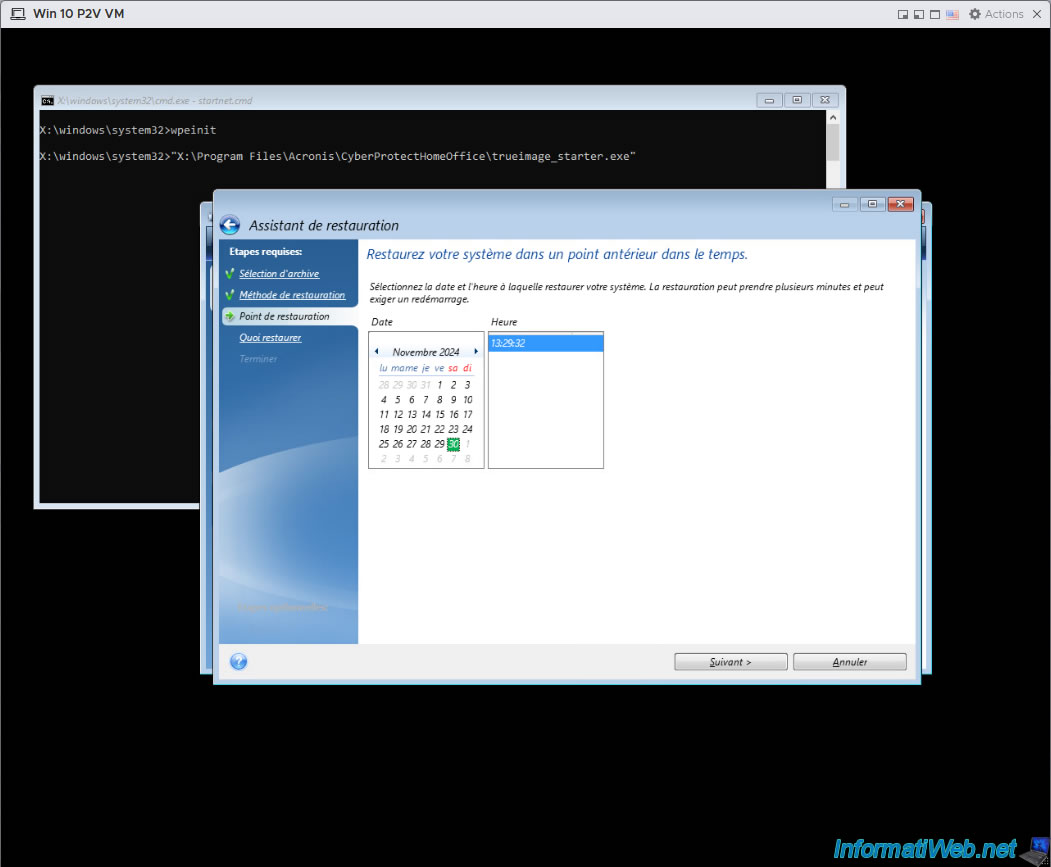
Select the date/time to restore data from this backup.
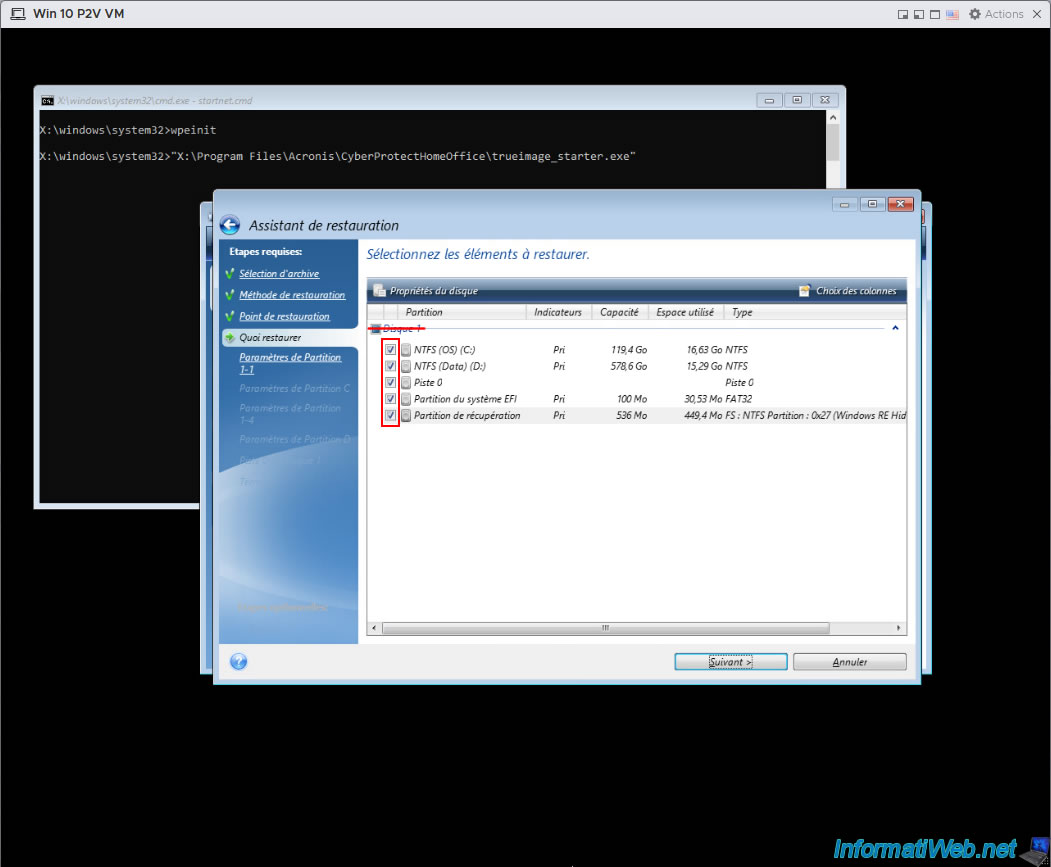
Warning : Uncheck the box for "Disk 1" and only check the boxes for all partitions on it, as well as the box for "Track 0".
"Track 0" is the MBR of the disk and is required to boot Windows, as it indicates where Windows is installed on the disk.
This will allow you to manually set the size of the partitions on the destination disk (virtual hard disk of your VM). Otherwise, you may end up with full partitions with 0 bytes of free space, as explained in step "12. Bonus: Problem encountered if you try to restore the entire disk instead of its partitions" in our P2V tutorial via Acronis on VirtualBox.
Share this tutorial
To see also
-

Backup 4/13/2026
Acronis True Image - Rescue Media - Create an incremental backup
-
Backup 2/9/2026
Acronis True Image - Rescue Media - Create media (Win PE version) on Win 8
-
Backup 3/16/2026
Acronis True Image - Rescue Media - Partition a new disk
-
Backup 5/11/2026
Acronis True Image - Universal Restore Media - Create media (Win PE version based on Win RE)
No comment