- Backup
- Acronis True Image
- 20 April 2026 at 14:52 UTC
-

- 1/2
From Acronis Rescue Media, you also have the possibility to backup and restore your computer by storing your backups on an FTP server.
Note: for this tutorial, we used the FTP server "FileZilla Server" which is configured exactly as in our previous tutorial "Acronis True Image - Backing up your PC to a FTP server".
For detailed information about backup and restore via Acronis from an FTP server, refer to the detailed explanations of the tutorial mentioned above.
- Back up your computer to an FTP server from your Acronis rescue media
- Restore your computer from an FTP server from your Acronis rescue media
1. Back up your computer to an FTP server from your Acronis rescue media
To back up your computer to your FTP server from your Acronis rescue media, it is necessary that your rescue media has access to the network.
Which should be the case if this rescue media was created from your computer or if your network card is already natively supported by Windows PE (which is a Windows environment used by this Acronis rescue media most of the time).
If necessary, refer to our tutorial "Acronis True Image - Rescue Media - Check network configuration" to check that you have access to the network from your Acronis rescue media.
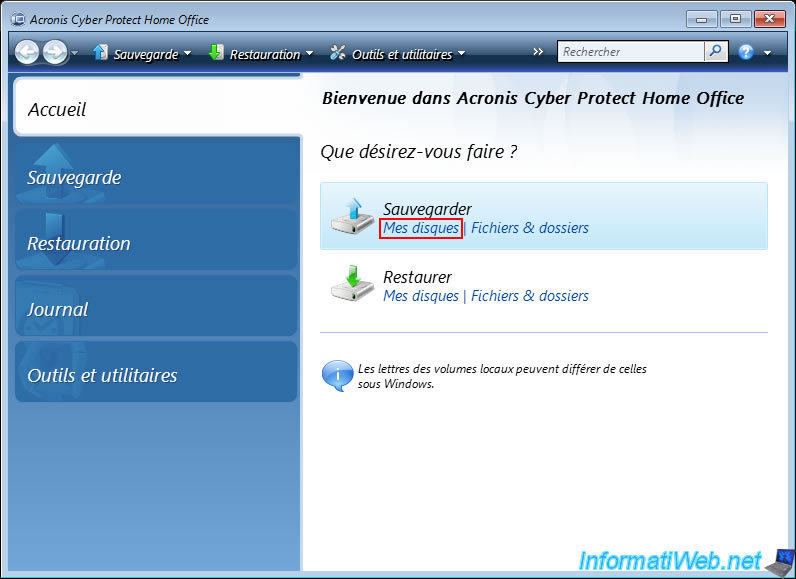
Then, click on the "My disks" link of the "Backup" option.
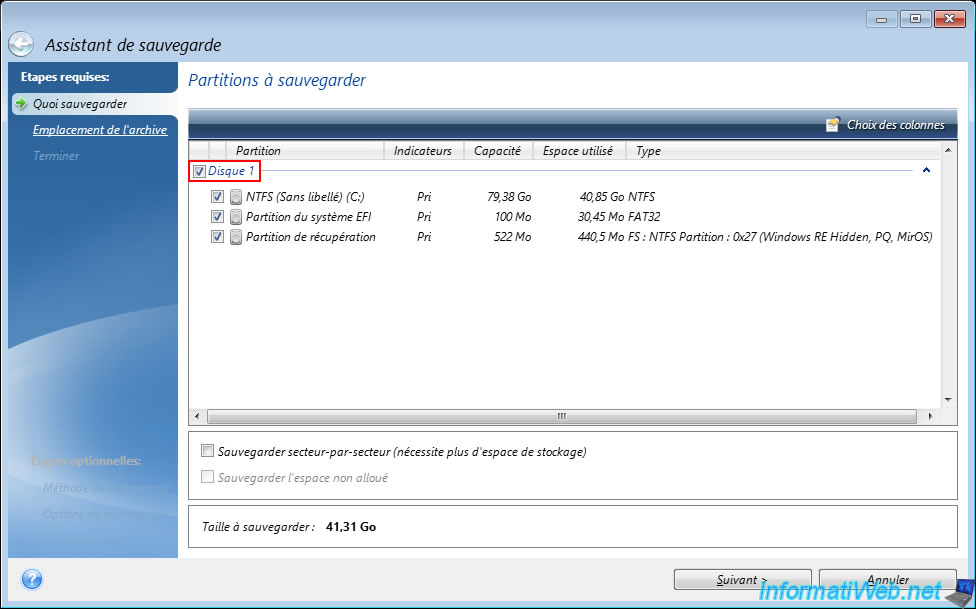
In the backup wizard that appears, select the disk to back up and click "Next".
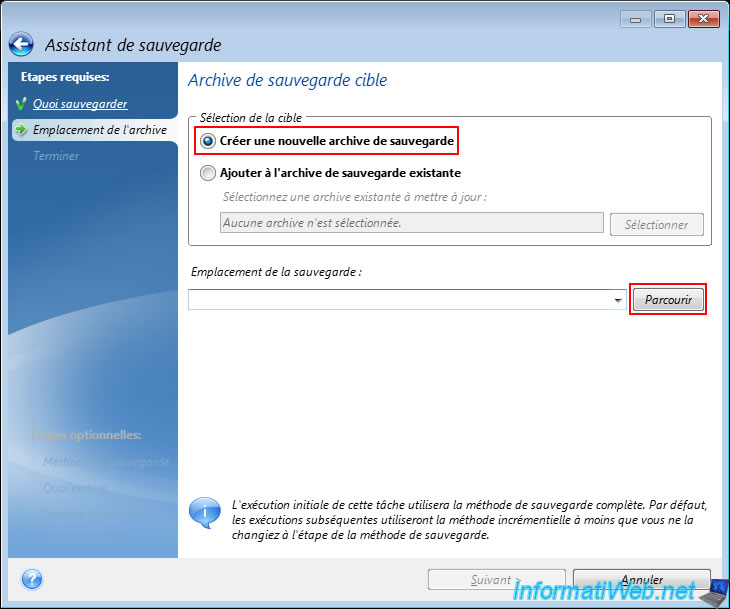
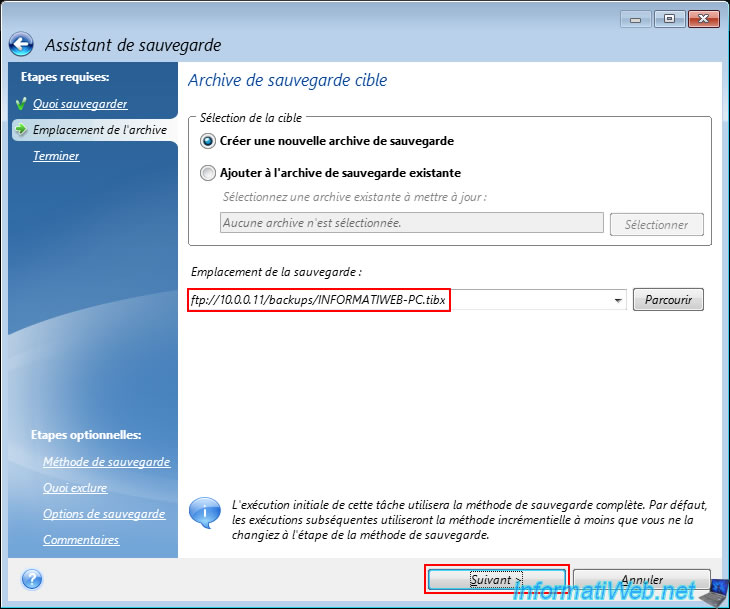
Select the "Create a new backup archive" option and click "Browse".
Select the "My FTP Connections" location in the left column, then click "Create FTP Connection" in the toolbar at the top of the window.

In the "Authentication Settings" window that appears, specify:
- Path: the IP address or domain name of your FTP server.
- Port: 21 (default port of the FTP protocol).
- Username: a username configured on your FTP server.
- Password: its associated password.
Next, click "Test Authentication and Connection" to ensure that the credentials are correct.
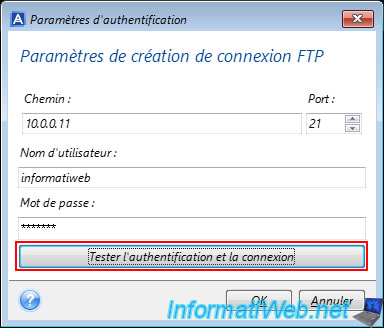
If the FTP settings you entered are correct, the message "Connection successful" will appear.
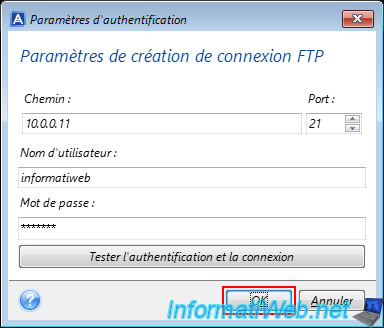
Click OK.

Then, click OK to save these FTP settings.
Note: since the Windows PE environment of this Acronis rescue media runs in your computer's RAM, these FTP settings will be lost when you restart your computer.
The message "Connection successful" reappears.
Click OK again.

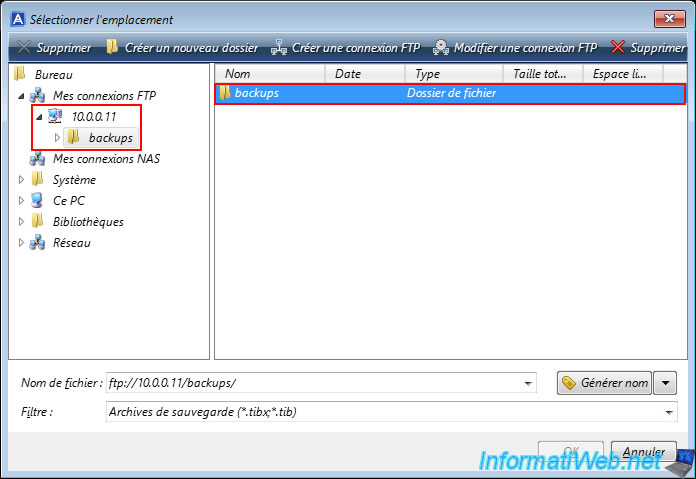
Your FTP server appears on the left in the "My FTP Connections" section, as well as the folders present at the root of it.
In our case, we can see the "backups" folder of our FTP server.
Double-click on the desired folder to enter it.
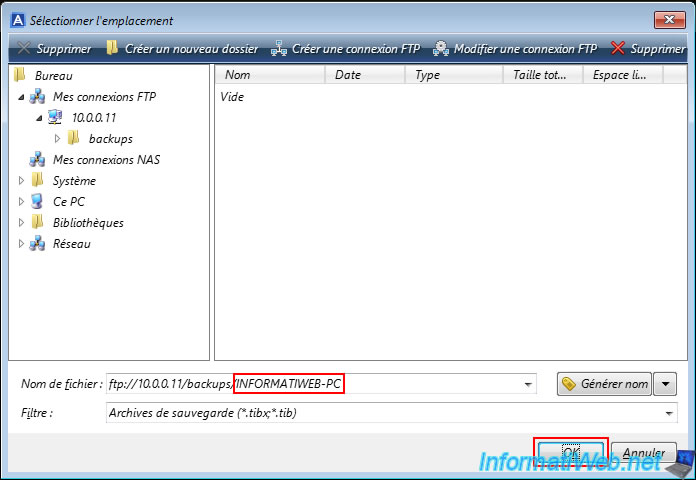
Then specify a name for this backup and click OK.
Note that the extension is optional and will be added automatically if it is not indicated.
On your FTP server, you will be able to see in its history the connection with your FTP user account.
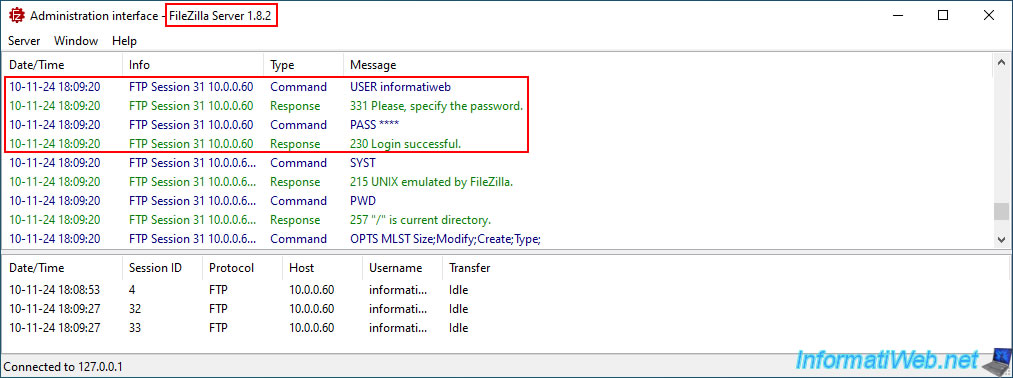
The FTP path of your future backup appears.
Click "Next".
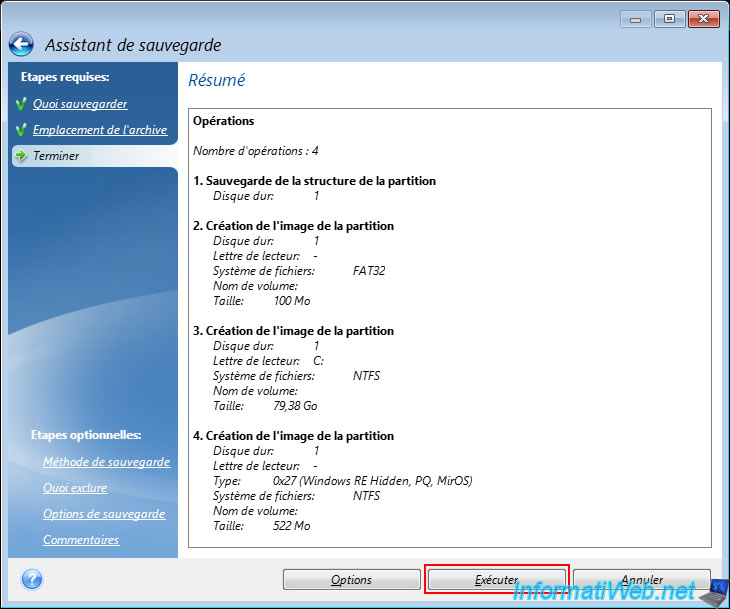
A summary is displayed.
Click "Run".
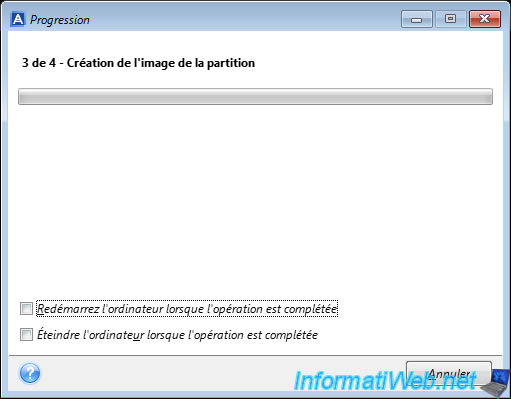
Your computer backup begins.
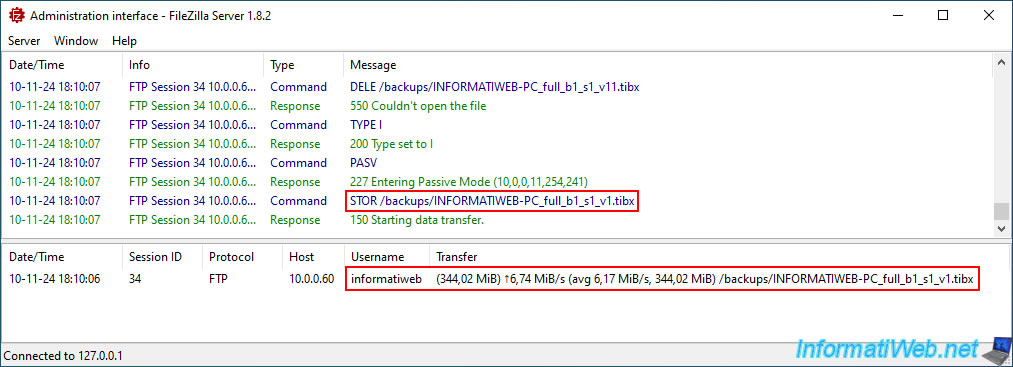
On your FTP server, you can see that a 1st file whose name begins with the name of your backup (in our case "INFORMATIWEB_PC") and ends with "_v1.tibx" is being created on your FTP server.
Your computer backup continues.
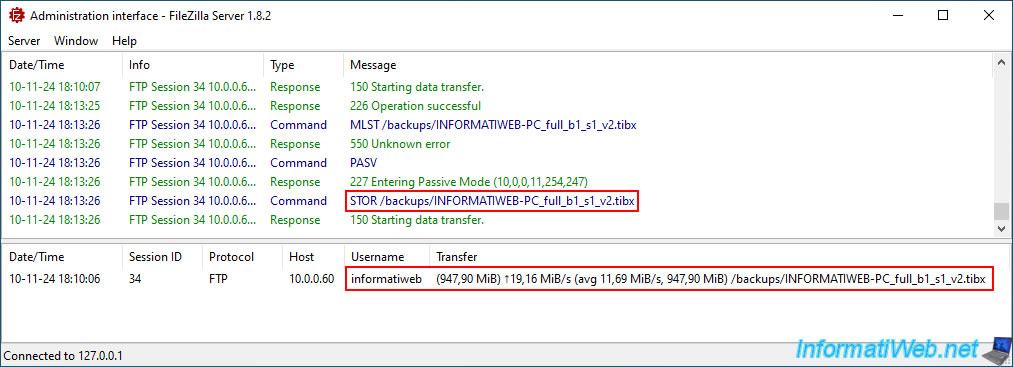
After a while, you will see that a second file (now ending in "_v2.tibx") is being created on your FTP server.
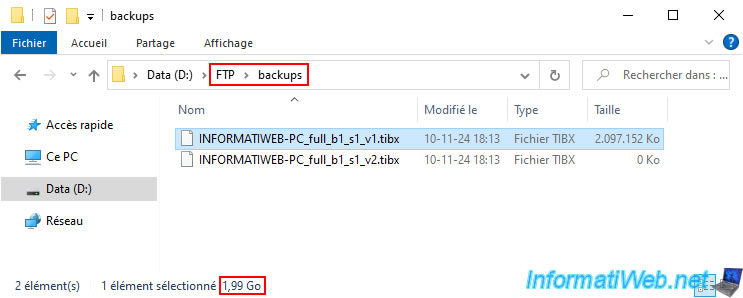
If you look at the size of the 1st file "_v1.tibx", you will easily understand that the size of each file is limited to 2 GB when you backup your computer via FTP protocol.
Source : FTP connection - Acronis Cyber Protect Home Office (True Image) - User Guide.
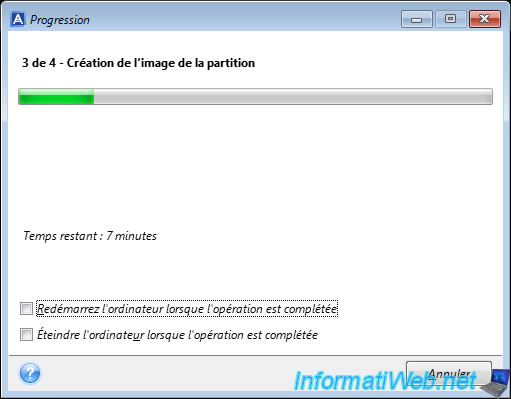
On your computer, you simply see the progress bar moving forward.

Once the backup is complete, the message "Backup operation successful" will appear on your computer.
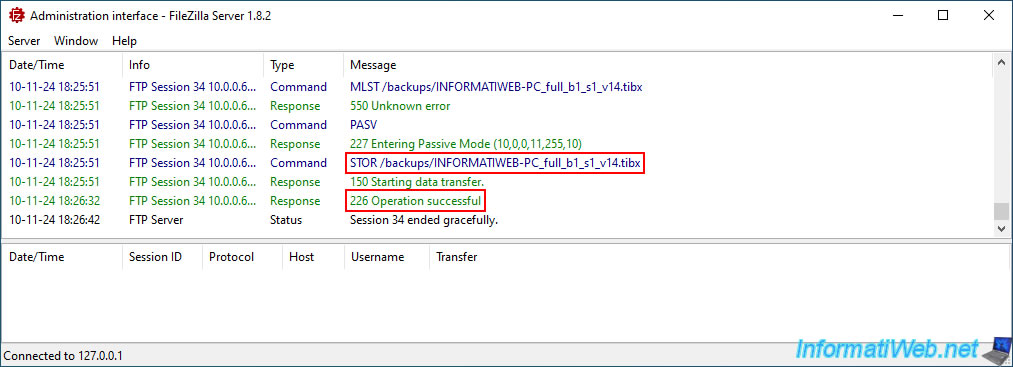
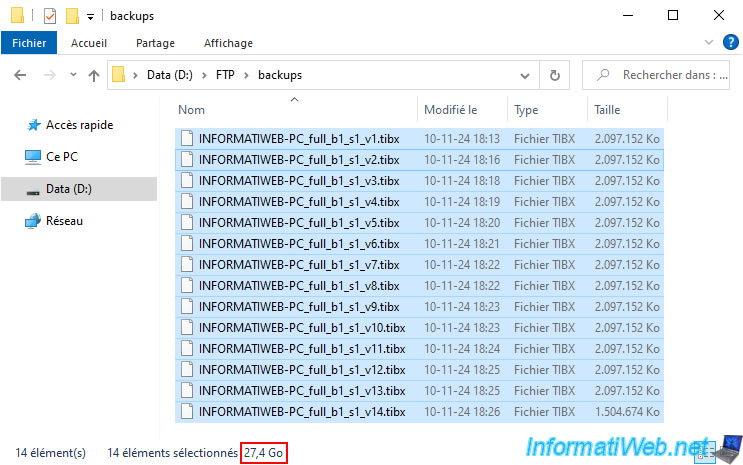
On your FTP server, you will notice that there is no longer a transfer in progress (at the bottom of the window) and that the last file created (in our case) is "_v14.tibx".
In our case, this backup is therefore composed of 14 "_vX.tibx" files, each file (except the last one) weighing 2 GB.
Share this tutorial
To see also
-
Backup 11/10/2025
Acronis True Image - Archive your files on Acronis Cloud (encrypted archive)
-
Backup 10/2/2025
Acronis True Image - Clean up backup versions of a PC
-
Backup 7/31/2025
Acronis True Image - Create backups (single version)
-
Backup 1/12/2026
Acronis True Image - Rescue Media - Create media easily (bootable USB key)
You must be logged in to post a comment