Presentation of Malekal Live CD (Win10PESE v1607) features
- Live CD
- Malekal Live CD
- 06 January 2025 at 09:54 UTC
-

- 3/7
1.1.8. Disk tools
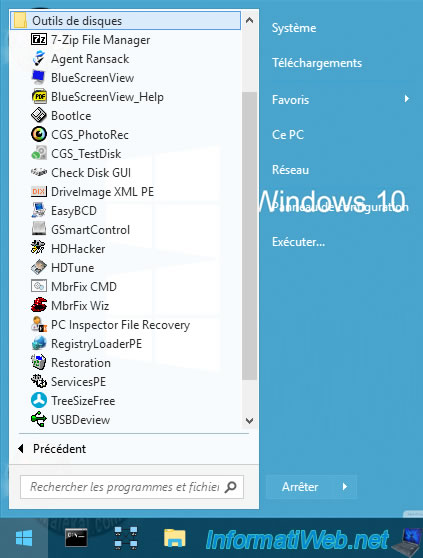
In the "Disk tools" category of the start menu, you will find the programs:
- 7-Zip File Manager: 7-Zip file explorer allowing you to easily enter compressed files whose format is supported by 7-Zip.
This program also allows you to enter certain executable files to see their content. - Agent Ransack : file search software.
- BlueScreenView : allows you to see information about the latest blue screens that have occurred on your computer.
- BlueScreenView_Help : provides access to the BlueScreenView program documentation.
- BootIce : allows to manipulate the MBR / PBR of a hard disk.
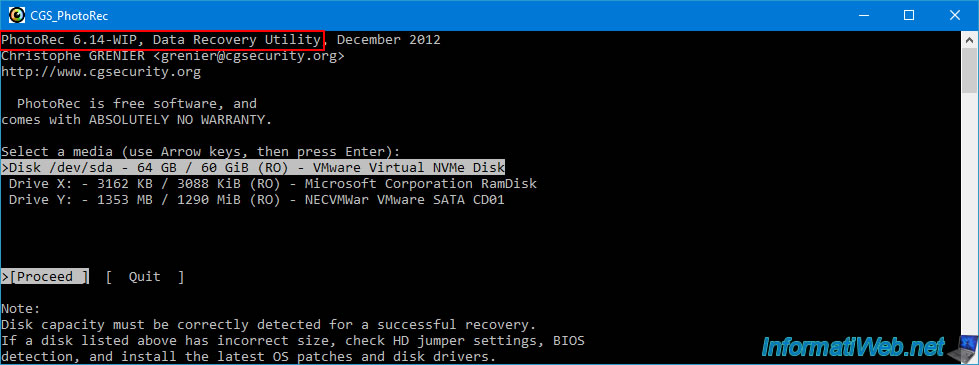
- CGS_PhotoRec : allows you to recover accidentally deleted files.
- CGS_TestDisk : allows you to recover lost or accidentally deleted partitions.
- Check Disk GUI : graphical interface to repair the file system of a partition.
- DriveImage XML PE : allows you to backup and restore your computer.
- EasyBCD : allows you to modify the boot menu (BCD) of Windows.
- GSmartControl : allows to obtain information (including health) on a hard disk.
- HDHacker : backs up and restores the boot sector of a hard drive.
- HDTune : allows you to test the health, performance, ... of a disk (hard disk, SSD or USB key).
- MbrFix CMD : allows you to manipulate the MBR from the command line.
- MbrFix Wiz : same, but via a graphical interface.
- PC Inspector File Recovery : recover deleted files.
- RegistryLoaderPE : allows you to modify the Windows registry offline.
- Restoration : recover deleted data.
- ServicesPE : allows you to manage the services of the Windows PE environment.
- TreeSizeFree : lets you know where the largest data is located on your hard drive.
- USBDeview : allows you to get information about your computer's USB devices.
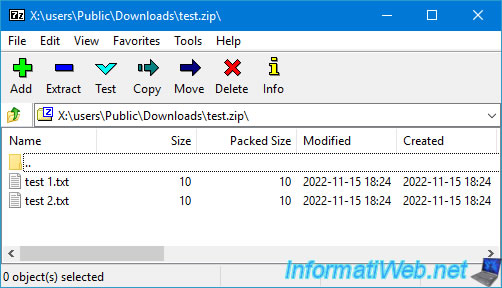
7-Zip File Manager is a file explorer allowing you to explore your computer's folders, as well as compressed files in formats: zip, 7z, rar, ...
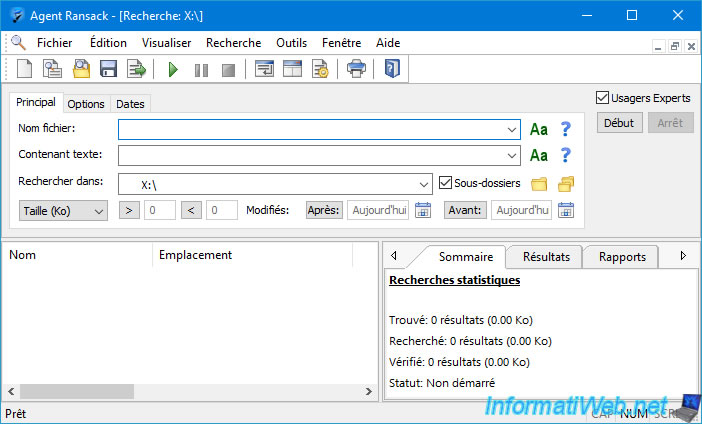
Agent Ransack is a file search software offering several options to find the desired data.
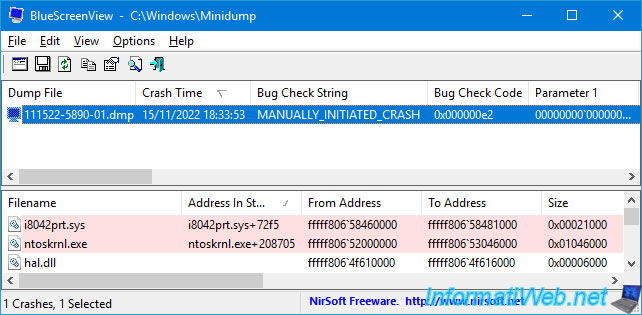
BlueScreenView is a program to retrieve information about blue screens that have occurred on your computer.
This program is based on the Windows "C:\Windows\Minidump" folder where ".dmp" files are created each time a blue screen occurs.
This information may help you find a solution by name (Bug Check String), verification code (Bug Check Code) and possibly the drivers involved.
Note: in our case, you will notice that it is a blue screen caused manually (in a virtual machine) thanks to a little trick available in Windows 10.
The "BlueScreenView_Help" shortcut simply opens the documentation for this program in CHM format.
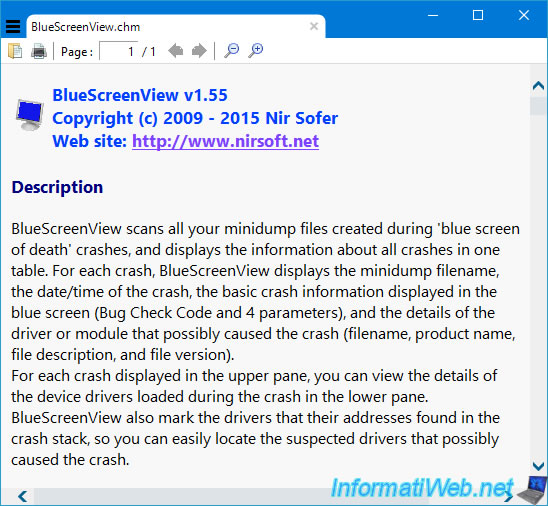
BOOTICE is a utility for manipulating the MBR / PBR of a hard disk.
Which involves modifying the partition table, but also boot information.
Warning : improper handling can cause you to lose access to the data on your hard drive.
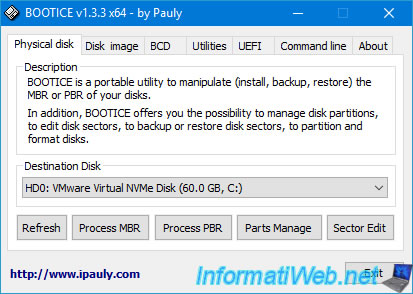
BOOTICE also allows you to modify the MBR / PBR on virtual hard disks in the formats: VHD, VHDX, VMDK, ...
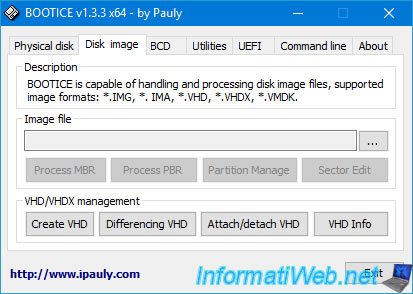
You will also be able to modify the boot menu (BCD) of Windows.
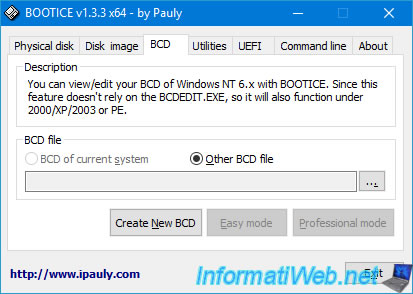
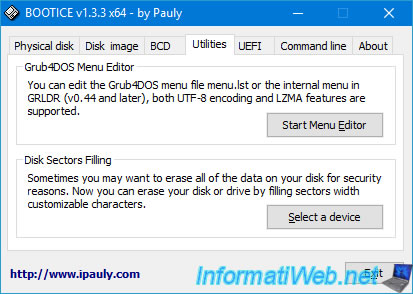
In the "Utilities" tab of BOOTICE, you will find:
- Grub4DOS Menu Editor: a software to modify the boot menus used with the Grub4DOS boot manager.
- Disk Sectors Filling: a feature to better erase data from a disk by writing random data back to that disk.
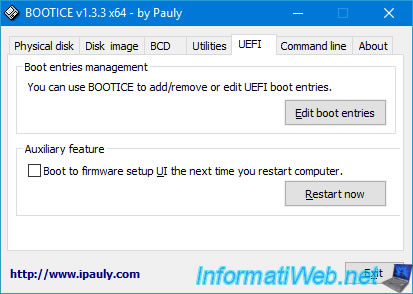
Thanks to BOOTICE, you will also be able to manage the boot entries in EFI mode or reboot to enter the EFI firmware of your computer.
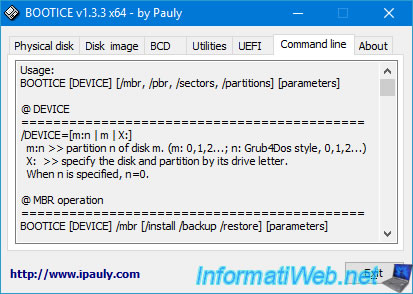
In the "Command line" tab, you will find information concerning the different parameters of this program for its use in command line.
PhotoRec is a data recovery tool created by CGSecurity.
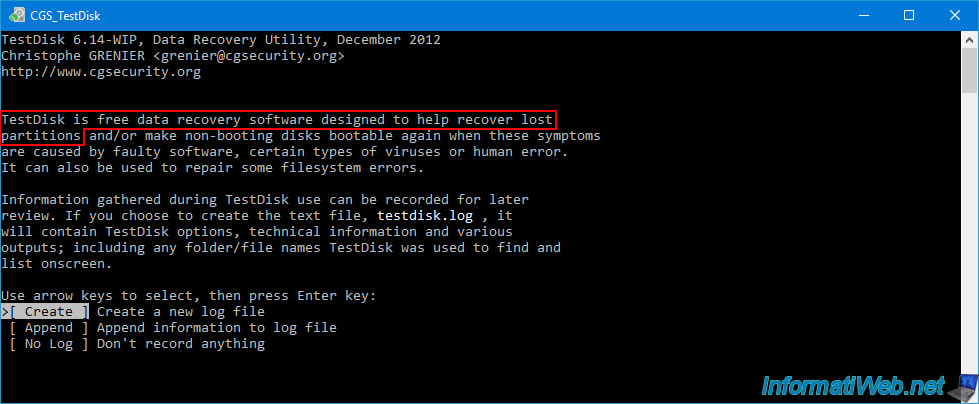
TestDisk is another tool created by CGSecurity that allows you to repair the partition table of a hard disk to recover lost or accidentally deleted partitions, as well as recover access to partitions that appear to be in RAW format.
To learn how to use TestDisk, refer to our tutorials :
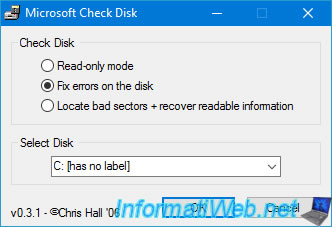
Microsoft Check Disk is a graphical interface allowing to:
- Read-only mode : check for errors in the file system of the desired partition.
- Fix errors on the disk : repair errors found in the file system.
- Locate bad sectors + recover readable information : find and repair bad sectors on a hard drive.
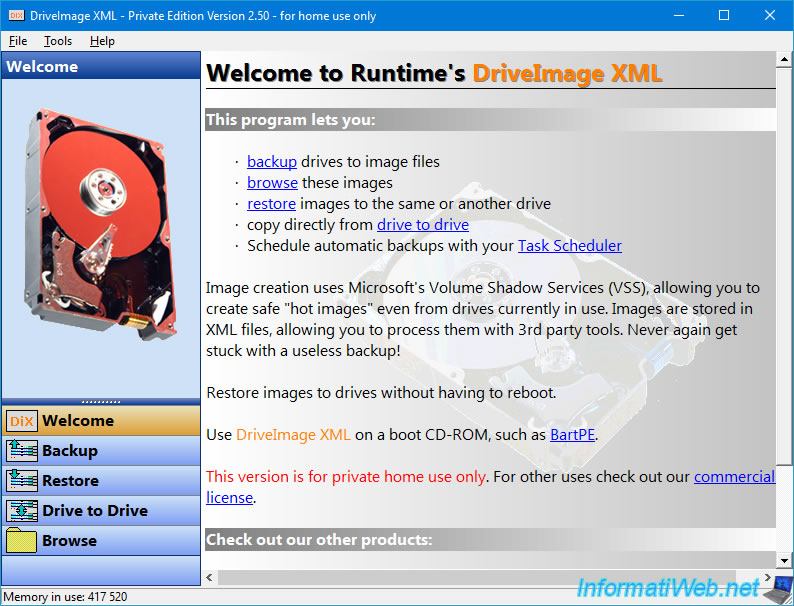
DriveImage XML allows you to create an image of a hard disk to easily restore your system later by restoring this same image.
The first time you launch EasyBCD, you will need to select your language.

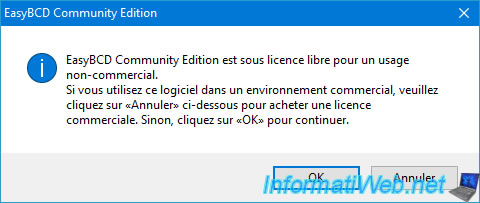
Next, EasyBCD will tell you that this software is intended for non-commercial use.
If you are an individual, then click on OK to launch EasyBCD.
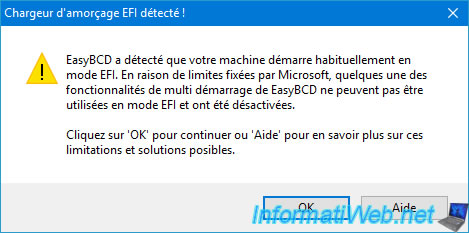
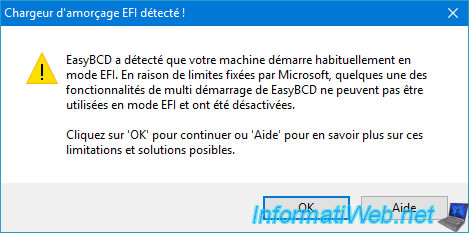
If your computer started in EFI mode, an "EFI boot loader detected" warning will appear.
As EasyBCD tells you, in this case, the functionality will be limited.
Click OK.
The Windows PE boot menu will appear.
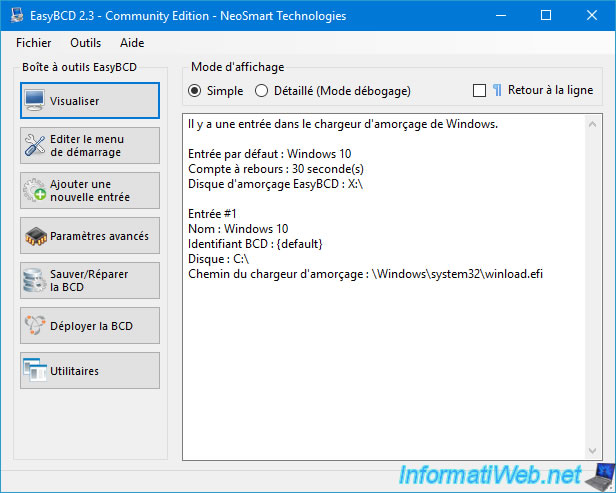
To modify the boot menu (BCD) of your computer, if Windows is installed in EFI mode, you will first need to assign a letter to the 100MB EFI system partition.
Indeed, it is in this partition that your BCD boot menu is located.
To do this, open a command prompt and type:
Batch
diskpart
Which will display this.
Plain Text
Microsoft DiskPart version 10.0.14393.0

Copyright (C) 1999-2013 Microsoft Corporation.
On computer: MININT-PECZ07

DISKPART>
List the volumes present on your computer.
Batch
list vol
In our case, it gives this.
Plain Text
 Volume ###  Ltr  Label        Fs     Type        Size     Status     Info
 ----------  ---  -----------  -----  ----------  -------  ---------  --------
 Volume 0     Y   Win10PESE    UDF    DVD-ROM     1290 MB  Healthy
 Volume 1     C                NTFS   Partition     59 GB  Healthy
 Volume 2                      FAT32  Partition    100 MB  Healthy    Hidden
 Volume 3                      NTFS   Partition    519 MB  Healthy    Hidden
Locate the number of the volume having a size of 100 MB.
In our case, it is volume 2.
Batch
sel vol 2
Plain Text
Volume 2 is the selected volume.
Assign it the 1st available letter by typing this command.
Batch
assign
Plain Text
DiskPart successfully assigned the drive letter or mount point.
To know the letter assigned to this partition, use the command below or open the file explorer.
Batch
list vol
Plain Text
  Volume ###  Ltr  Label        Fs     Type        Size     Status     Info
  ----------  ---  -----------  -----  ----------  -------  ---------  --------
  Volume 0     Y   Win10PESE    UDF    DVD-ROM     1290 MB  Healthy
  Volume 1     C                NTFS   Partition     59 GB  Healthy
* Volume 2     D                FAT32  Partition    100 MB  Healthy       Hidden
  Volume 3                      NTFS   Partition    519 MB  Healthy       Hidden
To quit DiskPart, type:
Batch
exit
Now, close EasyBCD and open it again.
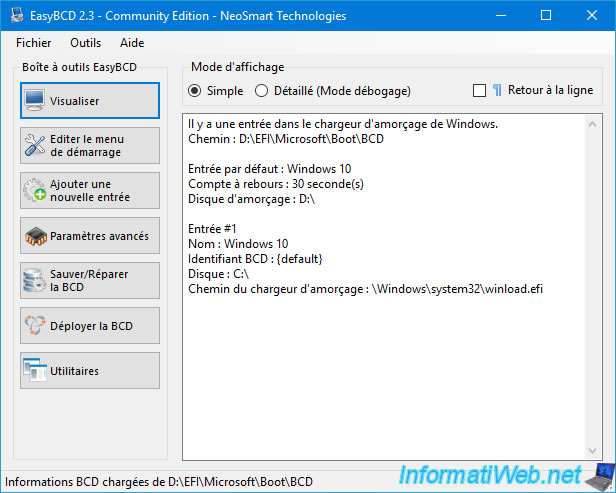
EasyBCD should load your Windows installation boot menu (boot disk "D:\") instead of Windows PE (X:\).
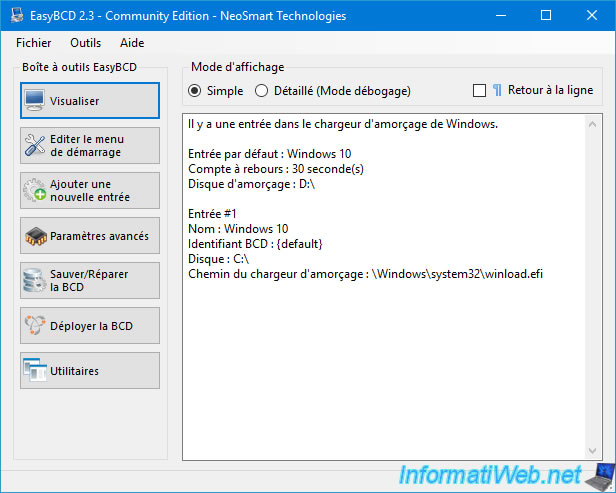
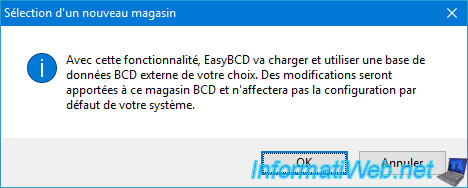
If not, manually load the boot menu of your Windows installation by clicking: File -> Select BCD Store.
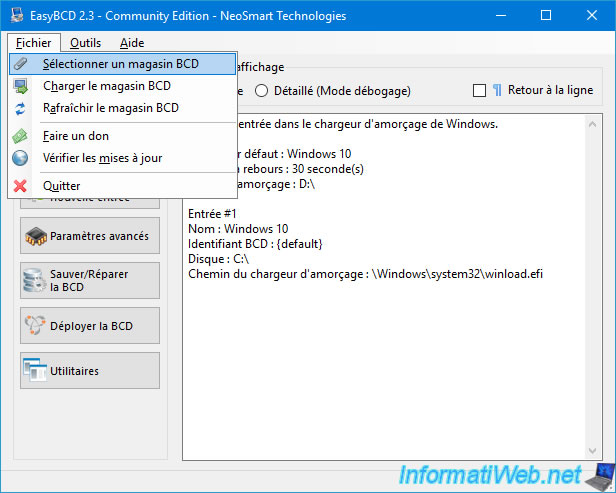
A "Selecting a new store" message will appear.
Just click OK.
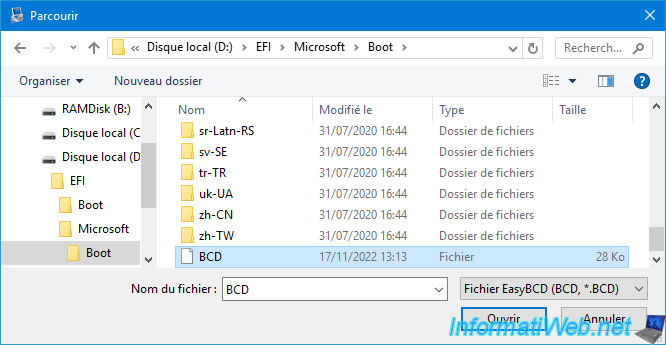
Go to the "EFI\Microsoft\Boot" folder in your EFI system partition and select the "BCD" file located there.
Since Windows is installed in EFI mode in our case, this warning reappears.
Click OK.
The boot menu information for your Windows installation appears.
Share this tutorial
To see also
-
Live CD 1/13/2025
Malekal Live CD - Presentation of the live CD (Win10PESE v1709) features
-
Live CD 12/23/2024
Malekal Live CD - Presentation of the live CD (Win7PESE) features
-
Live CD 12/30/2024
Malekal Live CD - Presentation of the live CD (Win8PESE) features
-
Live CD 1/16/2025
Malekal Live USB - Presentation of the live USB 2024 (Win11) features
No comment