Create a storage space (software RAID: RAID 0, RAID 1, RAID 5 or RAID 11) on Windows 8 to 11
- Windows
- Windows 8 / 8.1, Windows 10, Windows 11
- 13 March 2025 at 14:36 UTC
-

- 5/8
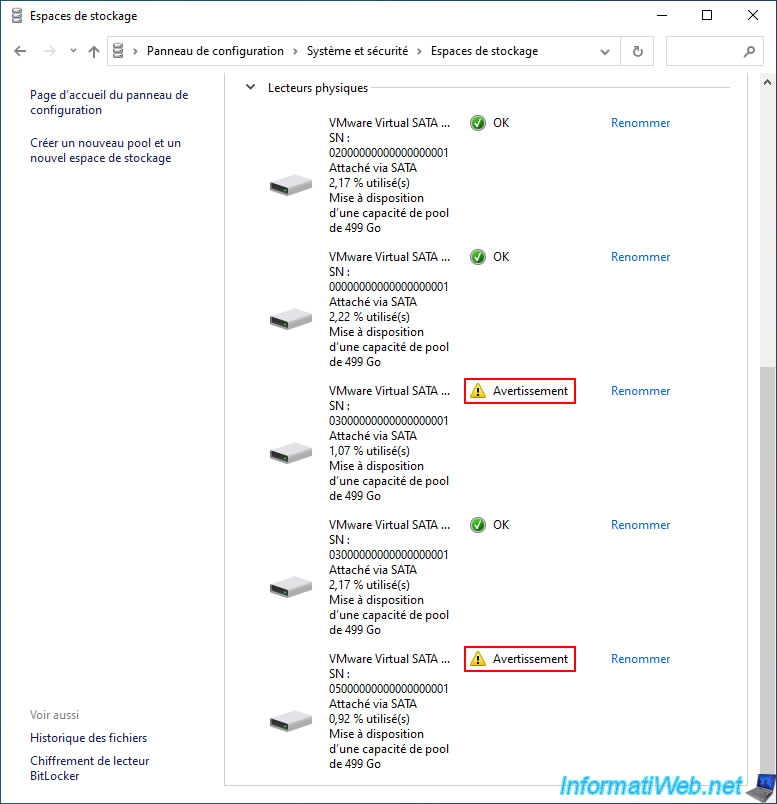
6.3. Data lost if 3 or more physical disks fail with three-way mirror storage (RAID 11)
If at least 3 physical disks in your triple mirror storage (RAID 11) fail, then the status will change to "Error" and the displayed message will change to "Error - Inaccessible; check the Physical drives section".
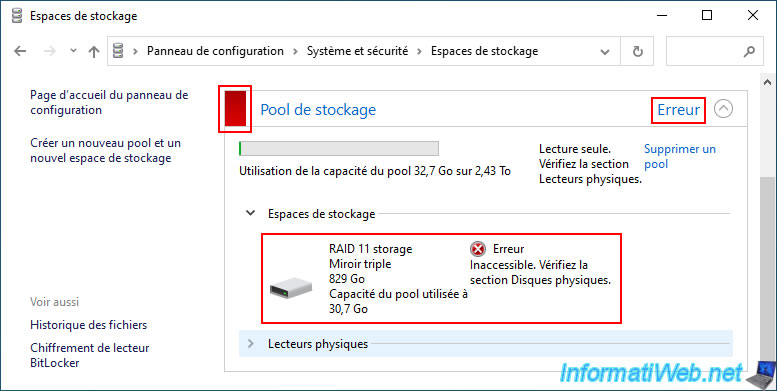
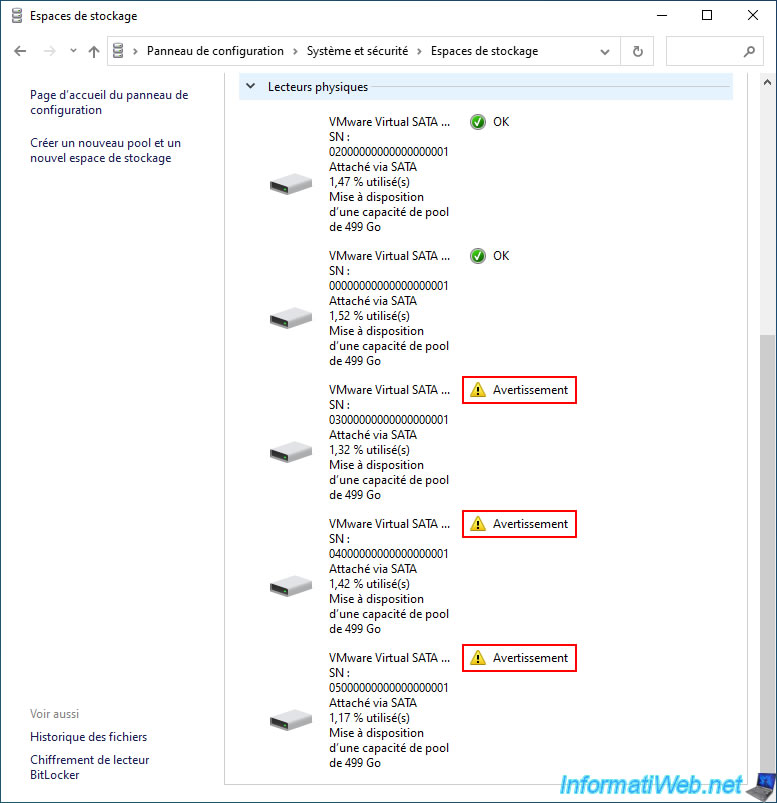
As you can see, in our case 3 physical disks have a "Warning" status in the "Physical drives" section of our storage pool.
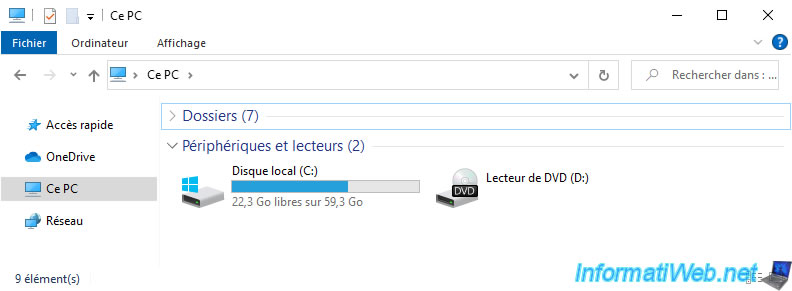
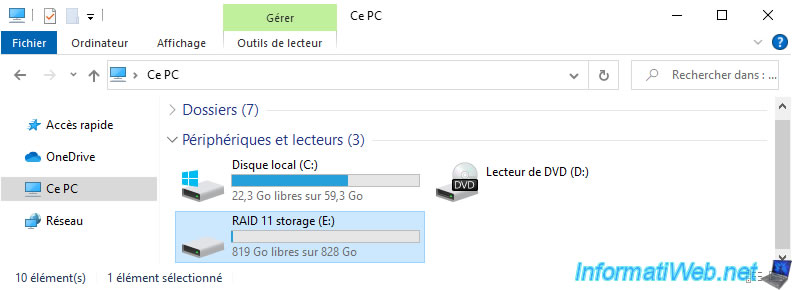
If you go to file explorer, you will notice that your "RAID 11 storage" type "three-way mirror" will have disappeared.
Indeed, there are too many physical disks missing for this storage space for Windows to let you access the files on it.
If you had access to it, the files would necessarily be corrupted.
If at least 1 of the 3 physical disks that were failed can work again, then your storage will return to "Warning" status instead of error.
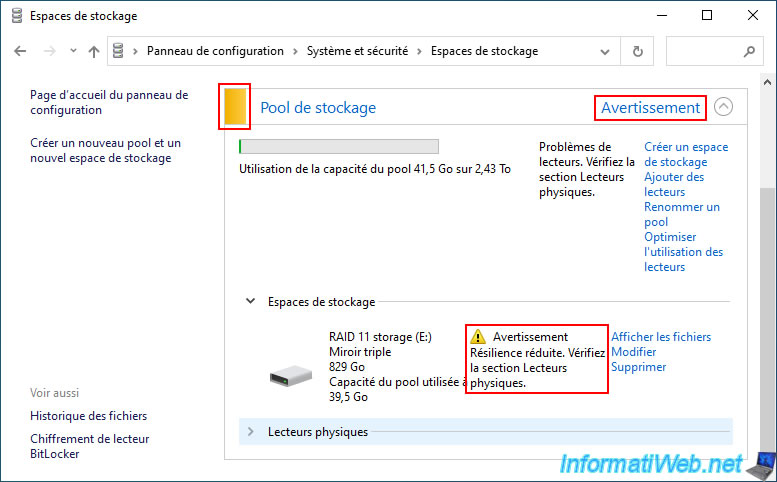
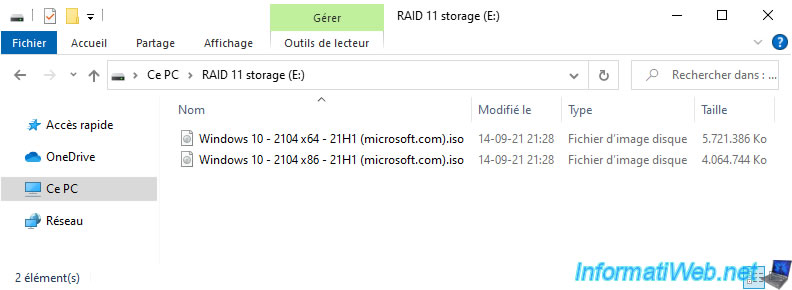
As you can see, we recovered one of the failed disks.
Suddenly, the storage space reappears in the file explorer.
The files reappear without any problems.
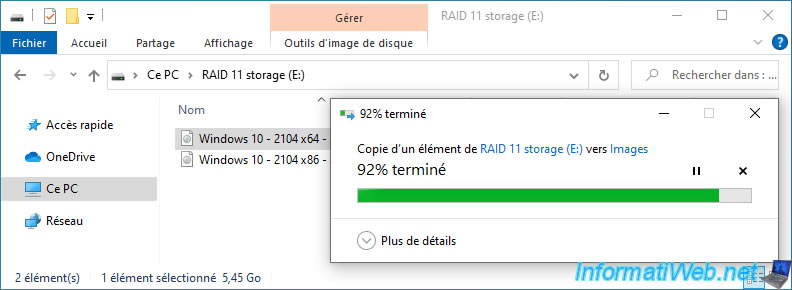
And obviously, you can reuse or copy them elsewhere if you wish.
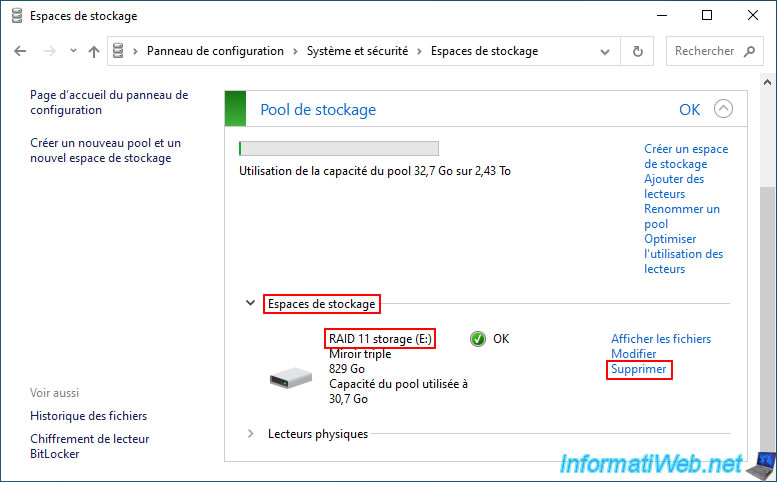
6.4. Delete a three-way mirror storage space (RAID 11) and its storage pool
To delete your three-way mirrored storage space (RAID 11) and associated storage pool, start by clicking the "Remove" link to the right of the storage space you want to delete.
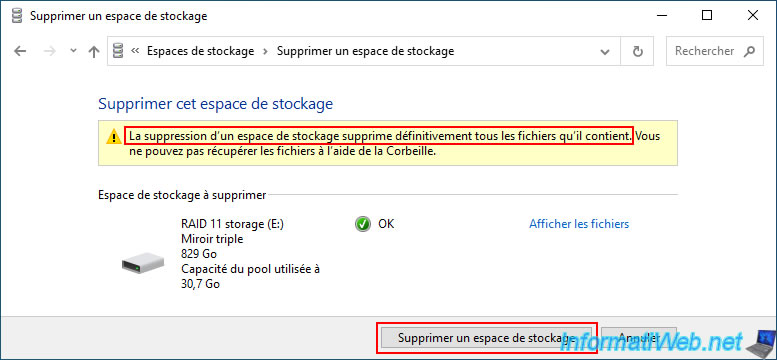
Confirm the deletion of this storage space by clicking on "Delete storage space".
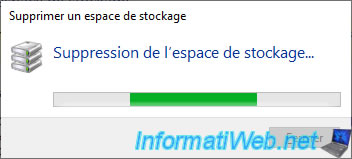
Please wait a little while this storage space is deleted.
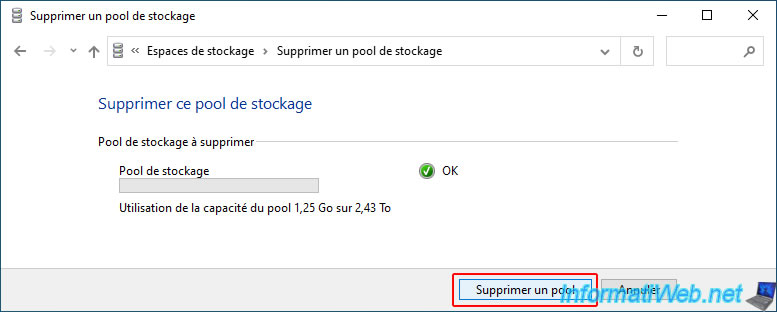
Now, delete its associated storage pool by clicking on the "Delete pool" link.
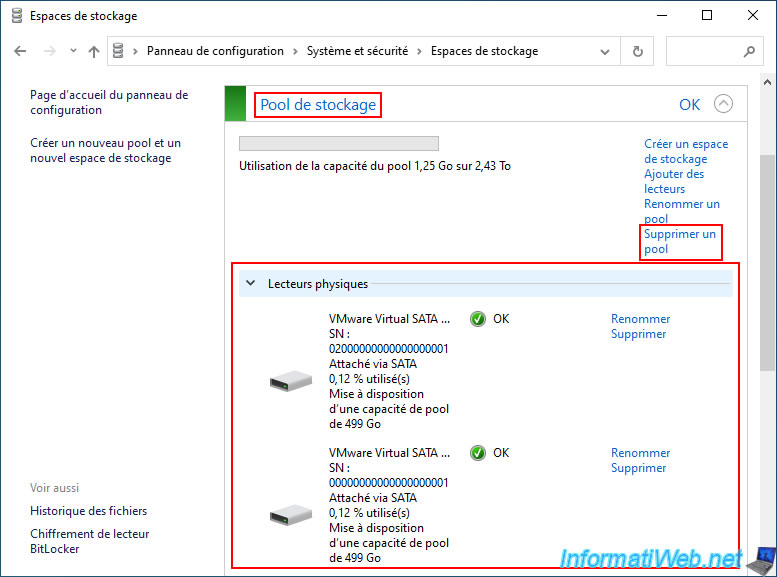
Click on the "Delete pool" button.
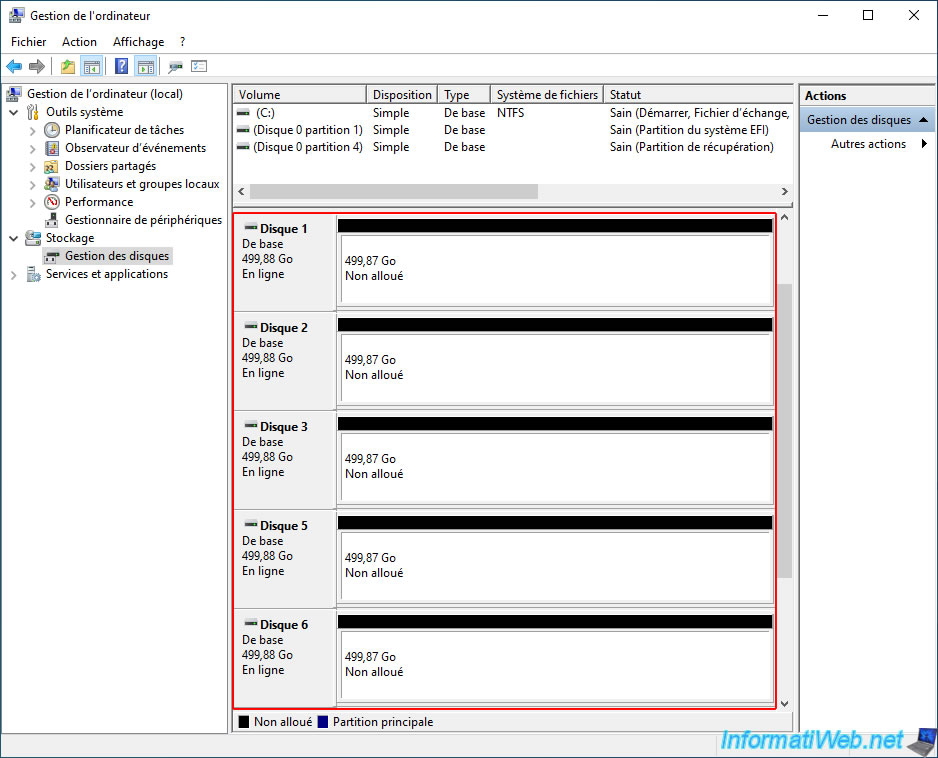
As expected, the physical disks that were part of this storage pool reappear in Windows disk management.
Share this tutorial
To see also
-
Windows 4/18/2022
Windows 10 - Create a local account
-
Windows 11/4/2024
Windows 11 - Use a Bluetooth headset
-
Windows 10/21/2024
Windows 8 - Use a Bluetooth headset
-
Windows 7/20/2021
Windows 8 / 8.1 - Refresh your PC (reinstall Windows only)
No comment