Install the drivers on Windows from the manufacturer's site
- Windows
- Windows 8 / 8.1, Windows 7, Windows 10, Windows 11
- 29 August 2022 at 15:07 UTC
-

- 2/2
3.3. Drivers installation
When you download the drivers one by one from your motherboard and graphics card manufacturer's website, you don't have an all-in-one installer.
So, you have to install them yourself one by one in the correct order.
For technical reasons, you should always first install the Chipset (which connects all the components), then install the driver for your graphics card to better see what you are doing on the screen.
For the rest, there is no special order. Unless the manufacturer tells you a specific order, but this is very rare.
3.3.1. Install Intel Chipset
To begin with, we will install the Chipset developed by Intel.
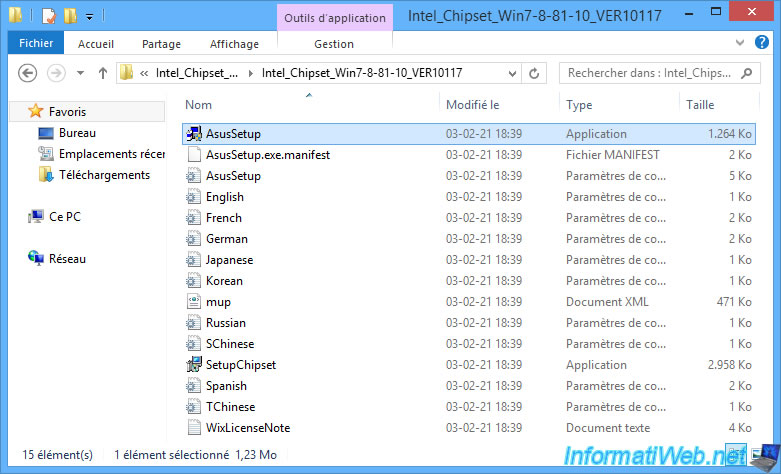
To do this, launch the "AsusSetup.exe" file (if you have an Asus motherboard) or the "SetupChipset.exe" file (for other brands of motherboards.
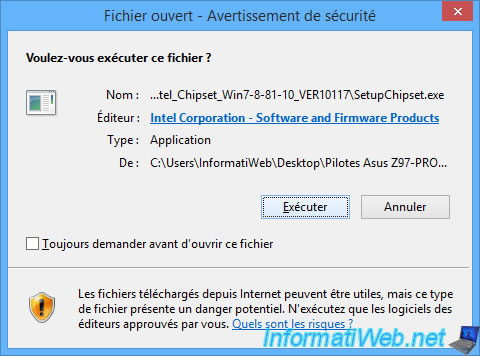
Since you downloaded your drivers from the Internet, Windows may display a "Open File - Security Warning" window.
Uncheck the "Always ask before opening this file" box and click on : Execute.
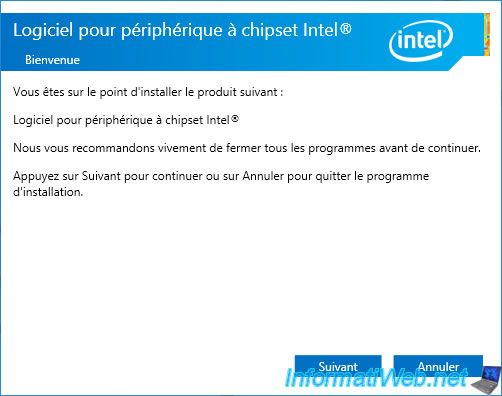
The "Intel(R) Chipset Device Software" installer appears.
To install this chipset, as for most drivers, you just have to click each time on : Next.
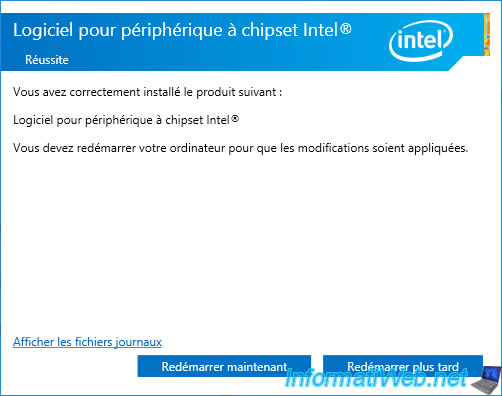
Once the Intel chipset is installed, click on : Restart Now.
Note that it's not necessary to restart after each driver installed.
However, for the chipset, it's highly recommended.
Then, once you have installed all of your other drivers, you will need to reboot once for Windows to load them on startup.
3.3.2. Install Intel Management Engine Interface driver
To install the "Intel Management Engine Interface" (Intel ME / MEI) driver, start the "AsusSetup.exe" file or the "SetupME.exe" file found in the "Install" folder.
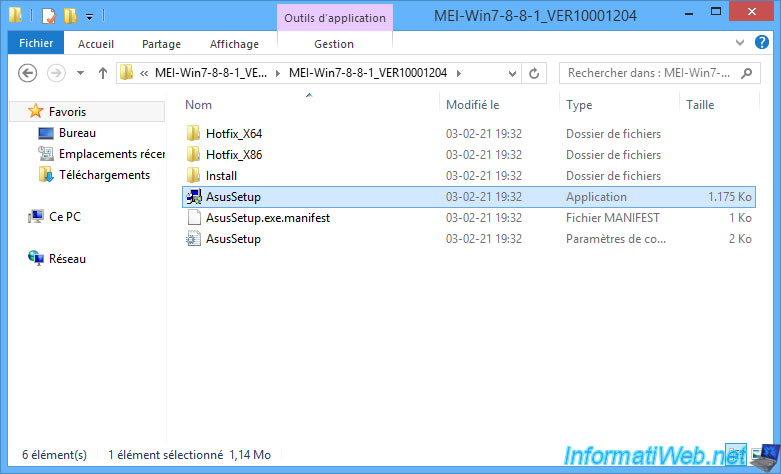
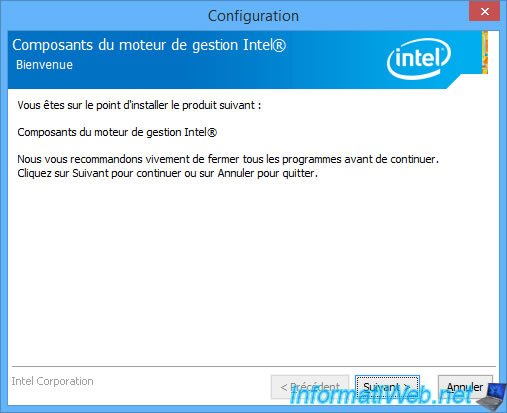
The "Intel Management Engine Components" installer will appear.
Just click "Next" at each step to install it.
3.3.3. Install Intel Rapid Storage Technology driver
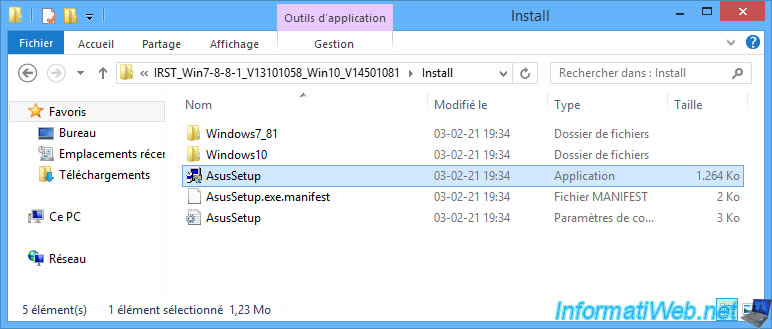
To install the "Intel Rapid Storage Technology" (IRST) driver, run the "AsusSetup.exe" file.
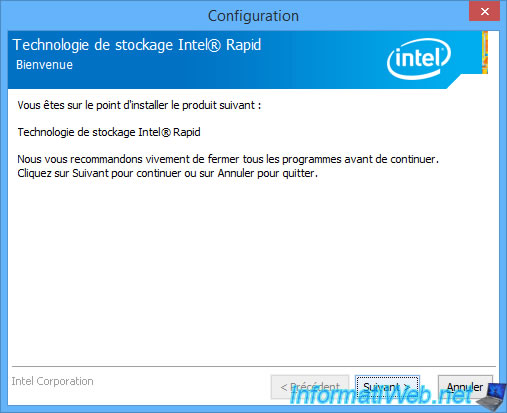
The "Intel Rapid Storage Technology" installer appears.
As with the other Intel drivers, each time click on : Next.
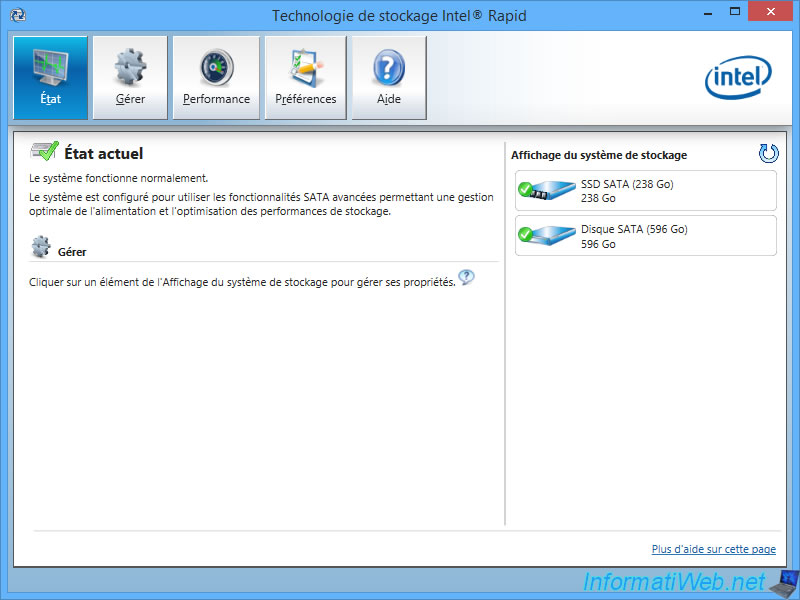
Once installed, you will see a new icon at the bottom right appear.
Thanks to this icon, you will be able to access the "Intel Rapid Storage Technology" program which allows you to configure the SATA features (access to hard disks), as well as to manage the RAID volumes that you would have created via the RAID feature of your motherboard. (If applicable).
3.3.4. Install the driver for the graphics part of your Intel processor (Intel HD Graphics)
If you have a computer (for office automation) without a graphics card, you can install the graphics driver (called "VGA" at Asus) to use the graphics part of your Intel processor.
There are different versions of it depending on the generation and model of your Intel processor, but it's part of the same range : Intel HD Graphics.
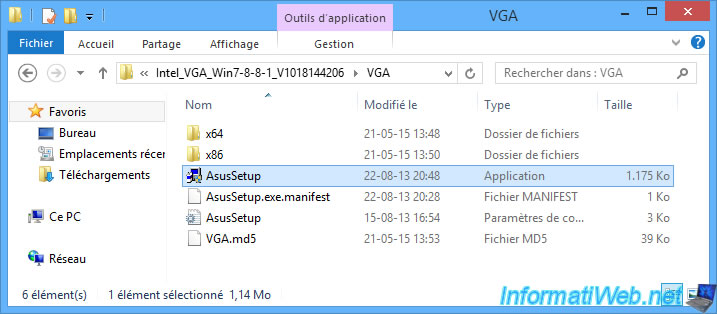
Note that this is only possible if your screen is plugged into the graphics port (VGA / DVI / HDMI / DisplayPort) on your motherboard.
Otherwise, this error message will appear : This computer does not meet the minimum requirements for installing the software.
This is normal in our case, given that our screen is connected to our "Asus GTX750TI-OC-2GD5" graphics card.

3.3.5. Install the driver for the USB ports
By default, all USB ports work fine after installing a recent version of Windows.
However, if you install Windows 7 (which doesn't support USB 3.0), the USB 3.0 ports (blue ports) will not work until you install the USB 3.0/3.1 driver provided by your motherboard manufacturer.
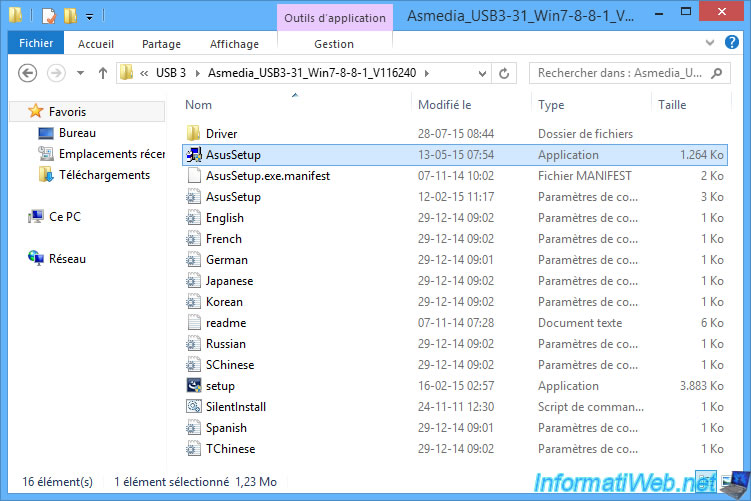
In our case, the USB 3.0/3.1 driver for our motherboard is developed by Asmedia.
But, Intel is also developing USB 3.0/3.1 drivers.
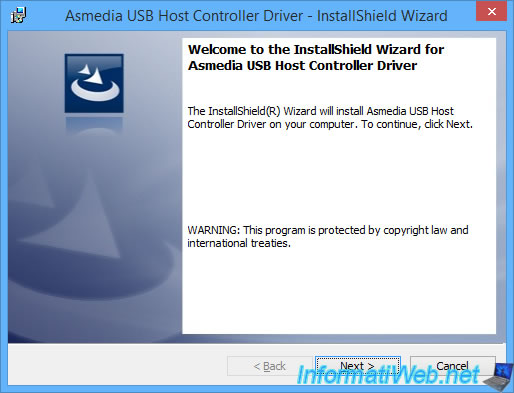
The installation procedure remains the same : Next, Next, ...
3.3.6. Install the audio driver
To enjoy sound (if you don't currently have one) or better sound, install the Audio driver provided by the manufacturer.
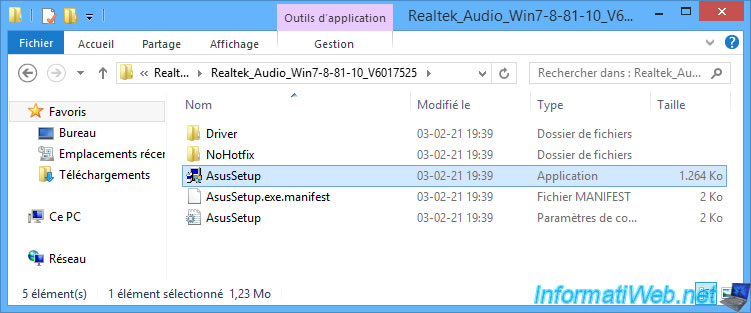
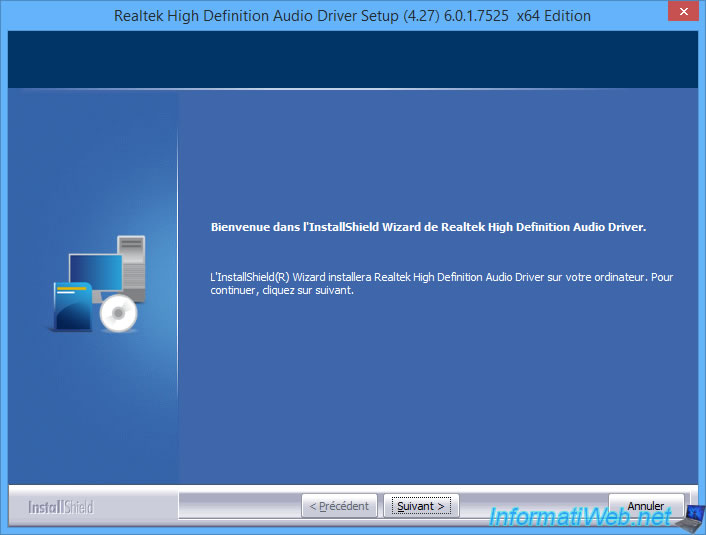
The "Realtek High Definition Audio Driver Setup (x.xx) x.x.x.xxxx x64 Edition" wizard (in our case) will appear.
3.3.7. Install the driver for the wired network adapter (LAN)
For Windows to recognize your wired network adapter and for you to access the network (and the Internet), you will need to install the "LAN" driver (also called "Ethernet") downloaded from your motherboard manufacturer's website.
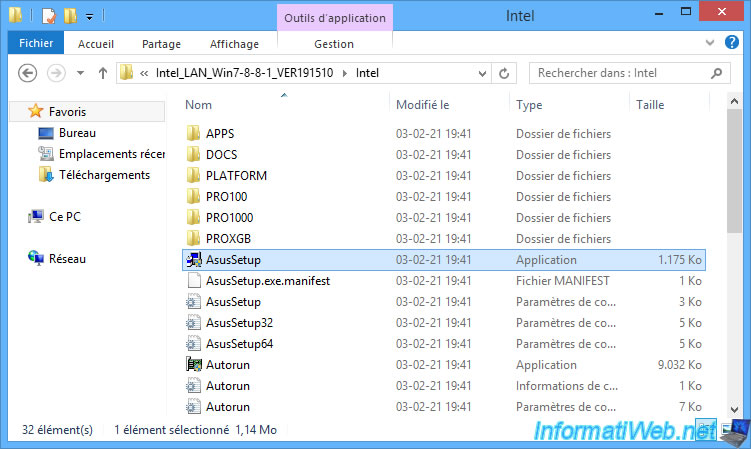
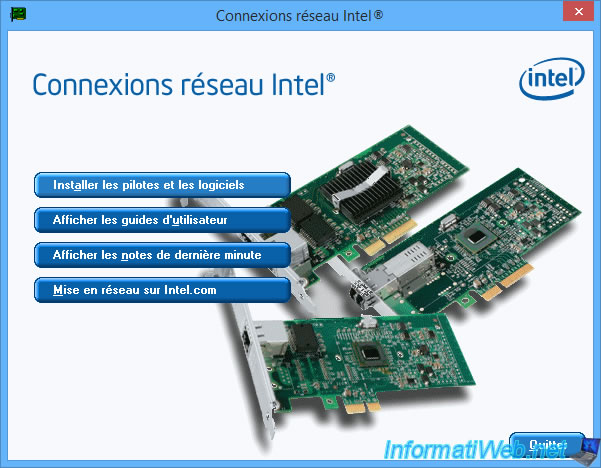
In this case, the driver is provided by Intel.
Click on the button : Install drivers and software.
Note that only the driver is needed.
3.3.8. Install the driver for the wireless network adapter (Wi-Fi)
In order for Windows to recognize your wireless network card (Wi-Fi) and for you to be able to access the network (and the Internet), you will need to install the "Wi-Fi" driver downloaded from the site of the manufacturer of your motherboard.
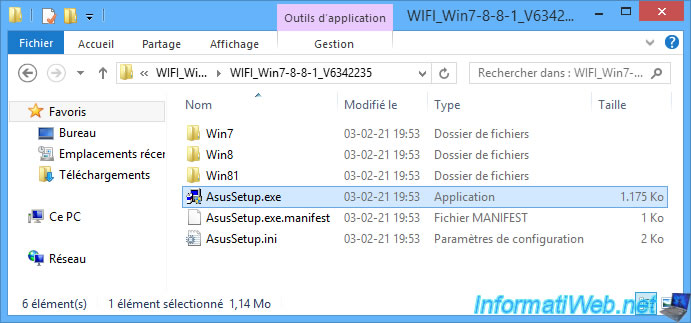
3.3.9. Install the Bluetooth driver
If your motherboard supports the Bluetooth technology, you will need to install the Bluetooth driver to be able to use wireless Bluetooth headsets, wireless Bluetooth keyboards / mice.
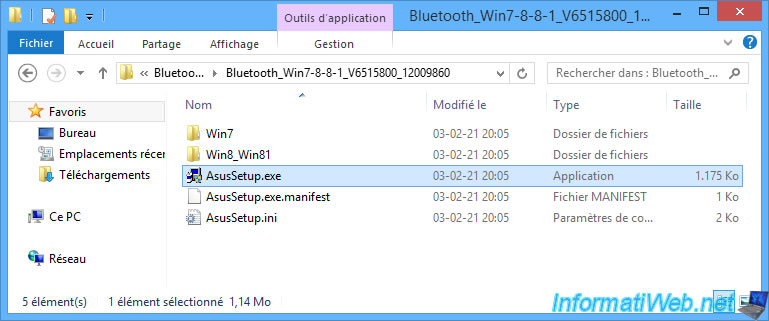
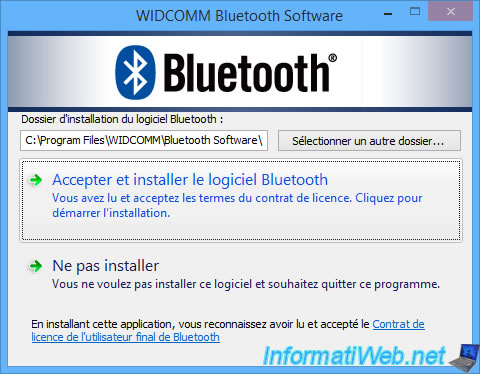
The installation program for the Bluetooth technology built into your motherboard will appear.
In our case, these Bluetooth drivers are developed by WIDCOMM.
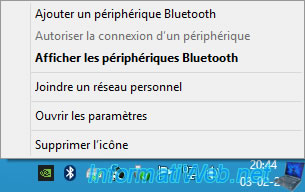
Once these Bluetooth drivers are installed, you will see a small blue icon (with a white "B") appear next to the time.
By clicking on this icon, you can add a Bluetooth device to pair (for example) your Bluetooth headset with your computer and thus listen to music on your computer with it.
3.3.10. Asus Special : install the Asus Probe II Sense ACPI driver
If you have an Asus motherboard and have installed all the drivers downloaded from the manufacturer's site, you will notice that the device manager will keep showing you an unknown device with "ACPI\PNP0A0A\2&DABA3FF&2" as the hardware identifier.
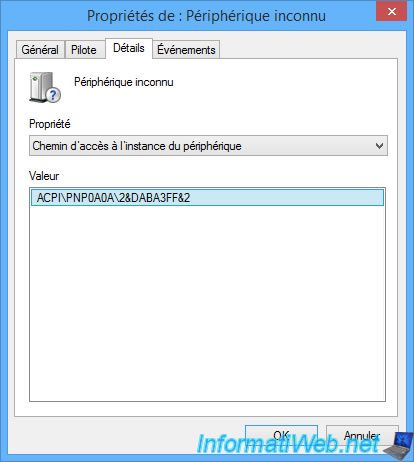
This unknown device corresponds to the "ASUS Probe II Sense Driver" available in the "Utilities" section of the downloads available on the Asus site.
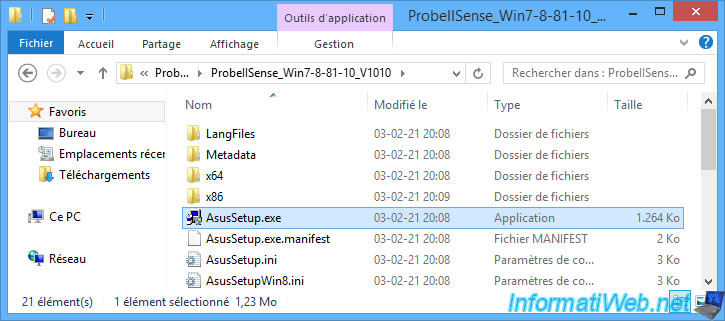
The installation of this Asus Probe II Sense driver takes 2 seconds.
Once the driver is installed, click on : Exit.

3.3.11. Install the driver for your graphics card (GPU)
For this tutorial, we downloaded the graphics driver from the website of our graphics card manufacturer : Asus.
We have unzipped the zip file downloaded from this site and we run the supplied installation file : 461.09-desktop-win7-64bit-international-whql.exe.
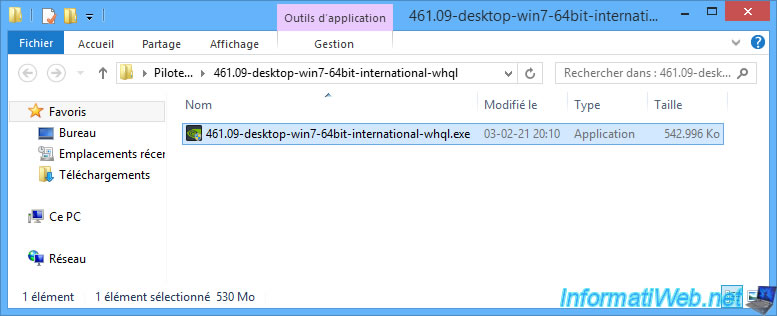
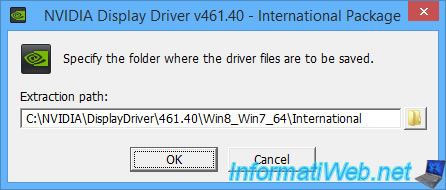
When you launch the installer for a graphics driver developed by NVIDIA, it first asks you to select a folder where the installation files for this driver will be extracted.
Leave the default path and click OK.
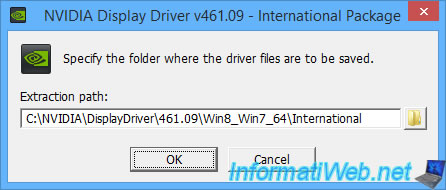
Wait while the files are extracted.
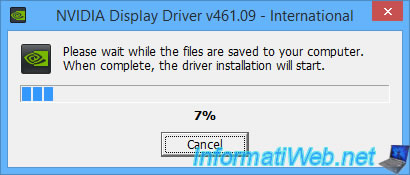
Once the files are extracted, the NVIDIA graphics driver installation wizard will open automatically.
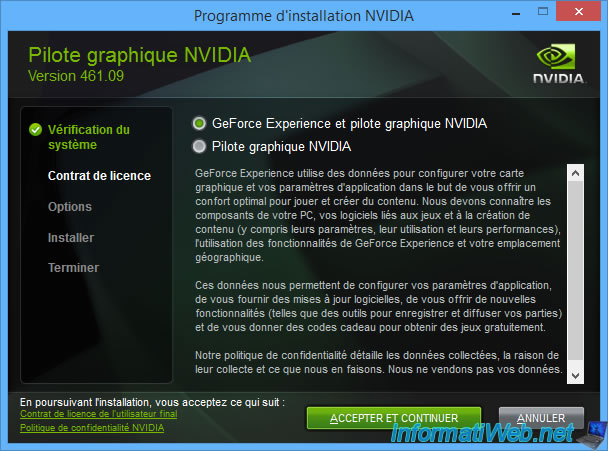
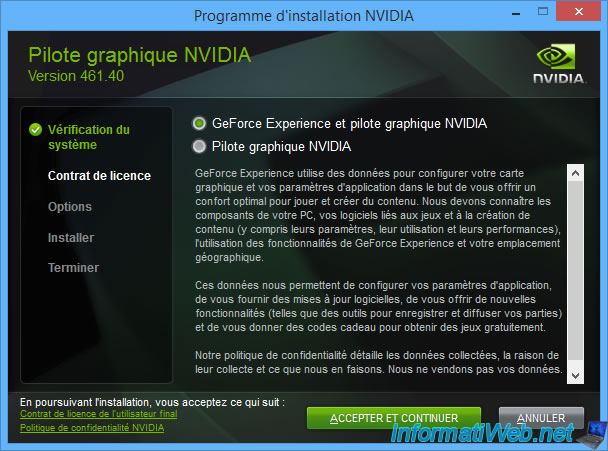
As you can see, you have the choice between :
- NVIDIA Graphics Driver and GeForce Experience : allows you to install the driver for your graphics card (required) and the NVIDIA GeForce Experience program which allows you to keep your NVIDIA drivers up to date and to optimize the graphics driver settings to improve the compatibility and/or the quality of recent games which you would like to play
- NVIDIA graphics driver : allows you to install only the driver for your graphics card. Which is sufficient if you are not a gamer.
Leave the "NVIDIA Graphics Driver and GeForce Experience" option selected and click : Agree and continue.
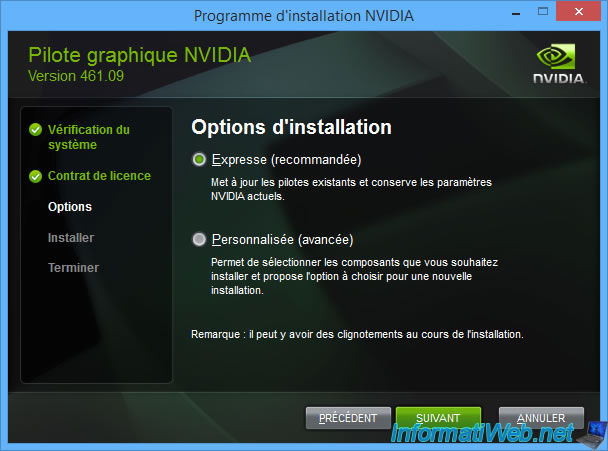
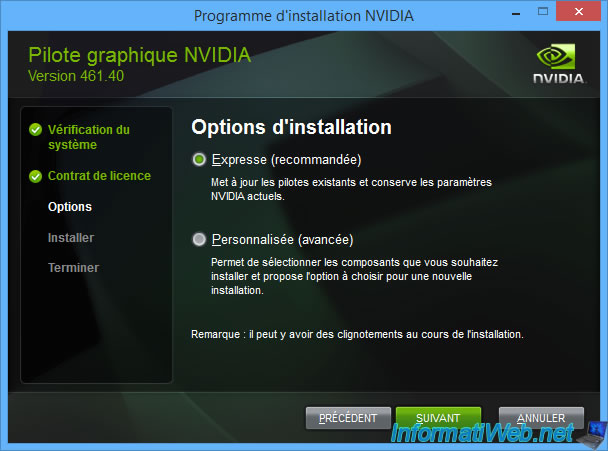
Typically, you will use the "Express (Recommended)" option.
The "Custom (Advanced)" option is used more by professionals when they use technologies such as GPU passthrough, ...
The installation of the drivers starts.
Note that your screen may flicker while installing the graphics driver.
Indeed, the basic driver installed by default by Windows will be uninstalled and replaced by the more complete one developed by NVIDIA.
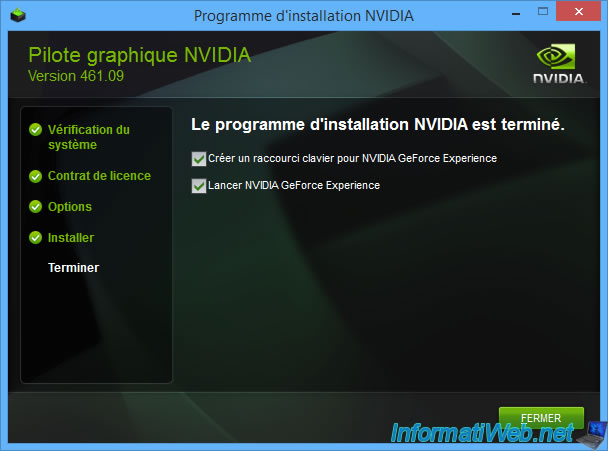
Once the drivers are installed, you can close this window.
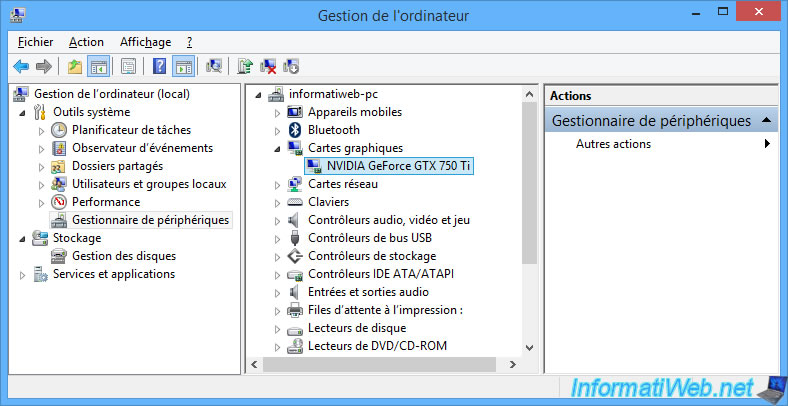
If you go back to Device Manager, you will see that Windows now recognizes your graphics card model.
In our case : NVIDIA GeForce GTX 750 Ti. Instead of the "Microsoft Basic Display Adapter" which was recognized before installing the driver provided by NVIDIA (or AMD).
3.4. Update your graphics card driver
For the latest features, better stability, better quality and better support for recent games, we recommend that you download the latest version of the graphics driver for your graphics card from the NVIDIA OR AMD website (depending on your graphics card).
In our case, the chipset of our "Asus GTX750TI-OC-2GD5" graphics card is developed by NVIDIA.
To find out, refer to our tutorial : Knowing your hardware.
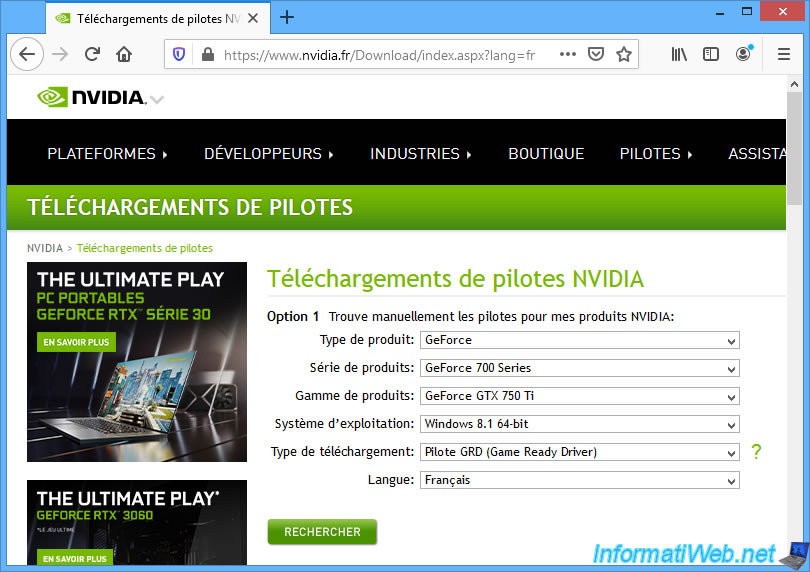
In our case, we installed Windows 8.1 in 64-bit (x64), so we select :
- Product Type : GeForce
- Product Series : GeForce 700 Series
- Product : GeForce GTX 750 Ti
- Operating System : Windows 8.1 64-bit
- Download Type : Game Ready Driver (GRD)
- Language : English (US)
Then, we click on "Search".
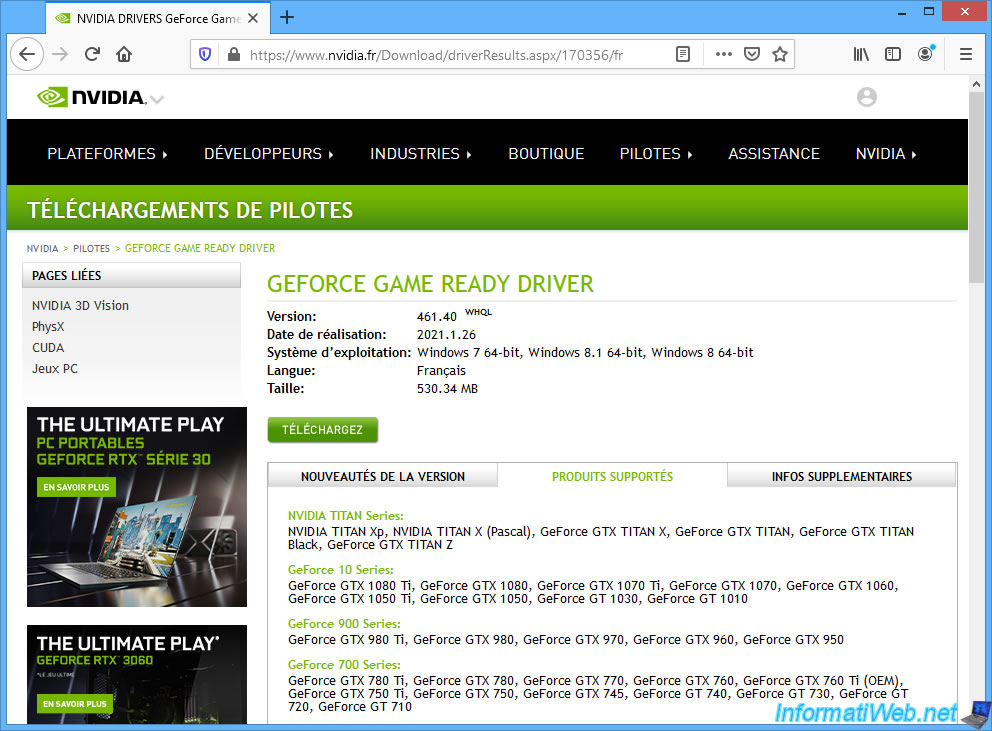
The NVIDIA site will find the driver compatible with our version of Windows and our model of graphics card.
As you can see, the drivers are pretty much universal.
Click on : Download.
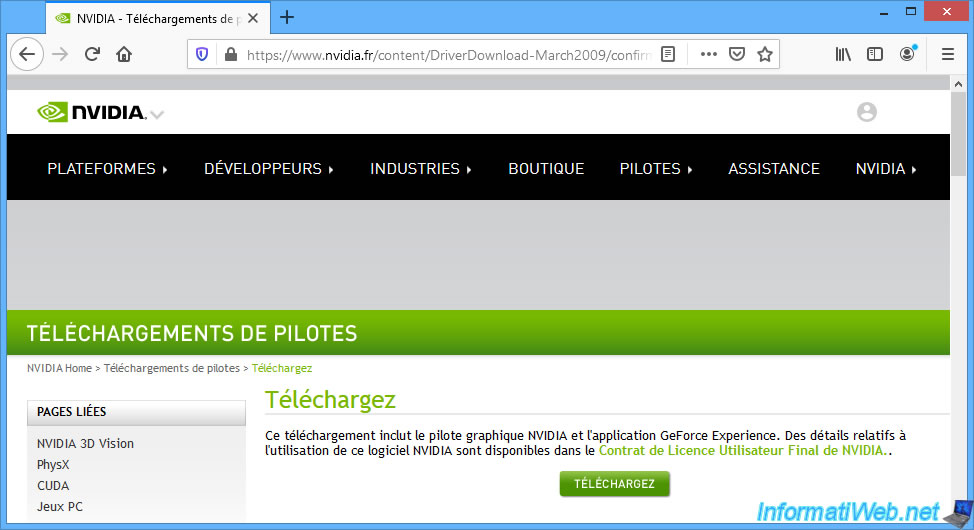
Then, click on the "Download" button again.
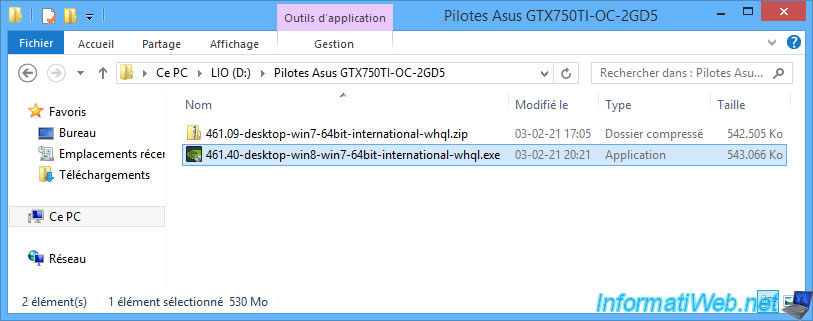
Once the driver has been downloaded, you will see that the driver downloaded from the NVIDIA site is more recent than the one provided by the manufacturer of your graphics card (in our case : Asus).
To update your computer's graphics driver, all you have to do is run this new installation file.
As before, leave the default path for extracting the graphics driver installation files and click OK.
Leave the option selected by default.
Note that if you want to play recent games (or even the latest trending games), we strongly recommend that you select "NVIDIA Graphics Driver and GeForce Experience".
For installation, leave the "Express (Recommended)" option selected and click Next.
As shown here, the "Express (Recommended)" option automatically updates existing drivers and keeps the current NVIDIA settings.
Share this tutorial
To see also
-
Windows 4/3/2013
Manage startup programs
-
Windows 4/14/2025
Windows 11 / 10 / 8.1 / 8 - Upgrade a storage space (software RAID)
-
Windows 7/5/2021
Windows 8 / 8.1 - Create a backup system image
-
Windows 11/10/2013
Windows Vista / 7 / 8 - Repair Windows installation by the upgrade process
No comment