Create a storage space (software RAID: RAID 0, RAID 1, RAID 5 or RAID 11) on Windows 8 to 11
- Windows
- Windows 8 / 8.1, Windows 10, Windows 11
- 13 March 2025 at 14:36 UTC
-

- 8/8
8. Error 0x00000057 encountered with Windows 10 v2004 when creating a storage space
If you are on Windows 10 version 2004 (20H1), the graphical interface for creating storage spaces may not work properly.
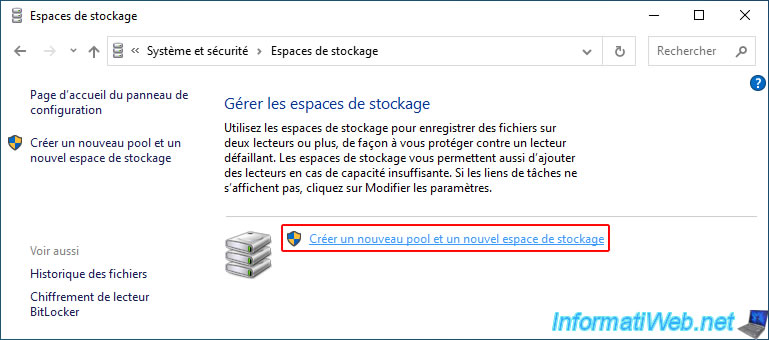
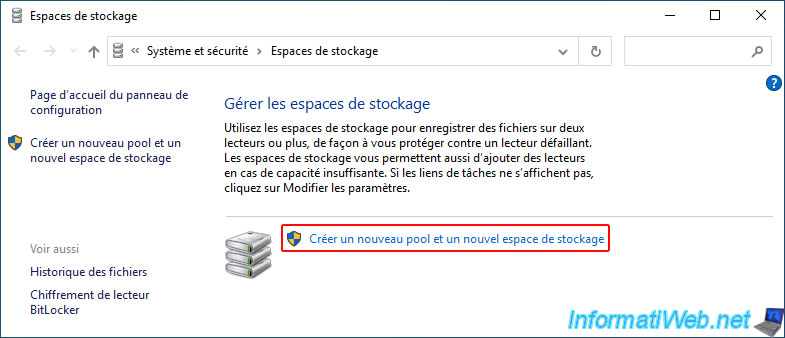
On this version of Windows 10, you click on the "Create a new pool and storage space" link.
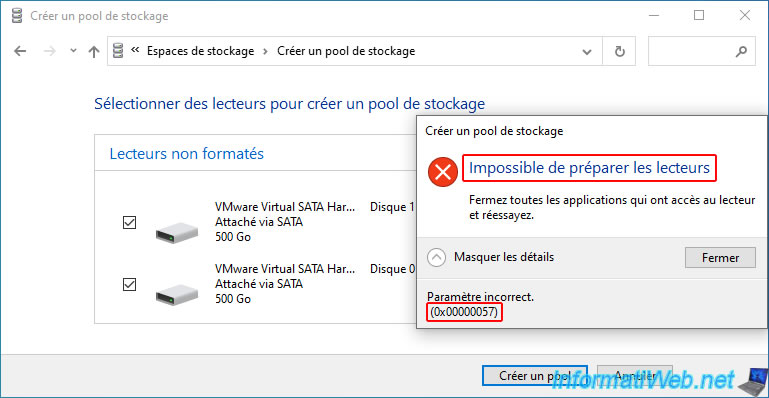
You select the blank physical disks you want to use for your future storage space and you get the error below when you click the "Create pool" button.
Plain Text
Create a Storage Pool.
Can't prepare drives.

Close all applications that are accessing the drive and then try again.

The parameter is incorrect.
(0x00000057).
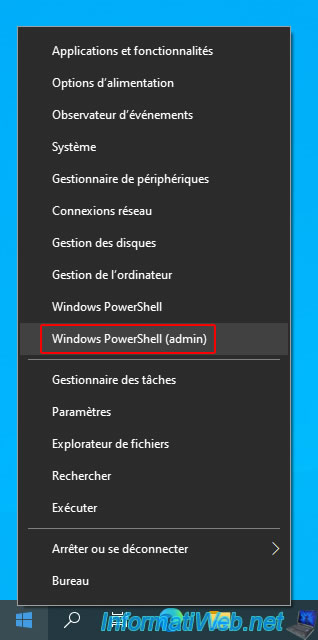
To be sure, open a "Windows PowerShell" command prompt as an administrator.
To do this, right-click "Windows PowerShell (admin)" on the Windows 10 start button.
In the blue window that appears, type the command below.
PowerShell
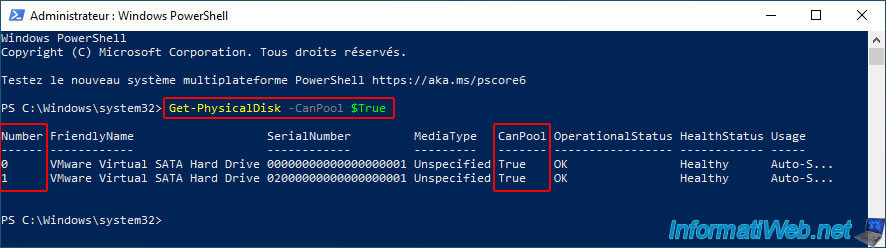
Get-PhysicalDisk -CanPool $True
The physical disks that can be used to create a storage pool will appear.
As you can see, in our case, disks 0 and 1 can be used according to this PowerShell command.
However, from the GUI, it does not work.
Since this problem is caused by the Windows 10 v2004 (20H1) "Storage Spaces" GUI, you have 2 possibilities to solve this problem:
- create your storage space in command line.
- or upgrade Windows 10 to the next version or the latest version of Windows 10 if you want.
Source : Build 18951.1 Storage Spaces Can't Add New Drive - Microsoft Community.
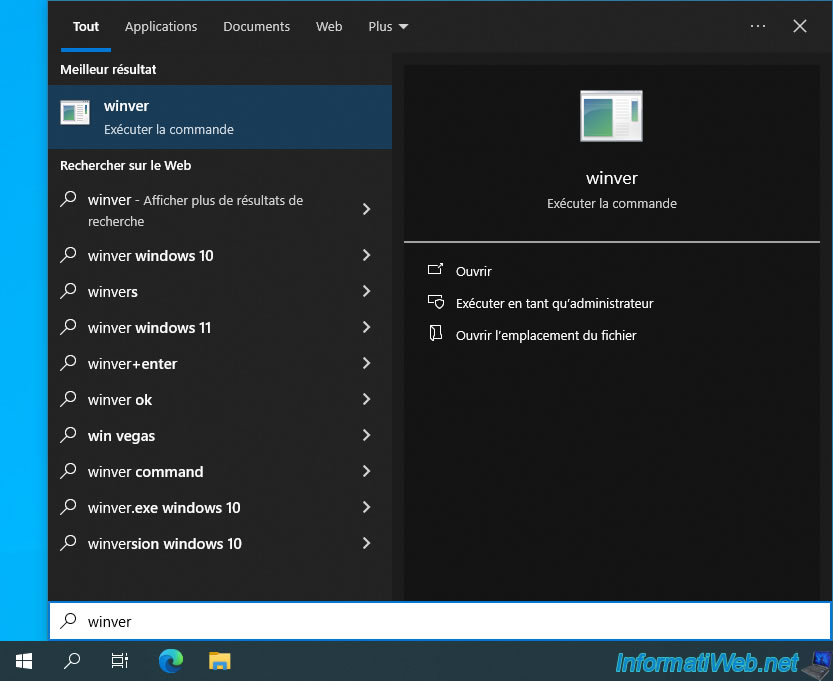
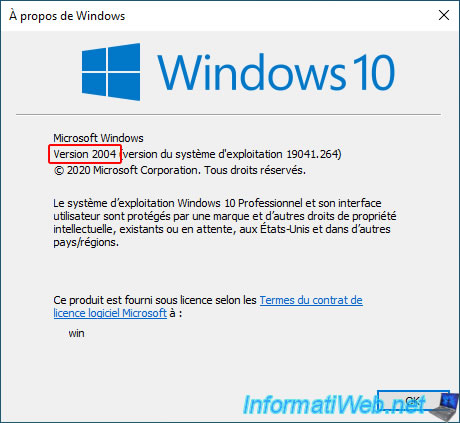
To check which version of Windows 10 you are using, the easiest way is to run the "winver" tool which is present on all versions of Windows.
As you can see, in this case we are using version 2004.
To upgrade Windows 10 to the next version, you need to download the ISO of Windows 10 version 2009 (20H2).
To do this, refer to our tutorial: Windows 10 - Download an old version (official).
Otherwise, download the latest Windows 10 ISO from Microsoft's website.
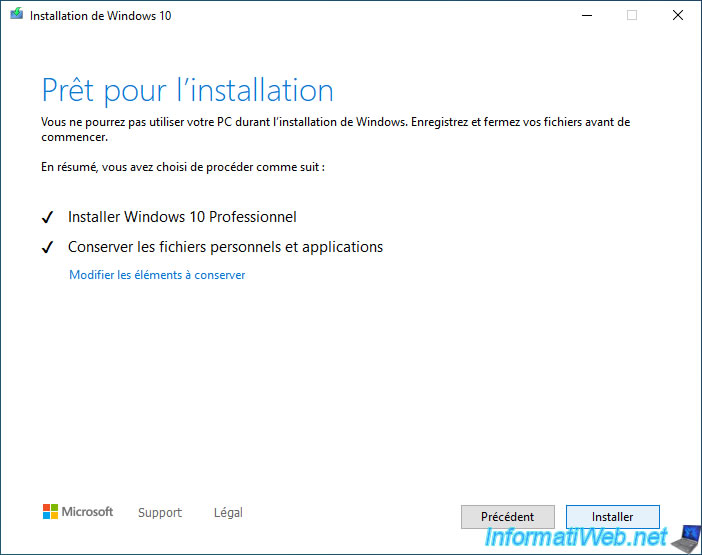
Then, launch the upgrade to this new version of Windows 10 by launching the "setup.exe" file located there.
If you need help with this automatic upgrade of Windows 10, refer to our tutorial "Upgrade Windows 10 to newer version of Win 10 (from DVD)" to see the different steps.
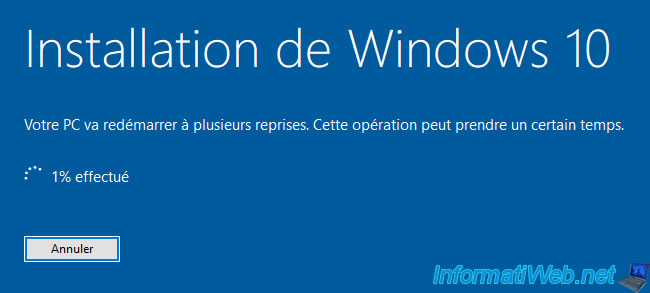
Please wait while your Windows 10 installation is upgraded to the newer version you downloaded earlier.

Once the Windows 10 upgrade is complete, open the start menu and run the "winver" tool again.
As you can see, in our case, we upgraded Windows 10 to version 20H2 (which is the one right after the problematic version 2004).

Now, go back to the "Storage Spaces" section of the Windows 10 control panel and click on the "Create a new pool and storage space" link again.
Select the physical disks you want, choose the type of storage space you want, and then click the "Create storage space" button.
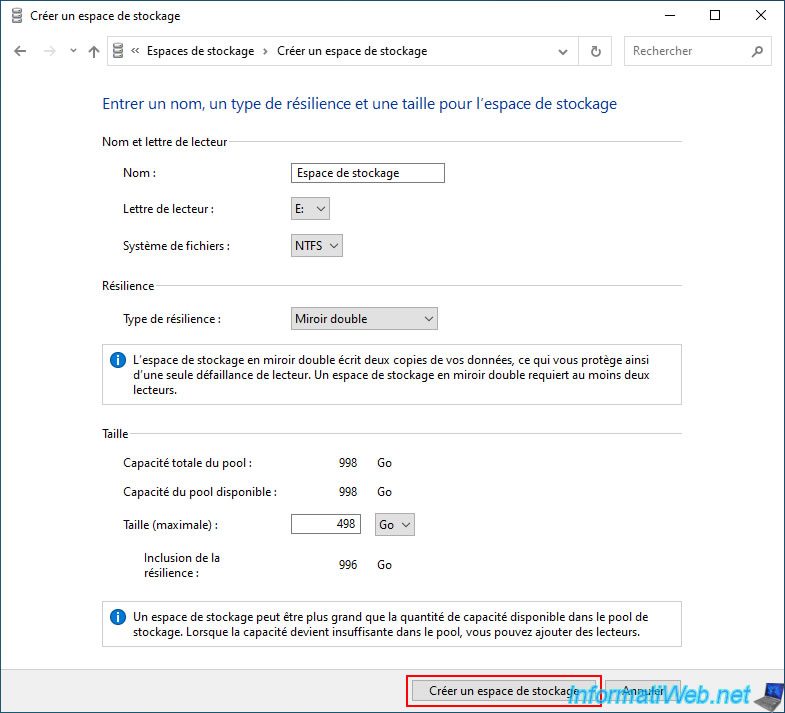
As expected, this one was created without any issues with the same physical disks as before.
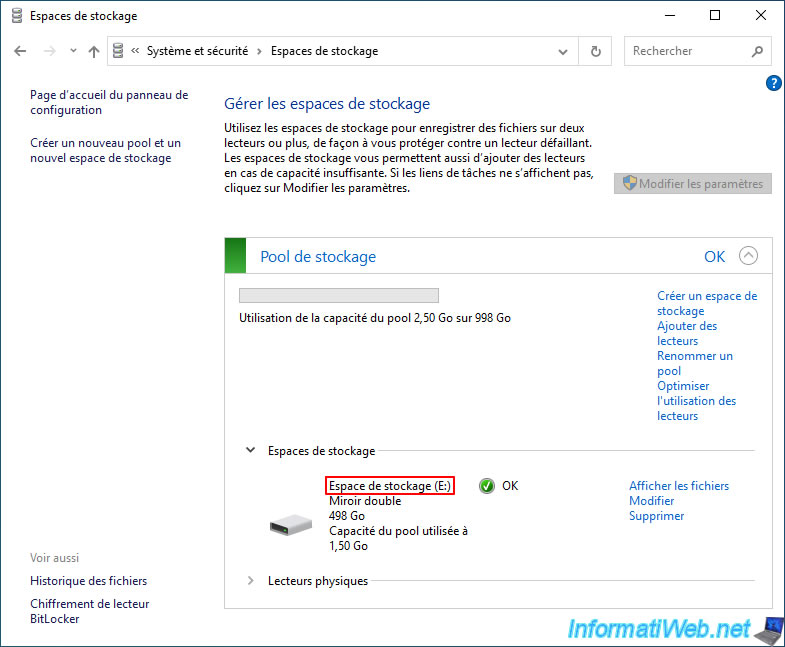
As expected, this appears without any problem in Windows 10 file explorer.

Share this tutorial
To see also
-

Windows 3/28/2022
Windows 10 - Change a user's password
-

Windows 8/18/2016
Windows 10 / 11 - Start in safe mode
-

Windows 8/16/2022
Windows 11 - Create a mobile hotspot (Wi-Fi)
-
Windows 8/31/2021
Windows 8 - Update the Windows Update client (fix error 80072EFE)
No comment