Create a virtual Wifi network on Windows 11, 10, 8.1, 8 and 7
- Windows
- Windows 8 / 8.1, Windows 7, Windows 10, Windows 11
- 09 August 2022 at 10:56 UTC
-

- 2/2
6. Enable Internet Connection Sharing (ICS)
For the moment, the hosted wireless network (Wifi) is created and you can connect to it from other devices.
However, you will not have access to the Internet.
In order for your client devices to access the Internet through this WiFi network, you must enable Internet Connection Sharing on the network adapter connected to the Internet.
To do this, open the control panel and go to : Network and Internet.
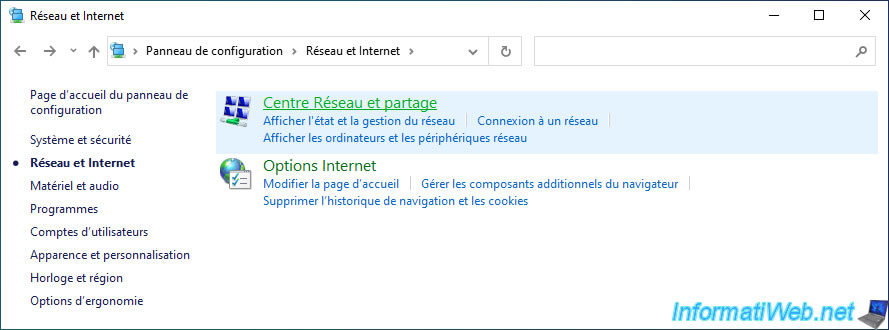
Then, in : Network and Sharing Center.
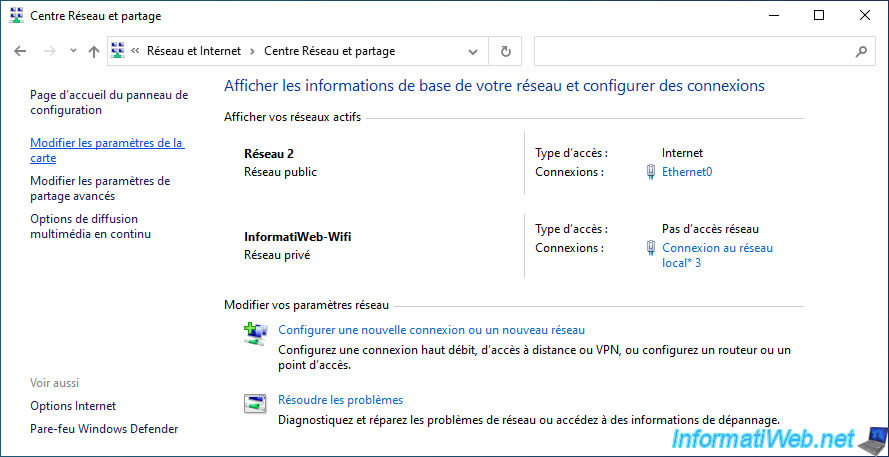
Click on "Change adapter settings" in the left column.
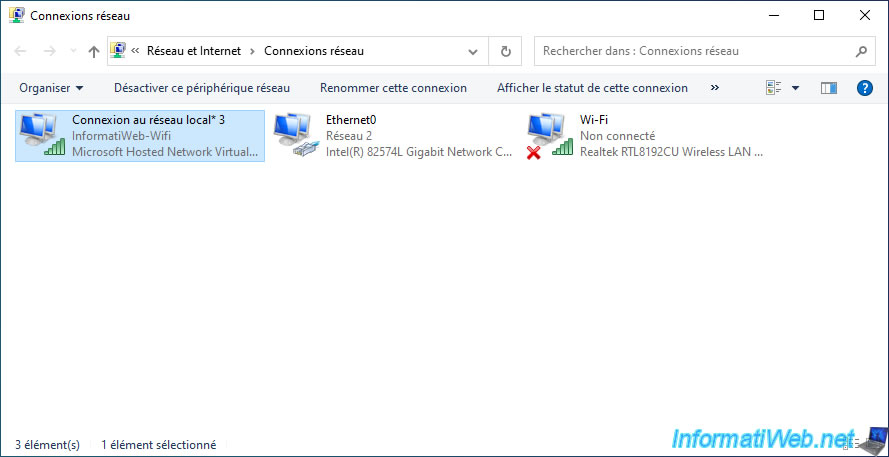
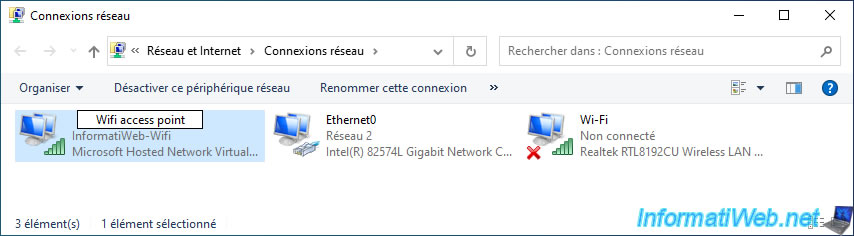
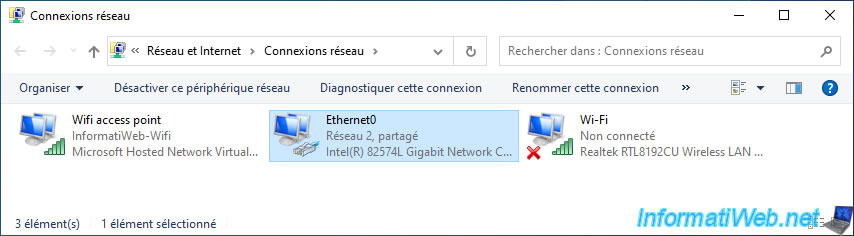
Normally, you should have a new network card with an asterisk : Local Area Connection* 3.
You will also see the name of your hosted wireless (Wifi) network and the "Microsoft Hosted Network Virtual Adapter" mention.
Note : if the virtual network card of the wireless hosted network (Wifi) doesn't appear, all you have to do is stop the hosted network and restart it.
To do this, in a command prompt launched as an administrator, use these 2 commands to respectively stop and then start the hosted network.
Batch
netsh wlan stop hostednetwork
netsh wlan start hostednetwork
Now, the virtual card of the hosted network will appear.
Rename this network card (if desired) to : Wifi access point.
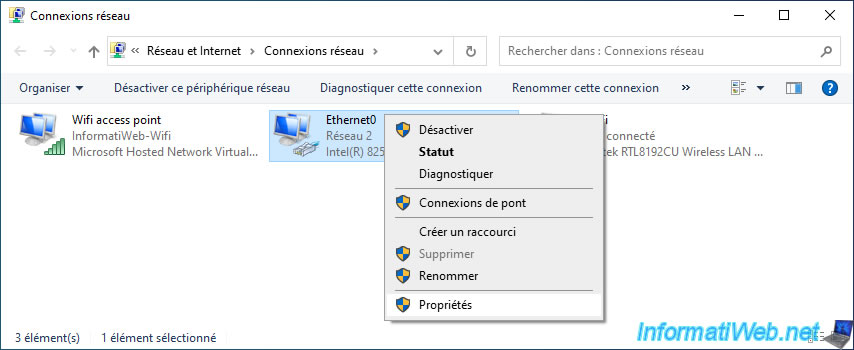
Then, right click "Properties" on the network adapter connected to the Internet.
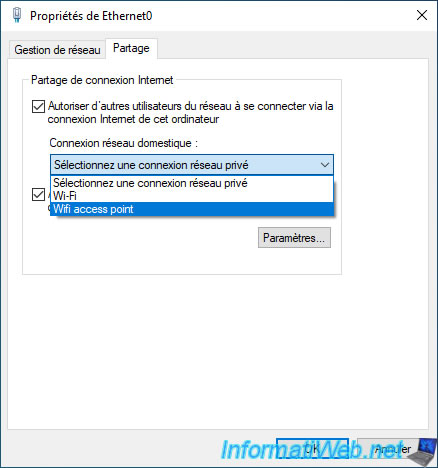
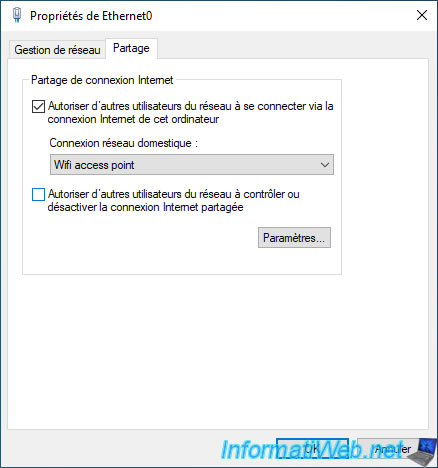
In the "Sharing" tab of its properties, check the "Allow other network users to connect through this computer's Internet connection" box and select the virtual network card "Wifi access point" (so the one you just renamed).
Then, uncheck the "Allow other network users to control or disable the shared Internet connection" box and click OK.
Windows will tell you that the network adapter (connected to the Internet) is shared.
7. Connection to the wireless (Wifi) hosted network
Now that your WiFi network is configured and started, you can connect to it from any device (computer, smartphone, ...).
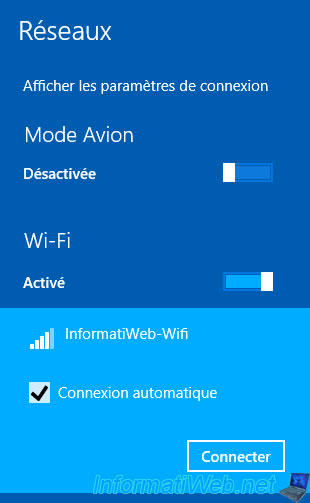
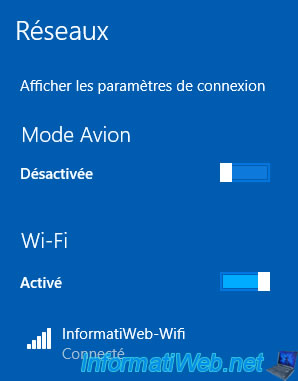
To do this, click on the network icon located at the bottom right of the taskbar.
If you don't see it, expand this icon area by clicking on the small white triangle.

Click on the name of your hosted wireless (Wifi) network and click on : Connect.
Note that this interface changes from one version of Windows to another, but the principle remains the same.
If necessary, refer to one of our tutorials :
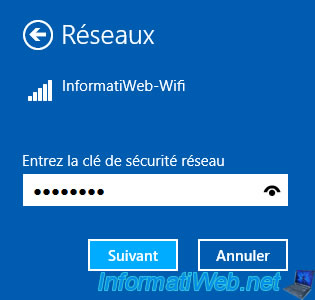
Enter the password you configured for this wireless (Wifi) hosted network and click Next.
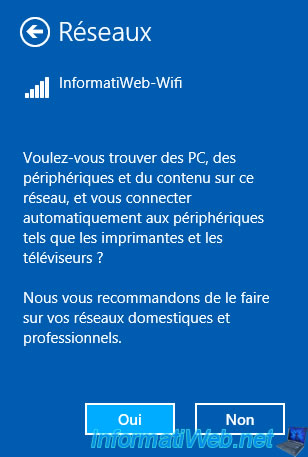
To enable file sharing, enable the discovery of computers connected to your network, ... click Yes.
You are connected to your hosted wireless (Wifi) network.
8. How Internet Connection Sharing (ICS) works
As you have seen previously, we had to share the Internet connection of the computer where we created the hosted wireless (Wifi) network.
Which means your computer acts as a router (or a gateway, if you prefer).
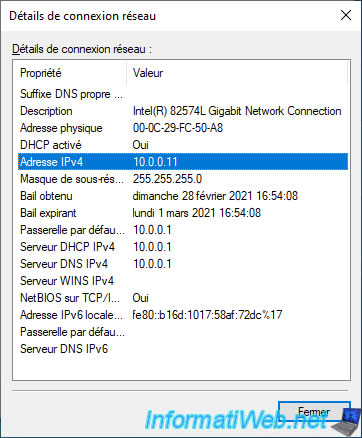
To see this, all you have to do is display the details of the network adapter connected to the Internet on the computer hosting this wireless (Wifi) network.
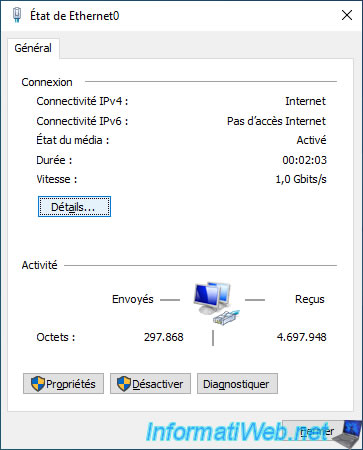
As you can see, the computer acting as a router (gateway) has a local IP address "10.0.0.11" in our case.
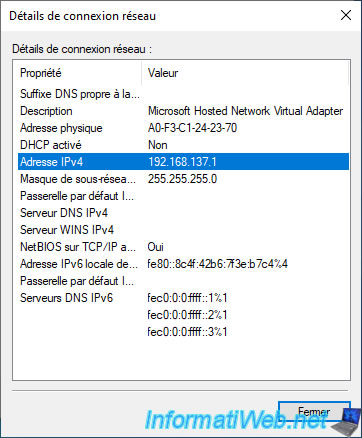
Also display the details of the virtual Wifi network adapter corresponding to the hosted wireless (Wifi) network.
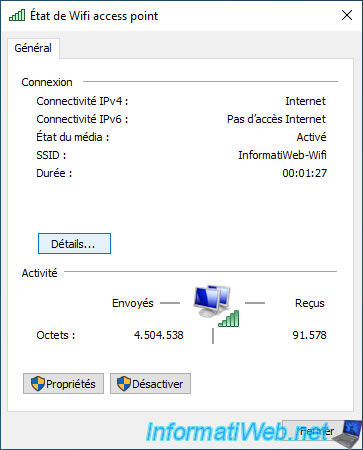
As you can see, this network adapter currently has an IP address of "192.168.137.1" in our case.
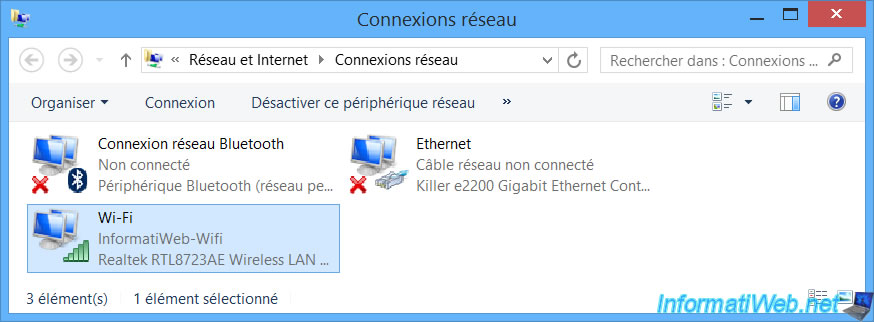
Now, look on the client computer that you have connected to your hosted wireless (Wifi) network.
Right click "Properties" on your Wifi network adapter.
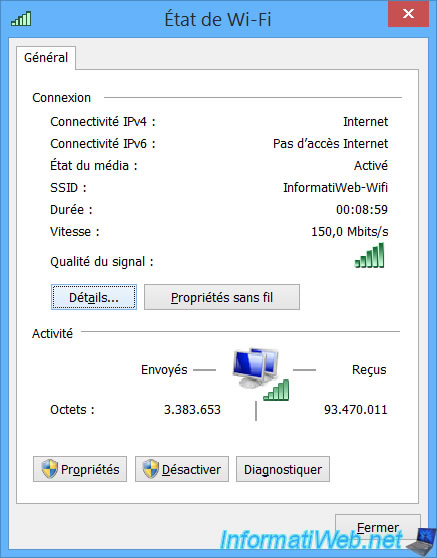
View the details of this WiFi network adapter.
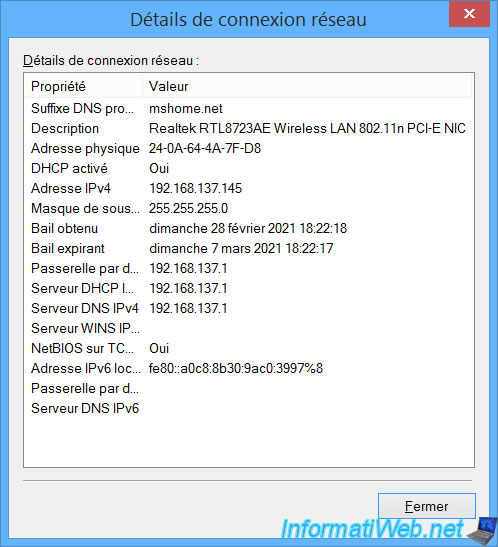
As you can see, your Wifi network adapter has received an IP address also starting with "192.168.137" (like that of the wireless (Wifi) hosted network) and Windows tells you that the gateway, the DNS server and the DHCP server is the computer with the IP address : 192.168.137.1.
So : the computer where the hosted wireless (Wifi) network is located.
The only thing to understand is that this Wifi network doesn't allow you to connect virtually in your physical local network, but in a subnet of it.
You will be able to access the resources of your local network from a computer (or any other device) connected to your hosted wireless network (Wifi), but not the other way around since you will be behind this gateway.
Although this will not bother you in typical use (accessing the Internet, for example), it can be problematic if you try to access a local server hosted on one of the computers on your network.
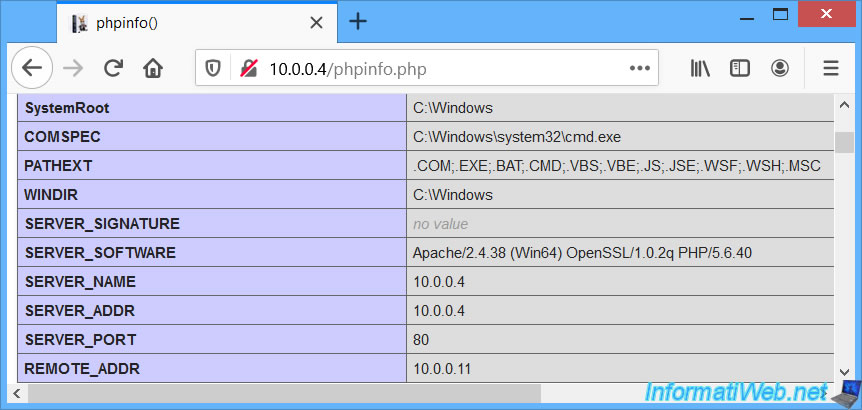
As you can see, when accessing from our computer running Windows 8.1 (whose IP address is : 192.168.137.145), the local server (present on our physical local network) that we are accessing will not see our real local IP address, but that of the gateway. The IP address "10.0.0.11" being the IP address of the network adapter whose Internet connection we had previously shared.
The solution would be to configure this Wifi access to use a bridge access, but unfortunately this is not possible.
Plain Text
Layer 2 bridging is prohibited between the AP adapter and any other adapters in the system. The same restriction applies to the VSTA adapter when it is present in the system.
Source : About the Wireless Hosted Network
Share this tutorial
To see also
-
Windows 5/8/2025
Windows 10 - Delete Windows.old folder
-
Windows 4/21/2013
Windows 7 - Create Universal Installation DVD
-
Windows 5/26/2021
Windows 8 / 8.1 - Recover the start menu
-
Windows 9/2/2016
Windows 8.1 - Repair Windows installation by the upgrade process
No comment