Create Acronis Secure Zone from Acronis True Image (Cyber Protect Home Office) rescue media
- Backup
- Acronis True Image
- 02 March 2026 at 09:28 UTC
-

- 2/3
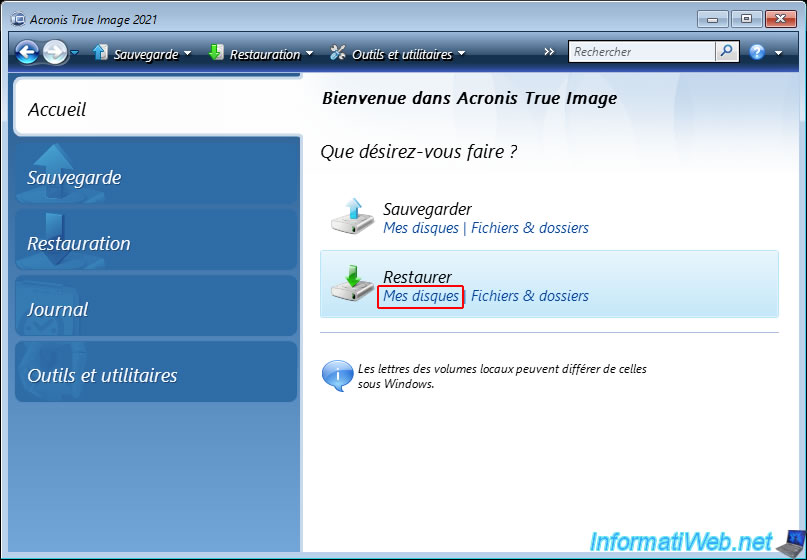
3. Restore your PC from the Acronis Secure Zone via your Acronis rescue media
To restore your computer from a backup in your Acronis Secure Zone, click the "My Disks" link in the "Restore" option.
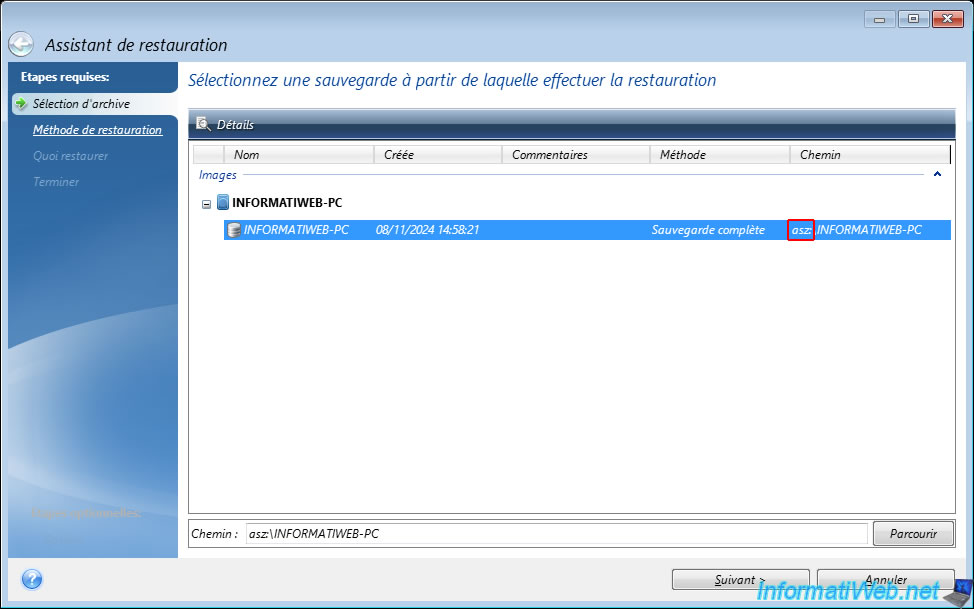
As you can see, the Restore Wizard detects our backup present on the Acronis Secure Zone.
In our case, the backup "INFORMATIWEB-PC" whose location starts with "asz:\" (= Acronis Secure Zone).
Select the "Restore entire disks and partitions" option and then click "Next".

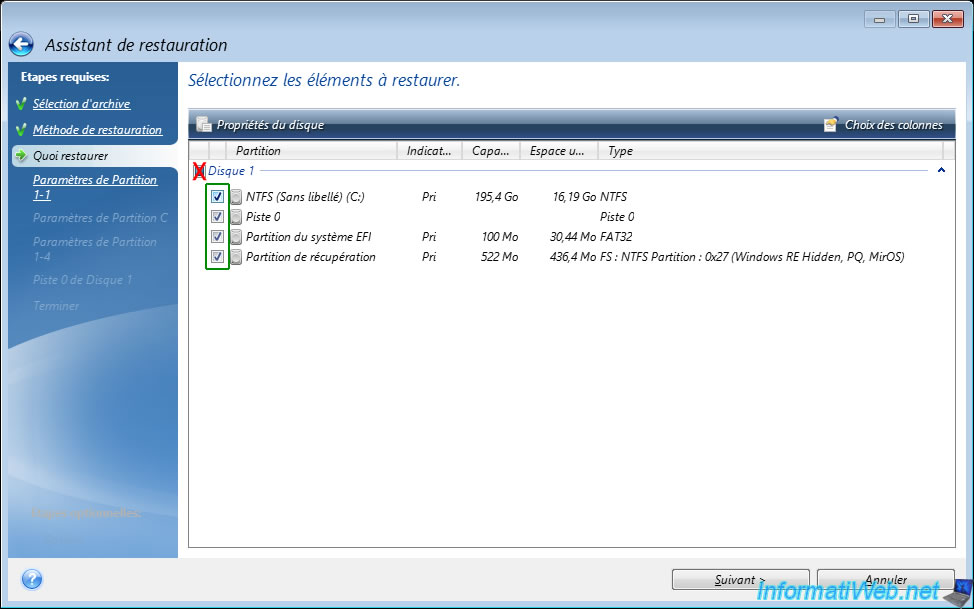
Warning : if the partitions must be restored on the disk where the "Acronis Secure Zone" partition is located, it is essential to check only the boxes of the listed partitions (including "Track 0" which corresponds to the MBR of this disk) to be able to restore the partitions from the backup without deleting the "Acronis Secure Zone" partition from the physical disk and without altering it.
Do not check the "Disk X" box located just above.
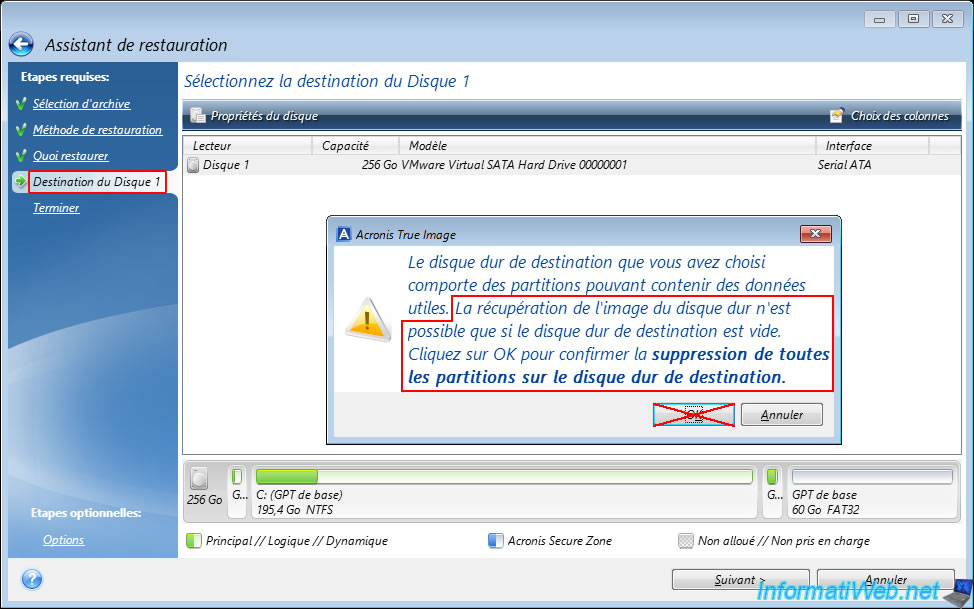
Warning : if you checked the "Disk X" box instead of selecting only the partitions to restore, you will notice that the Acronis wizard will only allow you to select the destination disk to restore disk X of your backup.
This will cause all partitions to be deleted (including the "Acronis Secure Zone" partition that absolutely must be kept so that you can keep your backups).
In this case, go back to the previous step (What to restore), uncheck the disk X box and select only the partitions to restore.
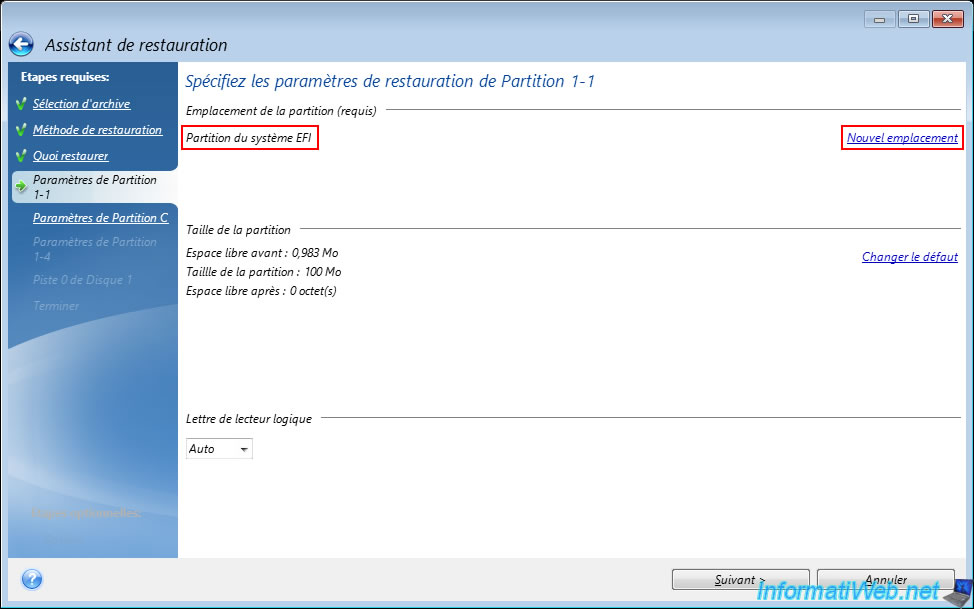
If you have correctly selected only the partitions to restore (and NOT the entire disk) from your backup, you will notice that several "Partition Settings..." steps will appear in the left column.
By default, Acronis Cyber Protect Home Office (True Image) will restore your partitions (from the backup) to the correct partitions on the physical disk.
However, if you want to change the destination of a partition, you can click the "New location" link located at the top right.
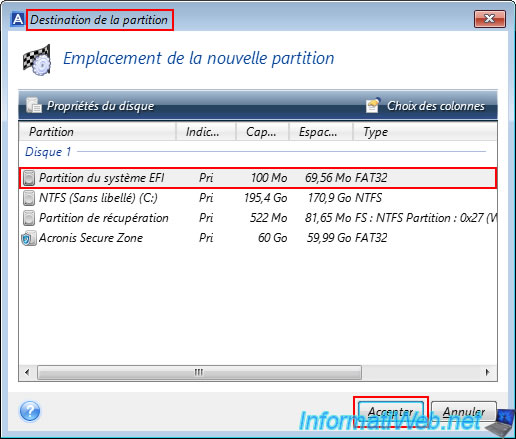
In the small "Partition Destination" window that appears, you will be able to choose the destination of the current partition.
So, in this case, the partition of the same name (EFI System Partition).
Then, click "Accept".
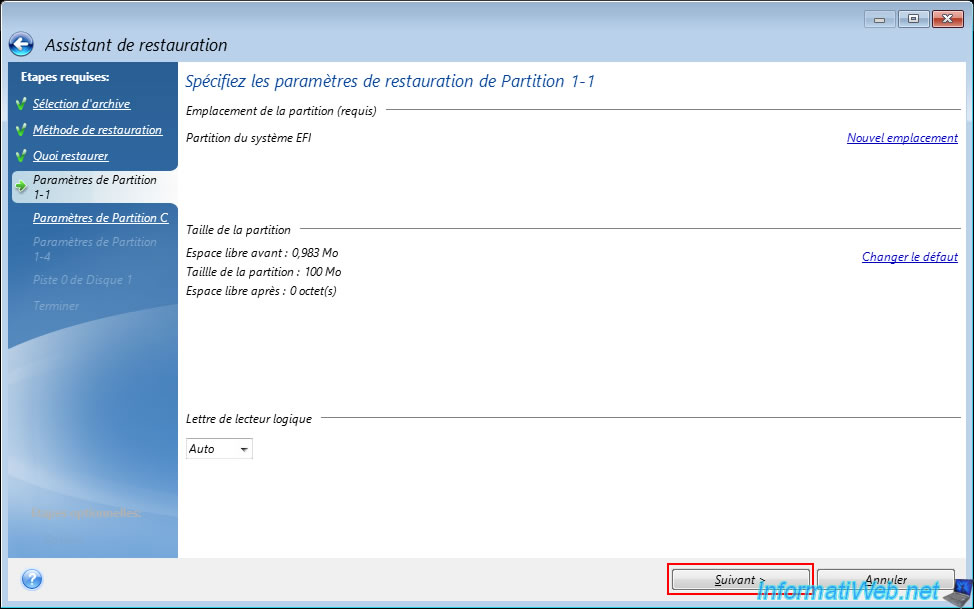
Note: as a reminder, you do not need to do this manually.
By default, Acronis Cyber Protect Home Office (True Image) automatically detects the correspondences between the partition to be restored from your backup and the partition currently present on your physical disk.
Then, click "Next".
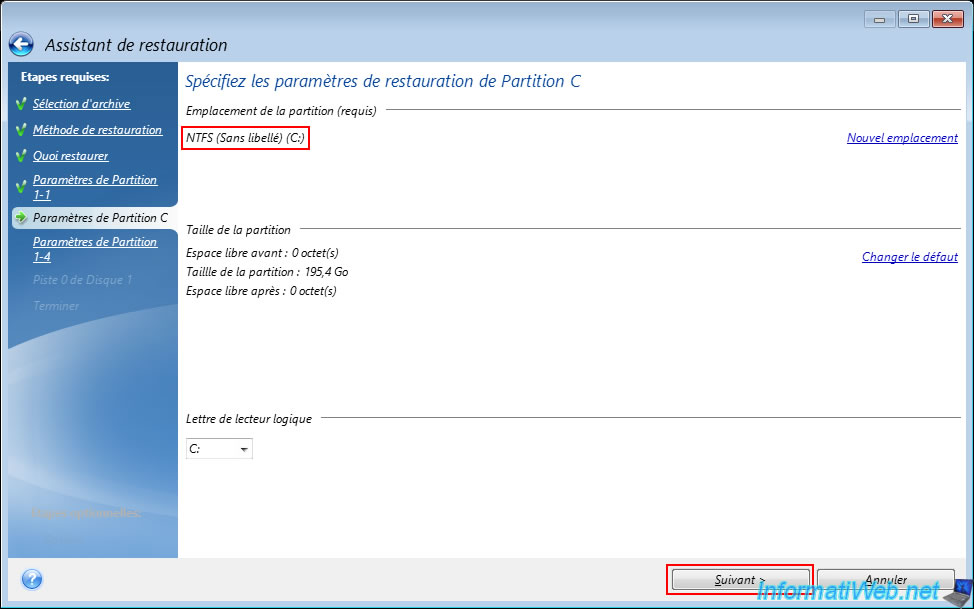
The message "Analyzing partition C:" appears for a few seconds.

Each step concerns a different partition of your backup.
In our case, the 2nd partition is the "C:" partition (where Windows is installed).
Just click "Next" for each partition.
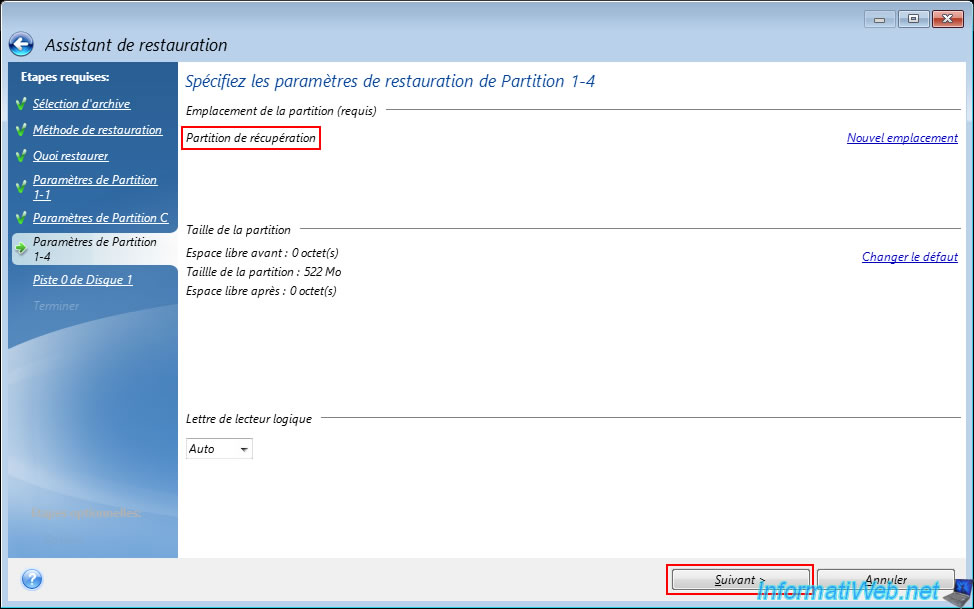
The next partition is the recovery partition (created by Windows 10 when it was installed in UEFI mode).
Click "Next".
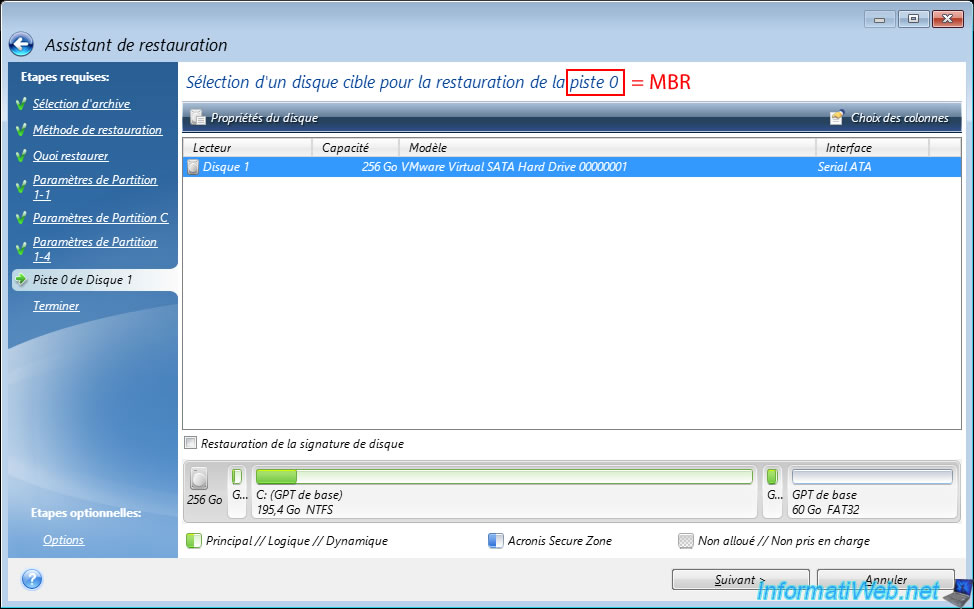
Finally, Acronis Cyber Protect Home Office (True Image) will also allow you to choose the target disk where to restore track 0 (or in other words the MBR, which is a small invisible part located at the beginning of the disk before the partitions and which contains data indicating where the operating system on which your computer can boot is located).
Then, click "Next".
Note: this step only appears if you checked the "Track 0" box in the "What to restore" step.
Important : this track 0 must obviously be restored on the physical disk where you restore your partitions.
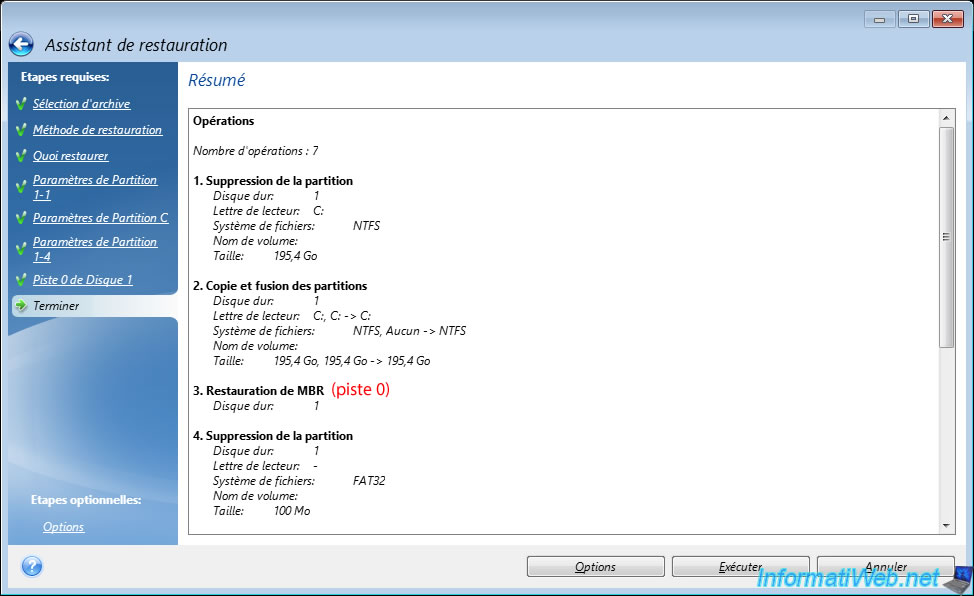
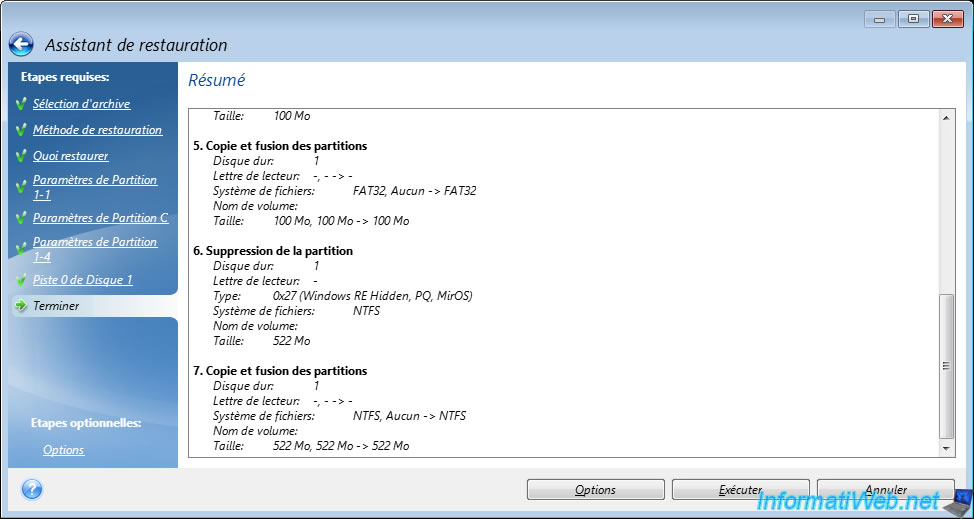
A summary of the operations to be performed appears.
Click "Run".
Note: as you can see in this summary, Acronis Cyber Protect Home Office (True Image) will only delete the partitions on the physical disk, from which it will then restore data from your backup.
By the way, you will not see the 60 GB "Acronis Secure Zone" partition in this summary (below), although this partition exists on our physical disk (as you can see in the previous image).
Please wait while the partitions on your physical disk are restored from the backup on your "Acronis Secure Zone" partition.

Once this restoration is complete, the message "Restore operation successful" will appear.
4. Backup stored in the Acronis Secure Zone visible in Acronis Cyber Protect Home Office (True Image)
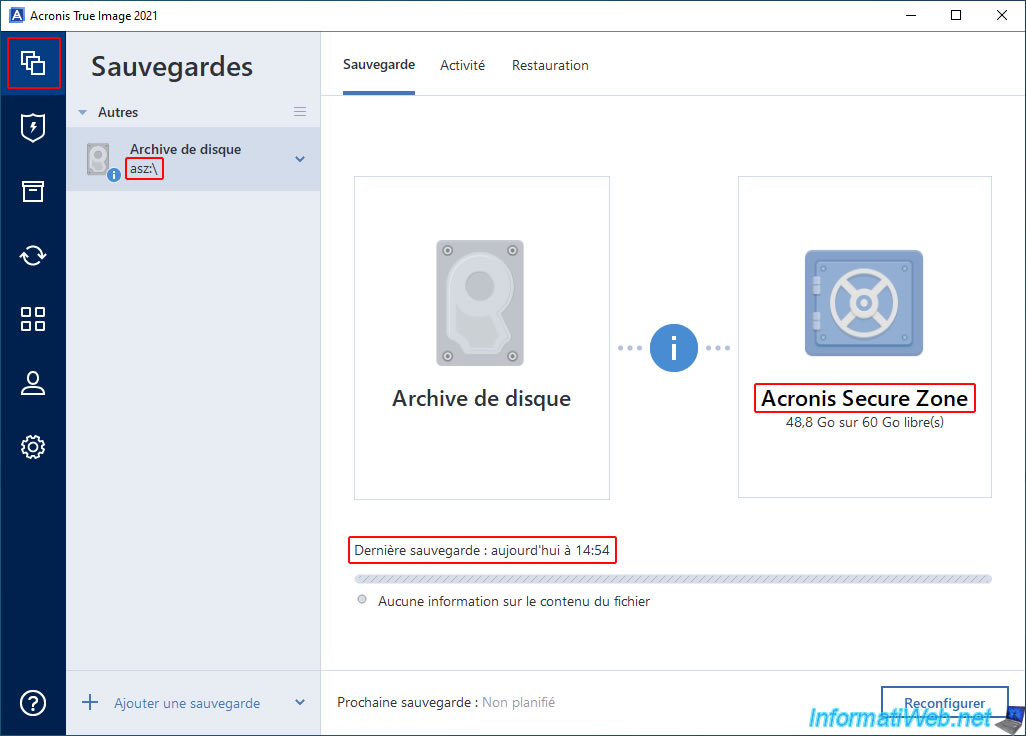
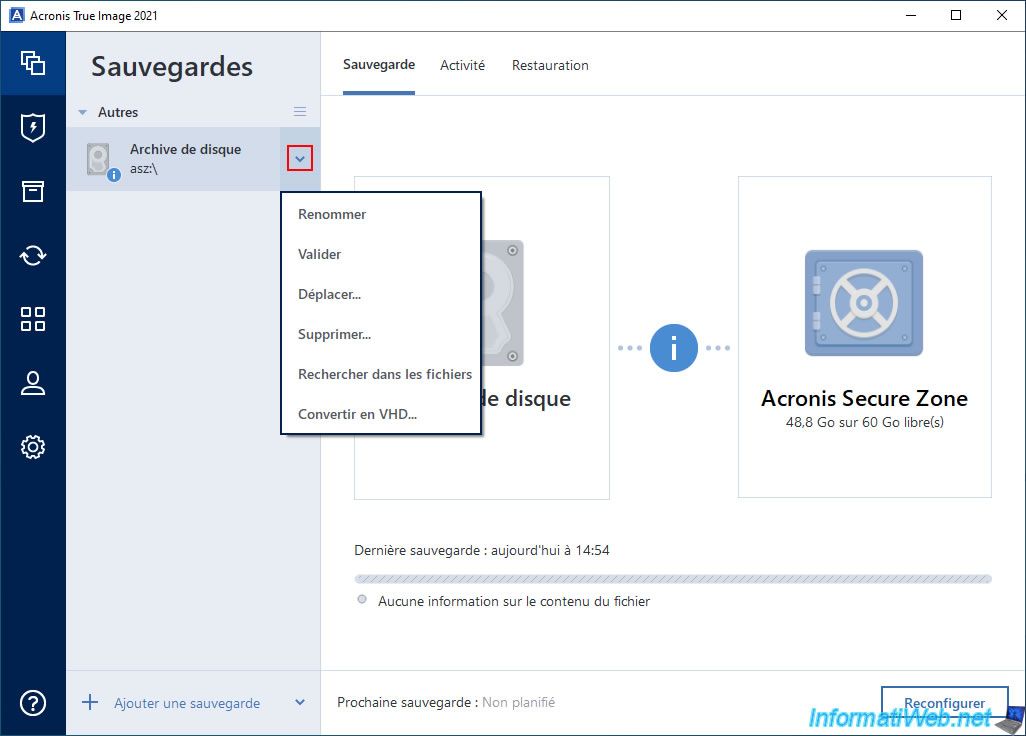
If Acronis Cyber Protect Home Office (True Image) is installed on the computer where you just restored your backup, your backup stored in the Acronis Secure Zone will appear in the "Backup" section of this program.
As you can see, Acronis Cyber Protect Home Office (True Image) tells you that your disk archive (or in other words, your backup) is located in the Acronis Secure Zone and that its location is "asz:\".
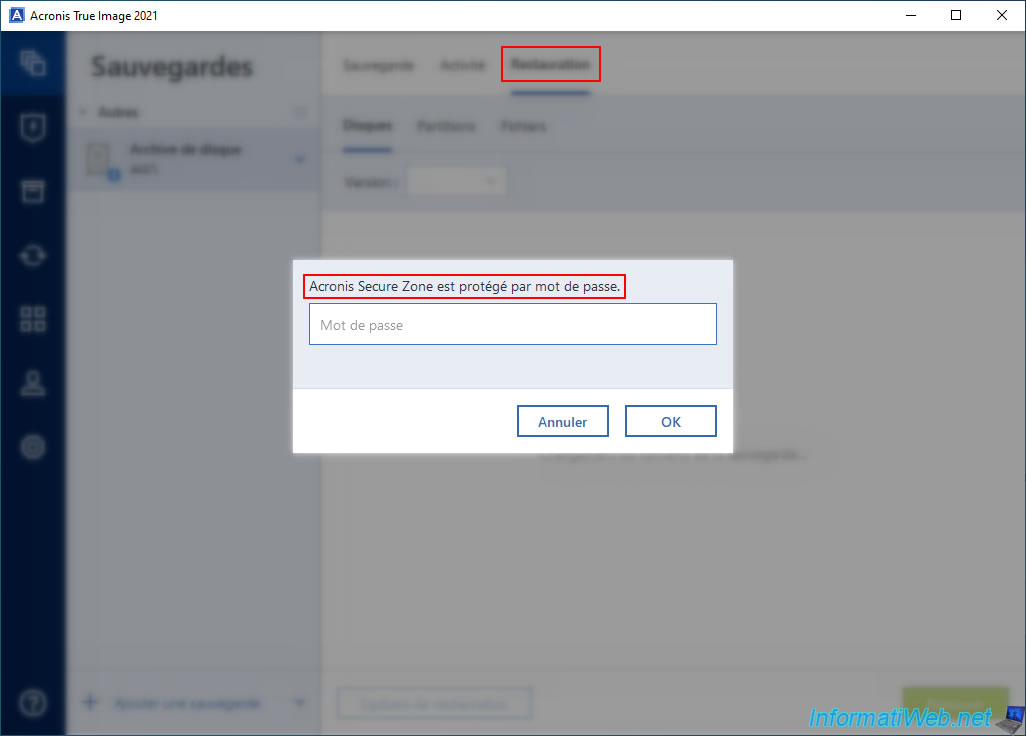
If you go to the "Restore" tab for this backup, Acronis Cyber Protect Home Office (True Image) will ask you for the password that protects your Acronis Secure Zone (if applicable).
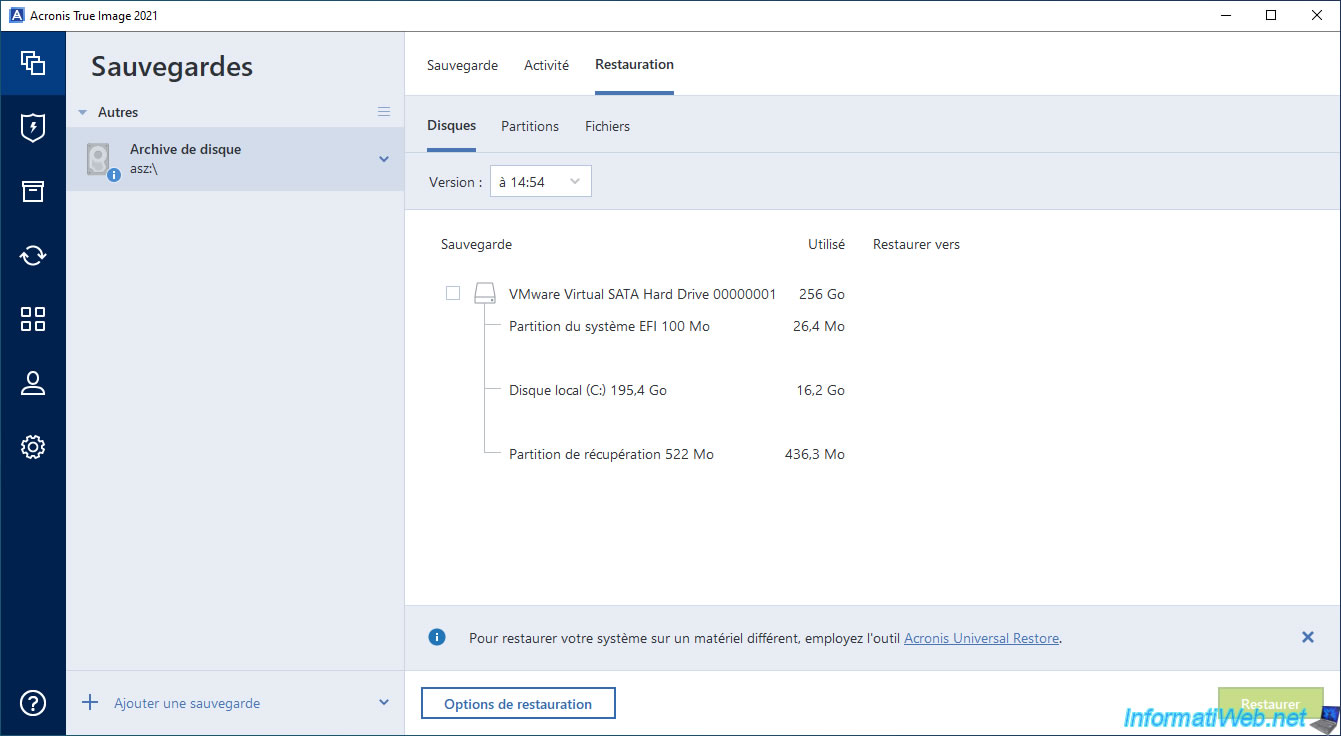
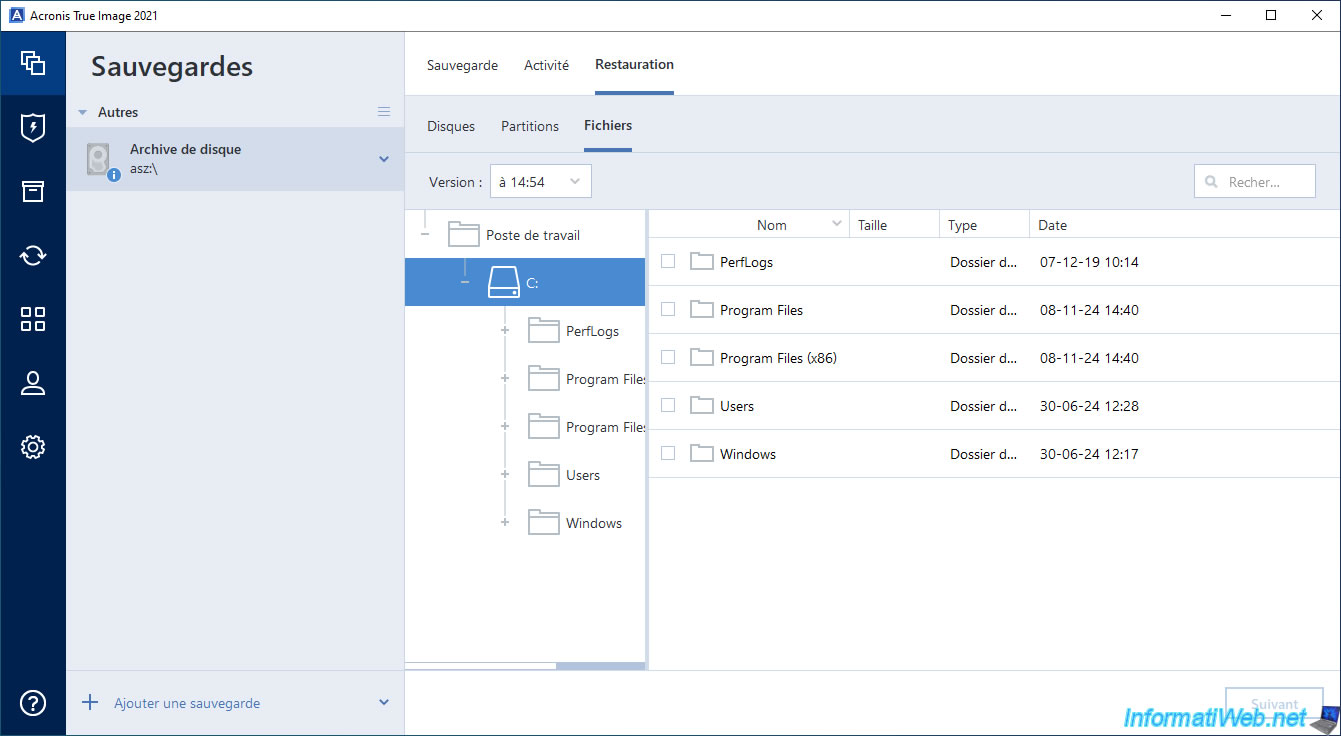
Then, you will be able to see the disks, partitions and files it contains.
Note that the "Restore" button for this backup is disabled in the Acronis Cyber Protect Home Office (True Image) program installed on Windows because it was created outside of Windows (and more precisely from your Acronis rescue media).
As expected, you can browse folders and files present in your backup.
To restore some folders or files, refer to our tutorial: Acronis True Image - Backup files or folders.
As with locally stored backups, you can validate it (to check that it is not corrupted), search for files in it, ...
Share this tutorial
To see also
-
Backup 12/15/2025
Acronis True Image - Clone a disk (automatic mode)
-
Backup 12/22/2025
Acronis True Image - Clone a disk (manual mode)
-
Backup 3/16/2026
Acronis True Image - Rescue Media - Partition a new disk
-
Backup 5/18/2026
Acronis True Image - Universal Restore Media - Create media (Win PE version based on Win ADK)
No comment