- MultiBoot
- Windows 10, Windows 11
- 22 April 2024 at 14:26 UTC
-

- 1/3
Since Windows 11 is still very new, Windows 11 and your applications may not be very stable or not yet compatible with this new version of Windows.
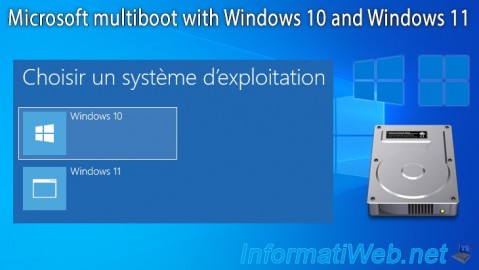
So, here's how to create a multiboot with Windows 10 and Windows 11 to take advantage of these 2 versions of Windows.
- Install Windows 10
- Install Windows 11
- Manage the boot menu on Windows 11 (to change the default OS)
- Manage the boot menu on Windows 10 (to change the default OS)
1. Install Windows 10
To get started, insert the Windows 10 installation DVD and configure your computer's motherboard BIOS to boot from the CD/DVD drive first.
If necessary, refer to our tutorial : Change the BIOS boot priority.

If your BIOS is correctly configured, this logo will appear at startup.

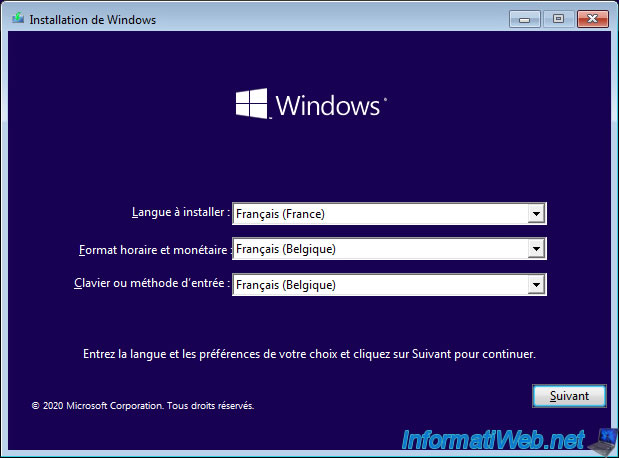
Then, the Windows 10 installer will appear.
Select your language and country and click Next.
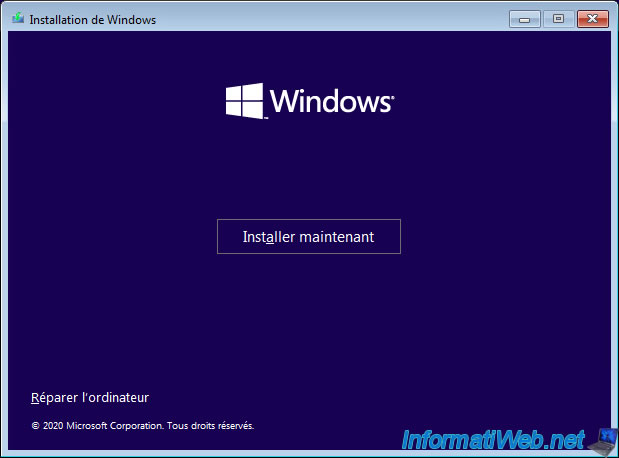
Click: Install Now.
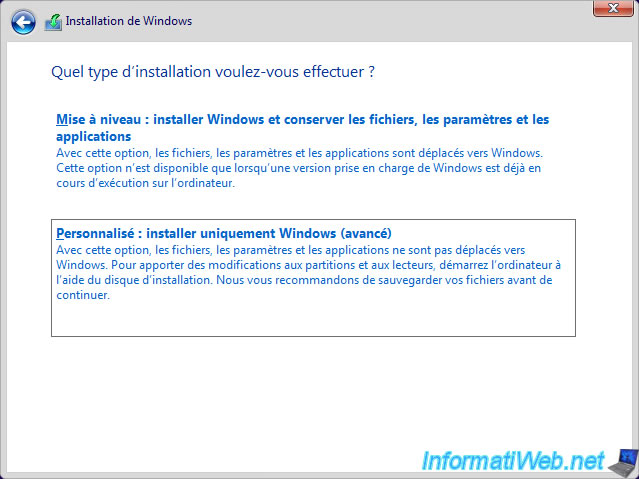
Click "Custom: Install Windows only (advanced)".
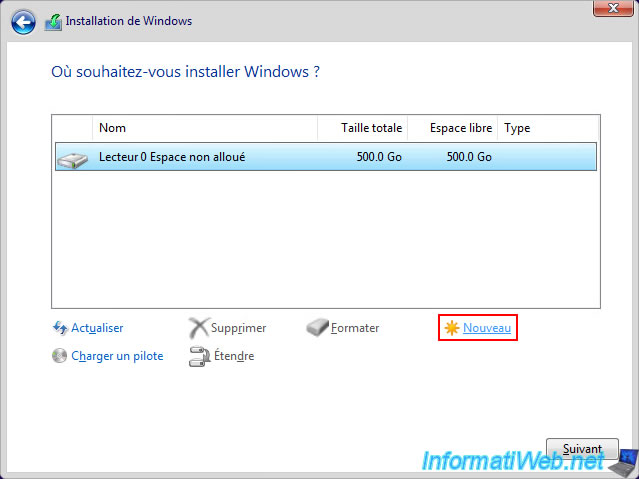
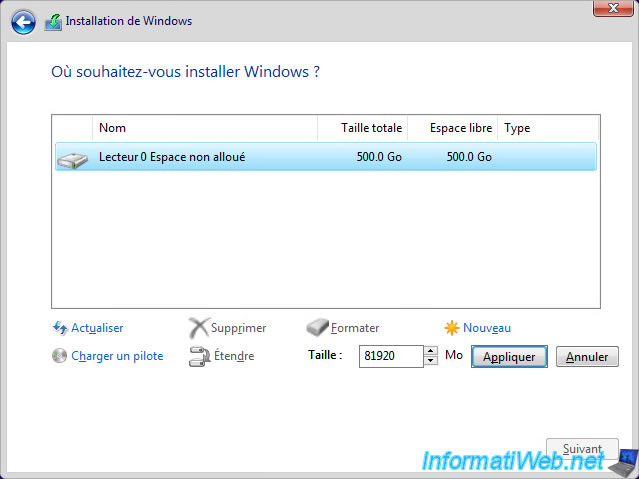
Select the unallocated space on your hard drive and click: New.
Note: we used a blank hard drive. It is for this reason that there is only unallocated space in our case.
Specify "81920" MB to create an 80 GB partition to install Windows 10 on (including updates that will download and install automatically once Windows 10 is installed).
Note : 1 Go = 1024 Mo. So : 80 Go = 80 x 1024 Mo = 81920 Mo.
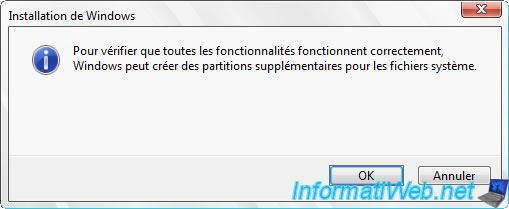
A message will appear telling you that Windows may create additional partitions for system files.
Just click OK.
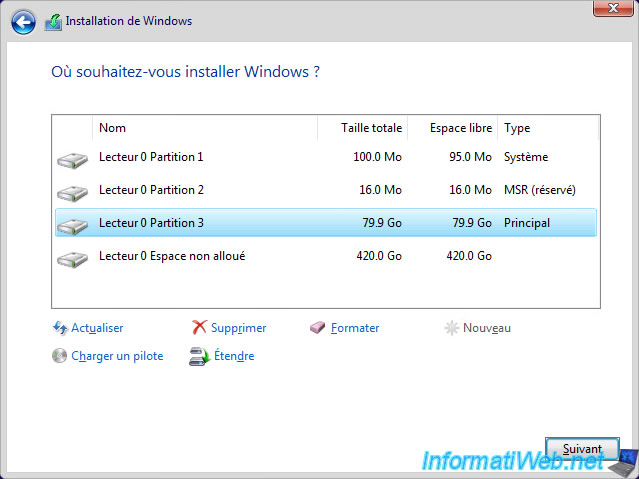
As you can see, several partitions will be created (including the desired one of about 80 GB).
Note that the additional partitions created may differ between a Windows installation in LEGACY BIOS mode or in UEFI mode.
However, this will have no impact on the creation of the multiboot.
Once the partition of approximately 80 GB of type "Primary" has been created, click Next.
The installation of Windows 10 starts.
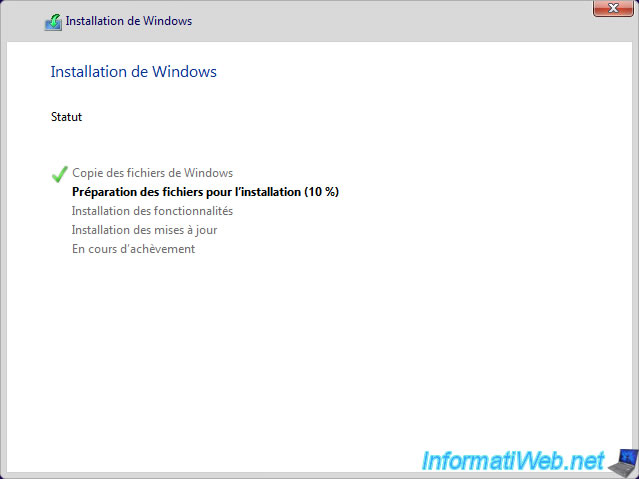
Several messages will appear during the installation of Windows 10.

Then, several configuration steps will appear.
If necessary, refer to our tutorial: Format your computer and reinstall Windows 10.
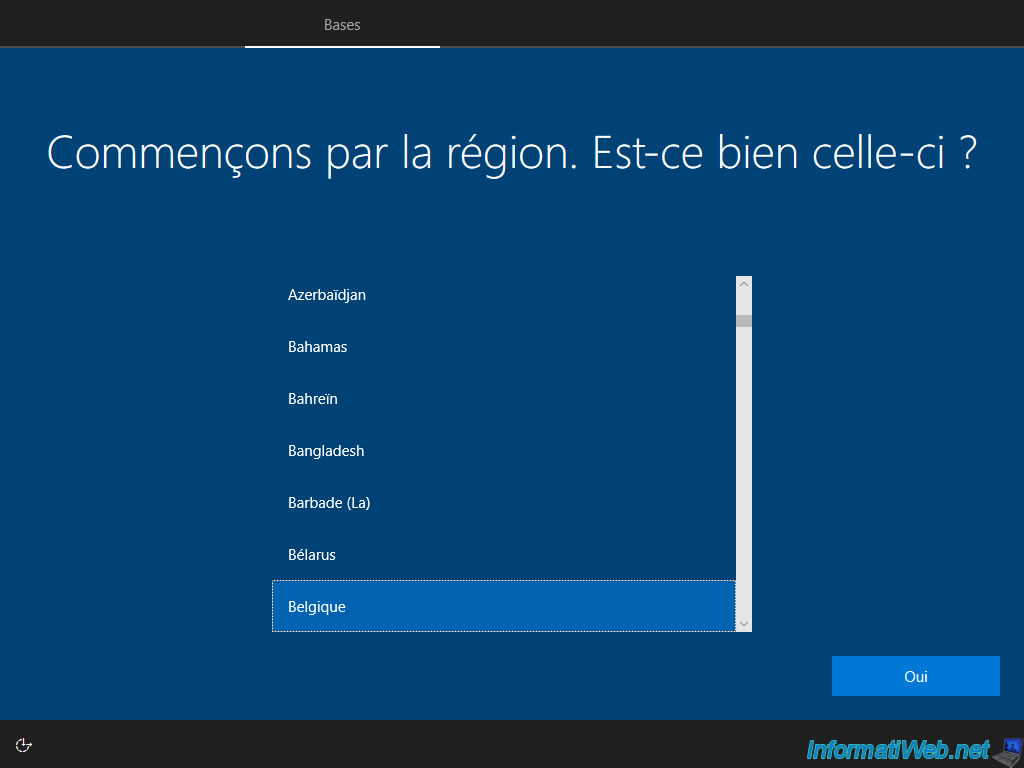
Windows 10 has been installed.
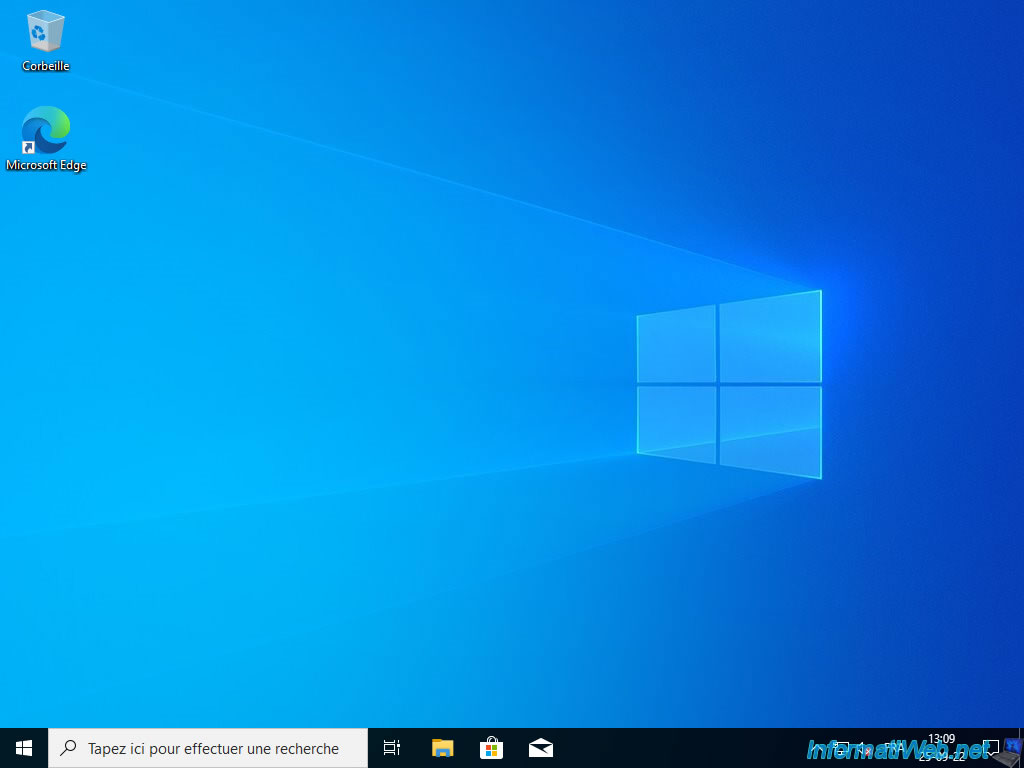
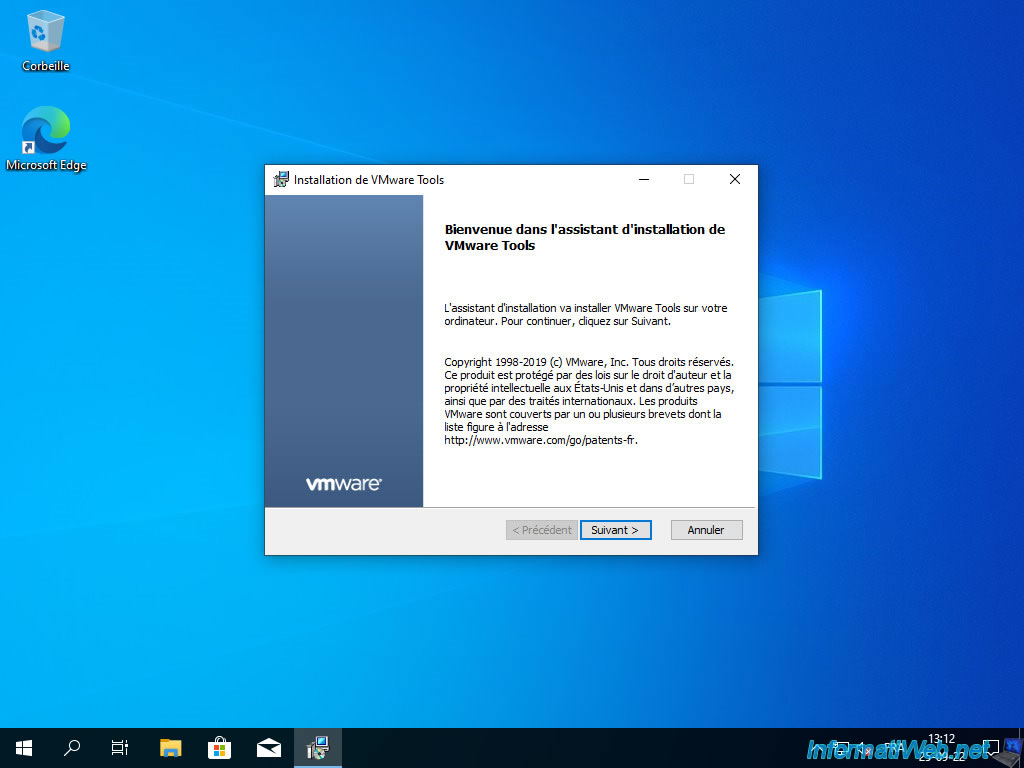
Install the drivers for Windows 10 from your computer.
Most of the time, you will use the CDs supplied with your motherboard and your graphics card: Install the drivers on Windows from the supplied CDs.
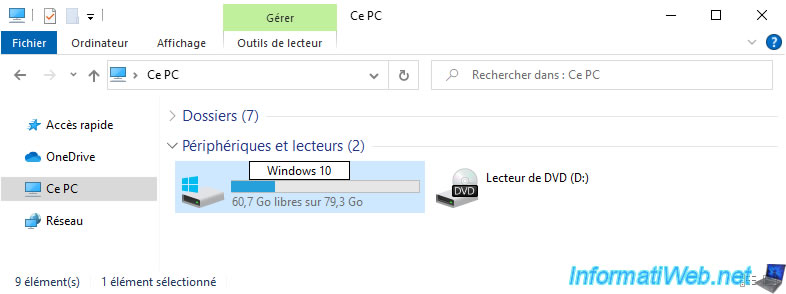
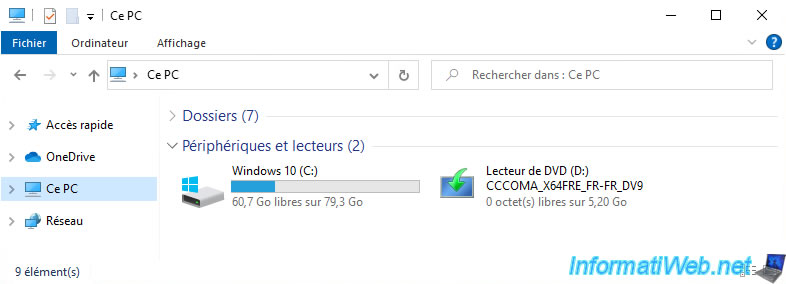
Once the drivers for your computer are installed, open the file explorer and click on: This PC.
Then, right click "Rename" on your "C" partition.
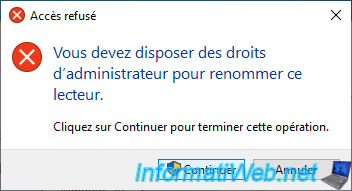
An "Access Denied - You will need to provide administrator permission to rename this drive" error.
Click: Continue.
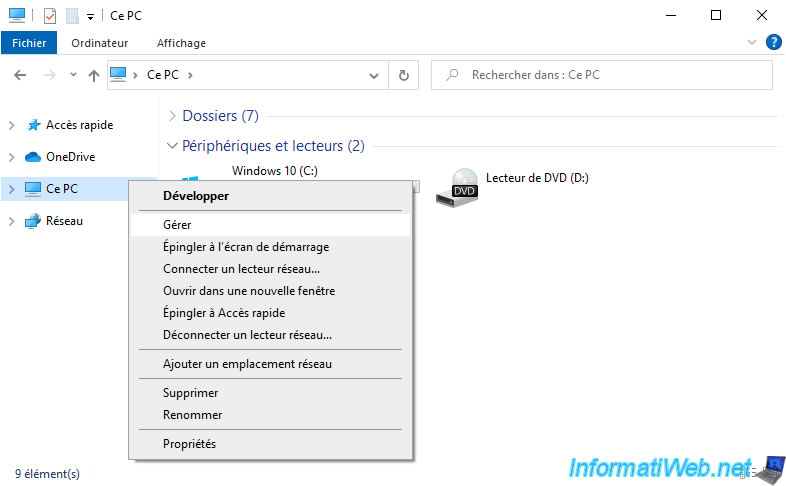
Right click "Manage" on "This PC".
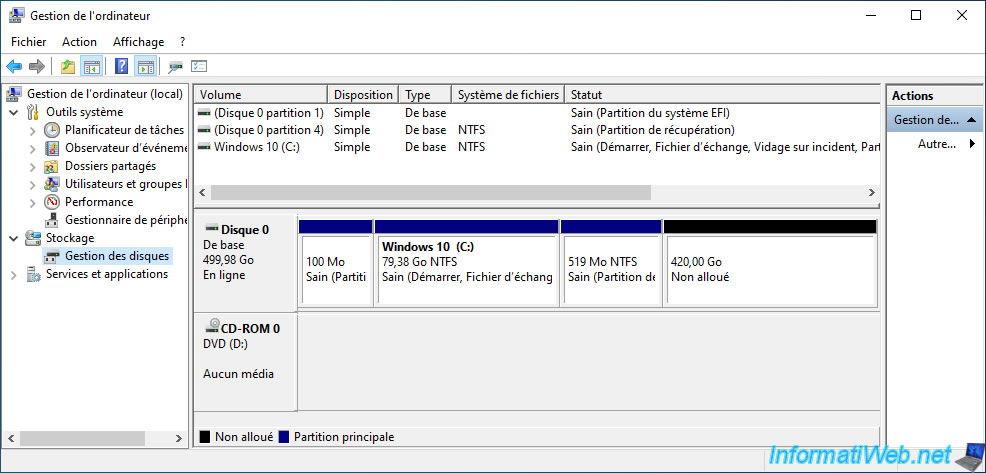
In the "Computer Management" console, go to "Disk Management".
As you can see, your hard drive will have several partitions: a partition of about 80 GB and other small hidden system partitions necessary for Windows 10 to work.
Insert the Windows 11 installation DVD into your CD/DVD drive and restart your computer.
Share this tutorial
To see also
-

Windows 6/7/2022
Delete a recalcitrant file
-
Windows 5/5/2025
Upgrade Windows 11 to newer version of Win 11
-
Windows 1/23/2025
Windows 10 - Hide Microsoft account email on login screen
-

Windows 12/17/2015
Windows 8 / 8.1 / 10 / 11 - System restore
You must be logged in to post a comment